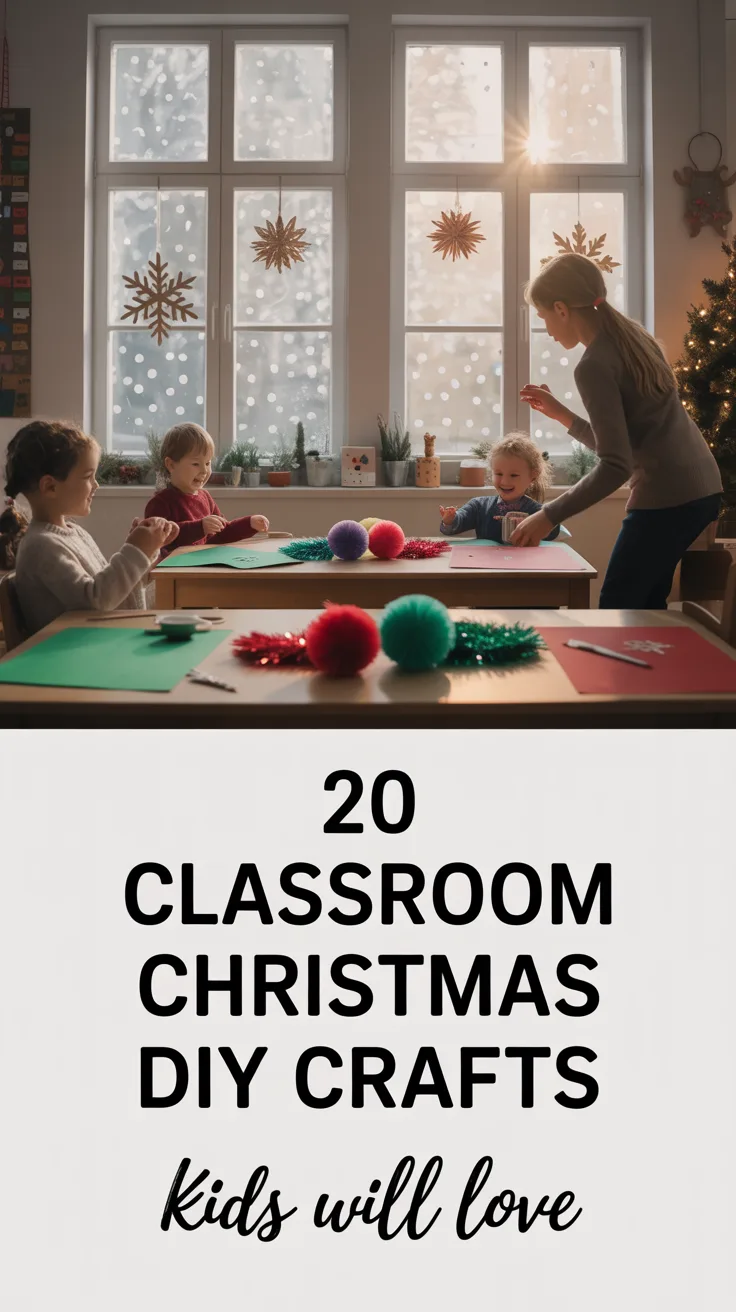
Introduction to Christmas STEM Crafts
The holiday season brings so much joy and excitement, especially for kids. As a mom of three curious children, I’ve discovered that Christmas is the perfect time to sneak in some educational fun with STEM DIY crafts. These activities combine Science, Technology, Engineering, and Math with the festive spirit of the holidays!
I remember the first time I tried a STEM craft with my kids—it was a complete mess, but they learned so much (and I did too!). What I love about Christmas STEM crafts is how they transform ordinary holiday activities into opportunities for discovery and learning. They encourage problem-solving, critical thinking, and creativity while keeping the holiday magic alive.
Let me share my favorite kid-tested holiday STEM projects that have become traditions in our home. These crafts use materials you likely already have around the house, making them perfect for last-minute holiday activities!
1. Snowflake Symmetry Art

There’s something magical about creating paper snowflakes, but did you know they’re also a perfect geometry lesson? My daughter was struggling with symmetry concepts in math class until we started making these together.
- Materials: White paper, scissors, ruler, pencil, optional: glitter, blue construction paper for backing
- Science Connection: Teaches symmetry, patterns, and crystallization
To create your snowflakes:
- Start with a square piece of paper (fold one corner of a rectangular sheet to the opposite edge and cut off excess)
- Fold the square diagonally to form a triangle
- Fold this triangle in half again
- Fold this smaller triangle into thirds (this is where my kids always need help!)
- Cut designs along all folded edges
- Carefully unfold to reveal your unique snowflake
Pro Tip: Challenge older kids to create specific types of symmetry—like 6-fold radial symmetry found in real snowflakes. We discovered that no two designs ever turn out exactly alike, just like in nature!
2. LED Christmas Cards

The first time we tried making light-up cards, I accidentally shorted the battery and it got hot! Learn from my mistake and make sure your circuit is properly designed. These interactive cards never fail to impress grandparents!
- Materials: Cardstock, small LED lights, coin cell batteries (CR2032), copper tape, clear tape, markers/crayons
- Science Connection: Introduces basic circuits and conductivity
- Design your card with a feature that should light up (star, tree lights, Rudolph’s nose)
- Create a circuit path with copper tape (remember it needs to make a complete loop)
- Place the LED legs on the copper tape paths (the longer leg connects to the positive side)
- Create a small pocket for the battery
- When the card is closed, the battery completes the circuit and lights up the LED!
Pro Tip: If your LED doesn’t light up, try flipping the battery or check for breaks in your copper tape. We learned that adding a small paper switch that pulls out can make the card interactive without draining the battery.
3. Candy Cane Catapults

This is hands-down my kids’ favorite Christmas STEM craft! It combines physics with the joy of launching mini marshmallows across the room (though I recommend setting boundaries about where they can aim!).
- Materials: 6-8 candy canes, rubber bands, plastic spoon, mini marshmallows, hot glue gun (adult supervision required)
- Science Connection: Teaches potential and kinetic energy, leverage, and projectile motion
- Create a triangle base using three candy canes, securing the corners with rubber bands
- Build a second triangle and connect the two to form a stable base
- Hot glue a plastic spoon to another candy cane to create the launching arm
- Attach this to your base with rubber bands to create tension
- Place a mini marshmallow in the spoon, pull back, and launch!
Pro Tip: Turn this into a science experiment by measuring how far marshmallows fly when you change variables like the angle of launch or the tension in the rubber bands. My son created a chart tracking distance and had so much fun he didn’t realize he was doing math!
4. Crystal Ornaments
I’ll never forget my daughter’s face when she checked on her overnight crystal experiment—pure wonder! These ornaments teach patience along with science.
- Materials: Pipe cleaners, borax powder, boiling water, string, pencils, wide-mouth jars
- Science Connection: Demonstrates supersaturated solutions and crystallization
- Shape pipe cleaners into holiday designs (stars, trees, snowflakes)
- Tie string to each shape and attach to a pencil (this will suspend the shape)
- Mix 3 tablespoons of borax with 1 cup of boiling water in a jar (adult help needed!)
- Stir until borax dissolves, then hang your shape in the solution
- Leave overnight and watch crystals form!
- Remove, let dry, and add ribbon for hanging
Pro Tip: Add food coloring to the solution for colored crystals. We discovered that different temperatures affect crystal formation—warmer solutions create larger crystals while cooler ones form smaller, more numerous crystals.
5. Gingerbread House Engineering
After our first gingerbread house collapsed (with tears all around), I realized this holiday tradition is actually an engineering challenge in disguise!
- Materials: Gingerbread pieces (homemade or kit), royal icing, candy decorations, cardboard base
- Science Connection: Teaches structural engineering, balance, and adhesion
- Before assembly, discuss building plans and structural integrity
- Create thick royal icing as your “cement” (it needs to be stiff!)
- Assemble walls first and let them dry completely before adding the roof
- Use cans or boxes to support walls while drying
- Test different candy weights on your roof to see what it can support
Pro Tip: For a true engineering challenge, give kids only the materials and basic guidance, then let them design their own structures. My son created a cantilever roof that I thought would collapse immediately—it’s still standing three weeks later!
6. Pom-Pom Launchers
This simple craft teaches physics concepts while providing hours of target practice fun. I’ve found it’s perfect for those restless days when holiday excitement makes it hard to focus.
- Materials: Paper cups, balloons, scissors, decorative tape, pom-poms
- Science Connection: Demonstrates elastic potential energy and air pressure
- Cut the bottom off a paper cup
- Tie a knot in a balloon and cut off about 1/2 inch from the opposite end
- Stretch the balloon over the cut end of the cup, with the knot facing outward
- Decorate with festive tape or markers
- Place a pom-pom in the cup, pull back on the knotted end, and release!
Pro Tip: Create targets with point values for a math-integrated game. We used empty wrapping paper tubes as “chimneys” and practiced delivering presents down them from across the room.
7. Festive Slime Experiment
I was hesitant to try slime (the mess potential!), but it’s become a yearly tradition. We make red and green batches and talk about non-Newtonian fluids while we play.
- Materials: Clear school glue, baking soda, contact lens solution, food coloring, glitter, essential oils (optional)
- Science Connection: Explores polymer science and chemical reactions
- Pour 1/2 cup clear glue into a bowl
- Add 1/2 teaspoon baking soda and mix well
- Add food coloring (red or green for Christmas) and glitter
- Add 1 tablespoon contact lens solution and stir quickly
- Knead with hands until it reaches the perfect consistency
- Add a drop of peppermint essential oil for a sensory experience
Pro Tip: Store slime in airtight containers between play sessions. We learned that adding tiny jingle bells or star confetti creates a fun texture variation that extends play time.
8. Balloon-Powered Sleighs
My first attempt at this craft sent a cardboard sleigh straight into our Christmas tree! With some refinements, it’s now a favorite demonstration of Newton’s Third Law.
- Materials: Cardboard, straws, balloons, tape, scissors, markers, string
- Science Connection: Demonstrates propulsion, action-reaction forces
- Cut cardboard into a sleigh shape with sides
- Decorate with markers or stickers
- Tape a straw to the back of the sleigh
- Thread a balloon onto the straw and secure with tape (leaving the balloon opening accessible)
- Inflate the balloon through the straw, pinch to hold air
- Place on a smooth surface and release!
Pro Tip: Create a “race track” with masking tape on the floor and time different sleigh designs. We discovered that weight distribution significantly affects both speed and distance!
9. Light-Up Christmas Trees
This project combines art with electronics for a beautiful window display. The first time we tried this, I accidentally connected the circuit backward—nothing worked until my 8-year-old figured out the problem!
- Materials: Green cardstock, LEDs (various colors), coin cell batteries, copper tape, clear tape, scissors
- Science Connection: Teaches parallel circuits and conductivity
- Cut tree shapes from cardstock
- Plan where lights will go and poke small holes
- Create a circuit on the back using copper tape (remember positive and negative paths!)
- Insert LED legs through the holes (longer leg to positive path)
- Secure with clear tape