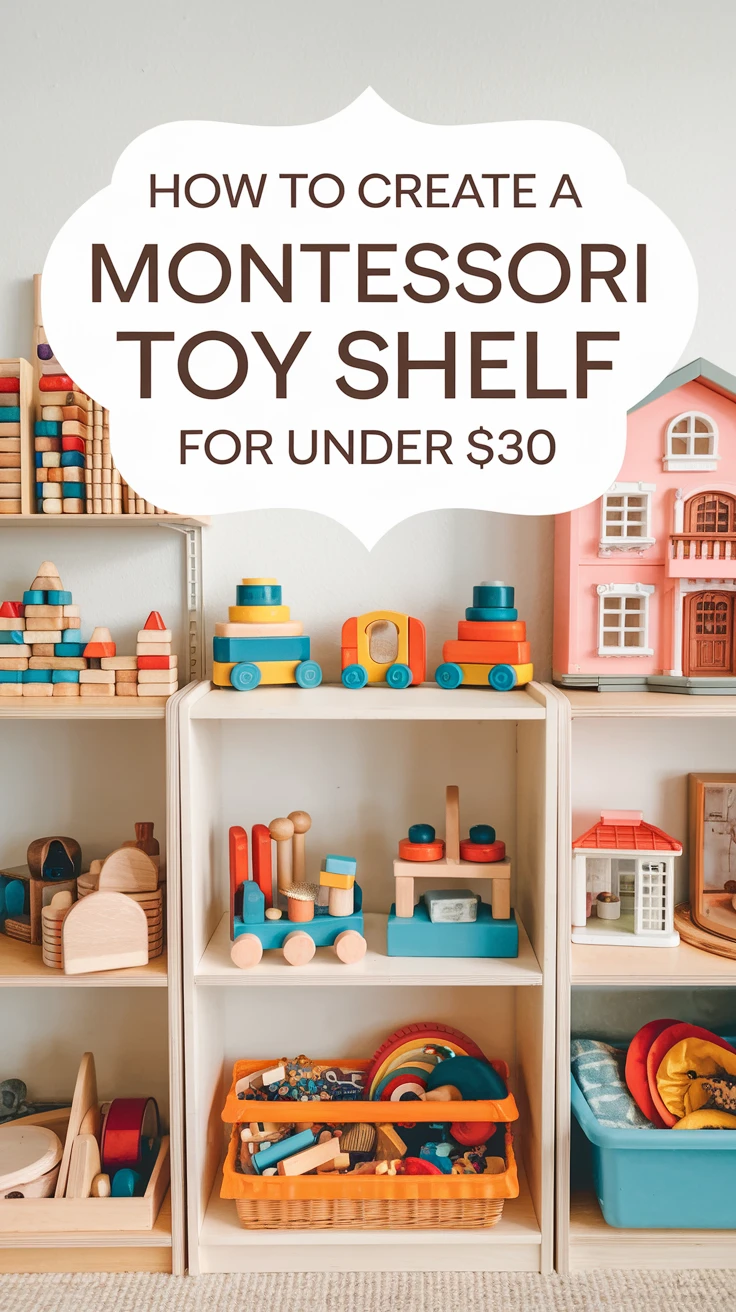
Creating a Montessori-inspired environment doesn’t have to break the bank. As a parent who’s experimented with various storage solutions, I’ve discovered that you can create an effective Montessori toy shelf for under $30. This budget-friendly approach not only saves money but also helps maintain the essential Montessori principles of order, accessibility, and independence. In this guide, I’ll share my tried-and-tested method for creating an affordable Montessori toy storage system that both you and your child will love.
The Power of Organized Play: Why Montessori Storage Matters
Before diving into the construction process, let’s understand why proper toy storage is crucial in a Montessori environment. Through my experience working with families, I’ve observed that organized toy storage:
- Promotes independence by allowing children to choose and return materials independently
- Reduces overwhelm by limiting visible options
- Encourages responsibility and care for belongings
- Helps develop decision-making skills
- Creates a calm, ordered environment conducive to learning
When I first implemented proper Montessori storage, I noticed an immediate difference in my child’s play patterns. They became more focused, spent longer with each activity, and surprisingly, started cleaning up independently!
Budget-Friendly Materials Shopping List
After much trial and error, I’ve compiled the most cost-effective materials for creating your Montessori shelf:
| Item | Estimated Cost | Where to Find |
|---|---|---|
| 3-tier plastic shelf unit | $12-15 | Dollar store/Walmart |
| Small baskets (6-8) | $6-8 | Dollar store |
| Contact paper (optional) | $3 | Dollar store |
| Label materials | $2 | Dollar store |
Pro tip: Check thrift stores first – I once found perfect baskets for just 50 cents each! Also, don’t overlook Facebook Marketplace or local buy-nothing groups for free materials.
Step-by-Step Assembly Guide
Follow these simple steps to create your Montessori toy shelf:
1. Prepare Your Space
- Clear a child-height area against a wall
- Ensure the surface is level
- Measure the space carefully
2. Assemble the Shelf Unit
Most budget shelf units come with simple assembly instructions. Key points to remember:
- Tighten all connections securely
- Double-check stability
- Add contact paper if desired for durability
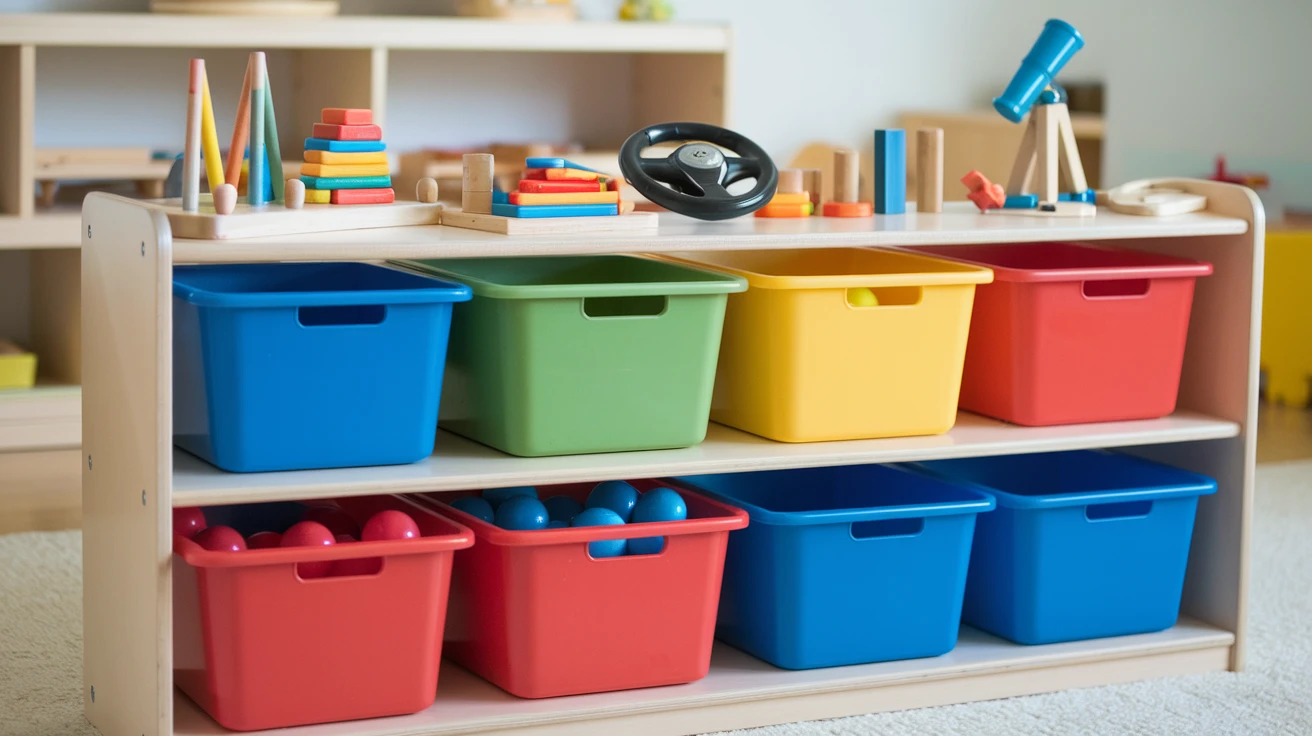
3. Organize Baskets
| Basket Type | Best For | Placement |
|---|---|---|
| Shallow baskets | Small toys, puzzles | Top shelf |
| Medium baskets | Building blocks, cars | Middle shelf |
| Deep baskets | Larger items | Bottom shelf |
Creating Your Montessori Organization System
The success of your Montessori shelf depends largely on how you organize it. Here’s my time-tested system:
Rotation Schedule
| Frequency | Items to Rotate | Storage Location |
|---|---|---|
| Weekly | Main activities | Closet box 1 |
| Bi-weekly | Seasonal items | Closet box 2 |
| Monthly | Special activities | Closet box 3 |
Categorization Tips
- Group similar items together
- Keep sets complete
- Use picture labels for easy identification
- Maintain a “one in, one out” policy
Maintaining Your Budget Storage Solution
Proper maintenance ensures your affordable storage solution lasts longer. From my experience, these practices work best:
- Weekly wipe-down with mild soap and water
- Monthly deep clean of baskets
- Regular checks for loose components
- Immediate repairs when needed
- Quarterly evaluation of storage needs
I learned the hard way that neglecting maintenance can lead to broken shelves and frustrated children. A little regular care goes a long way!
Conclusion
Creating an affordable Montessori toy shelf doesn’t require expensive materials or complex construction skills. With just $30 and some thoughtful planning, you can create an organized, child-friendly space that promotes independence and learning. Remember, the key to success lies not in the cost of materials but in the consistency of implementation and maintenance.
Key Takeaways
- A functional Montessori toy shelf can be created for under $30 using readily available materials
- Proper organization and rotation systems are more important than expensive storage solutions
- Regular maintenance and consistent implementation ensure long-term success
Frequently Asked Questions
How long does it take to set up a Montessori toy shelf?
The initial setup typically takes 1-2 hours, including assembly and organization. However, establishing a working rotation system might take a few days of adjustment.
Can I use cardboard boxes instead of baskets?
While cardboard boxes can work temporarily, they’re less durable and may need frequent replacement. Invest in sturdy baskets for long-term use.
How often should I rotate toys?
Most families find success with weekly or bi-weekly rotation schedules, depending on their child’s interest levels and developmental needs.
What if my child won’t maintain the organization?
Start with fewer items and gradually increase as your child demonstrates responsibility. Make cleanup a routine part of playtime.
Can I expand this system as my child grows?
Yes! The beauty of this budget-friendly system is its modularity. You can add additional units or modify the setup as needed.
Where should I store toys that aren’t currently in rotation?
Use clear storage bins in a closet or under-bed storage containers to keep rotating toys organized and accessible.
How many toys should be available at once?
Follow the “less is more” principle – typically 8-12 activities available at any time works well for most children.
What’s the best height for a child’s toy shelf?
The shelf should be at your child’s eye level when standing, typically between 20-28 inches for toddlers.
How do I prevent the shelf from tipping?
Always secure the shelf to the wall using appropriate anchors, even with lightweight plastic units.
Can this system work for multiple children?
Yes, but consider creating separate spaces or color-coding systems for each child to maintain organization.