Introduction to Classroom Craft Activities
As a teacher for over a decade, I’ve seen firsthand how classroom craft activities transform ordinary lessons into magical learning experiences. These aren’t just fun distractions—they’re powerful educational tools that develop fine motor skills, boost creativity, and reinforce academic concepts in ways that traditional teaching simply can’t match.
I still remember my first year teaching when I hesitated to try crafts because of the potential mess. What a mistake that was! Once I embraced creative projects, I noticed my students’ engagement skyrocket and concepts stick in ways they never had before.
In this article, I’ll share 15 teacher-tested craft activities for kids that won’t just delight your students but will also support their development across multiple domains. These projects have saved many of my lesson plans and might just become staples in your classroom too!
Paper Plate Animals
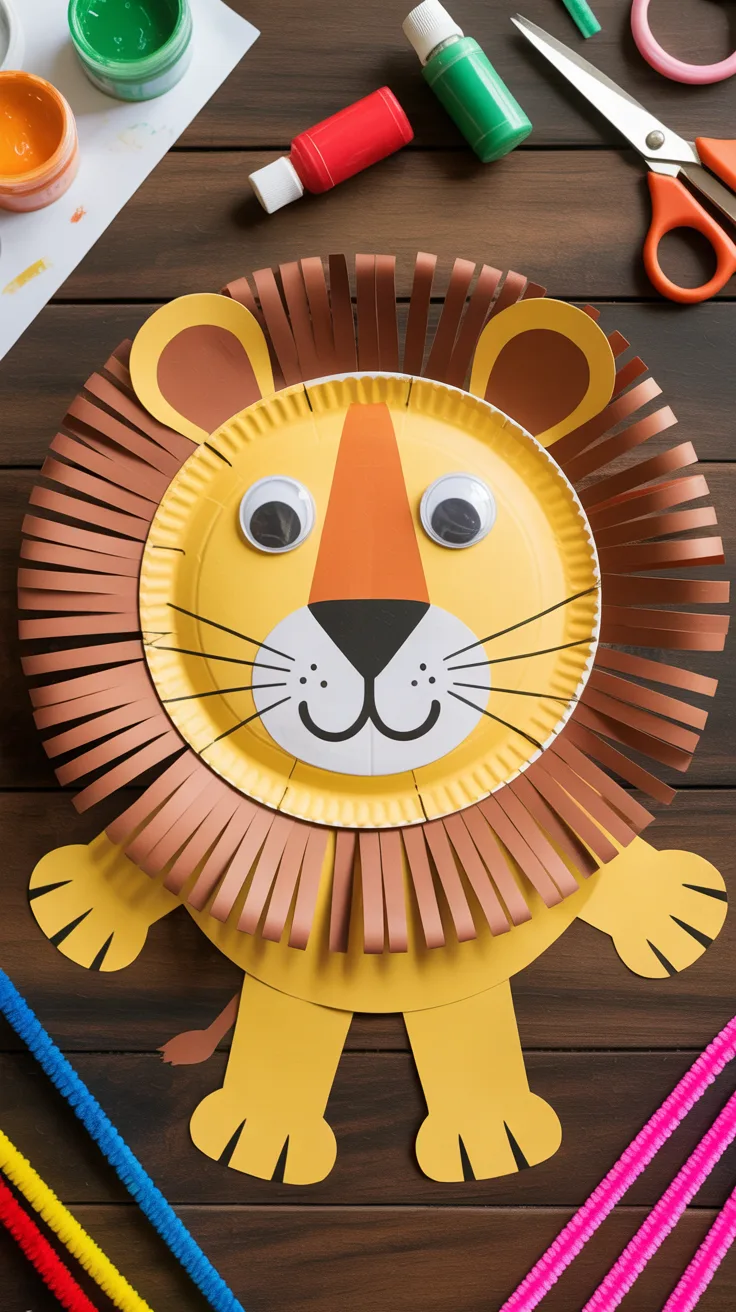
Paper plate animals remain one of my go-to classroom craft activities because they’re affordable, adaptable, and absolutely adorable. I’ve used this project with kindergarteners through third graders, adjusting the complexity based on age.
The basic concept is simple: transform ordinary paper plates into vibrant animal faces or bodies. What makes this craft special is its versatility—you can connect it to virtually any unit, from habitat studies to letter recognition.
- Materials needed: Paper plates, paint or markers, construction paper, googly eyes, glue, scissors, pipe cleaners
- Animals to try: Lions (fringe the edges for manes), owls (add feather details), turtles (attach a smaller plate for the shell), butterflies (fold and paint for symmetry)
- Curriculum connections: Pair with animal habitat studies, lifecycle lessons, or even alphabet learning (“L is for Lion”)
Pro Tip: Pre-cut certain shapes for younger students to save time and frustration. For my kindergarteners, I always cut ear shapes in advance, but let them practice cutting straight lines for whiskers and tails.
DIY Friendship Bracelets
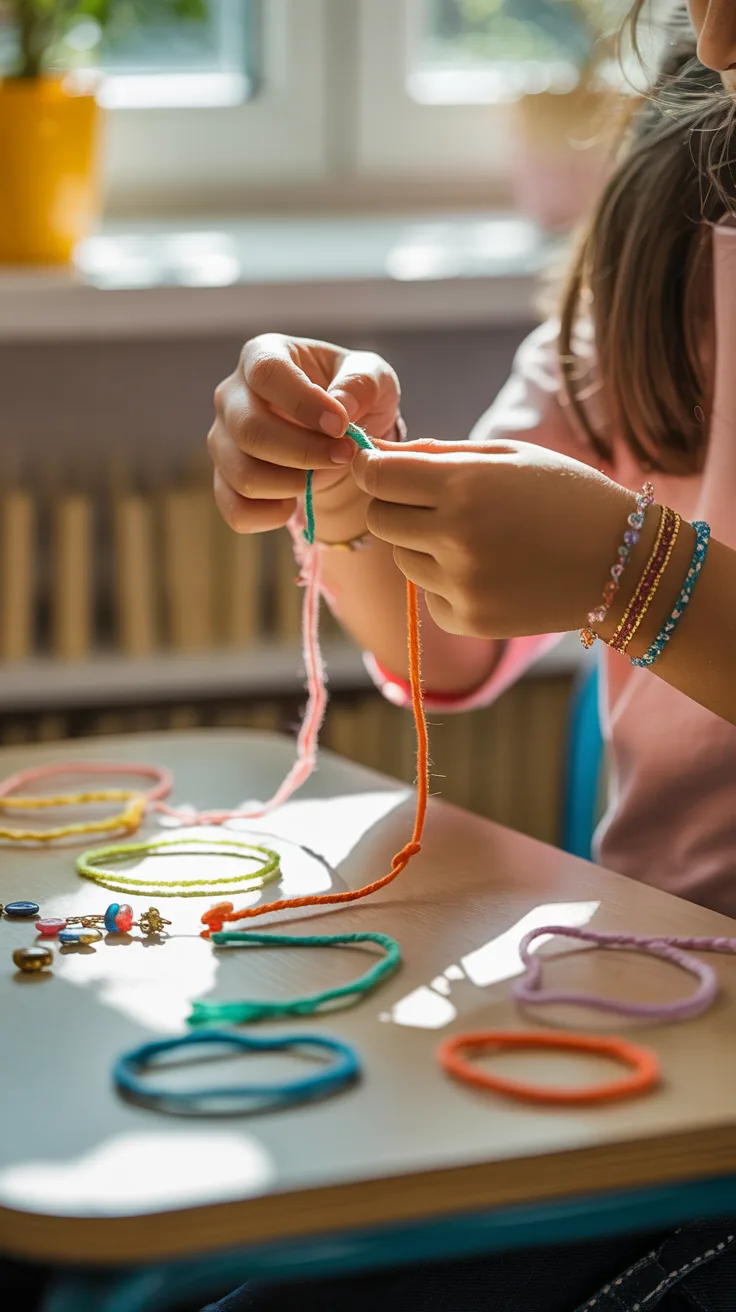
Making friendship bracelets might seem like just a fun activity, but I’ve used it successfully to teach patterns, patience, and cultural appreciation. This craft has been especially valuable during our community-building units at the beginning of the school year.
The beauty of friendship bracelets is that they scale perfectly with ability—from simple two-strand twists for younger children to complex patterns for older students.
- Basic technique: Start with a simple two-strand twist using yarn or embroidery floss
- Intermediate: Try three-strand braids with different colors
- Advanced: Introduce patterns like chevron or diagonal stripes using embroidery floss
- Extensions: Add beads, charms, or written messages
Pro Tip: Create a “bracelet station” in your classroom with pre-cut strings and a clipboard or tape for securing one end. This allows students to work on their bracelets during free time or as a reward activity.
Recycled Material Sculptures
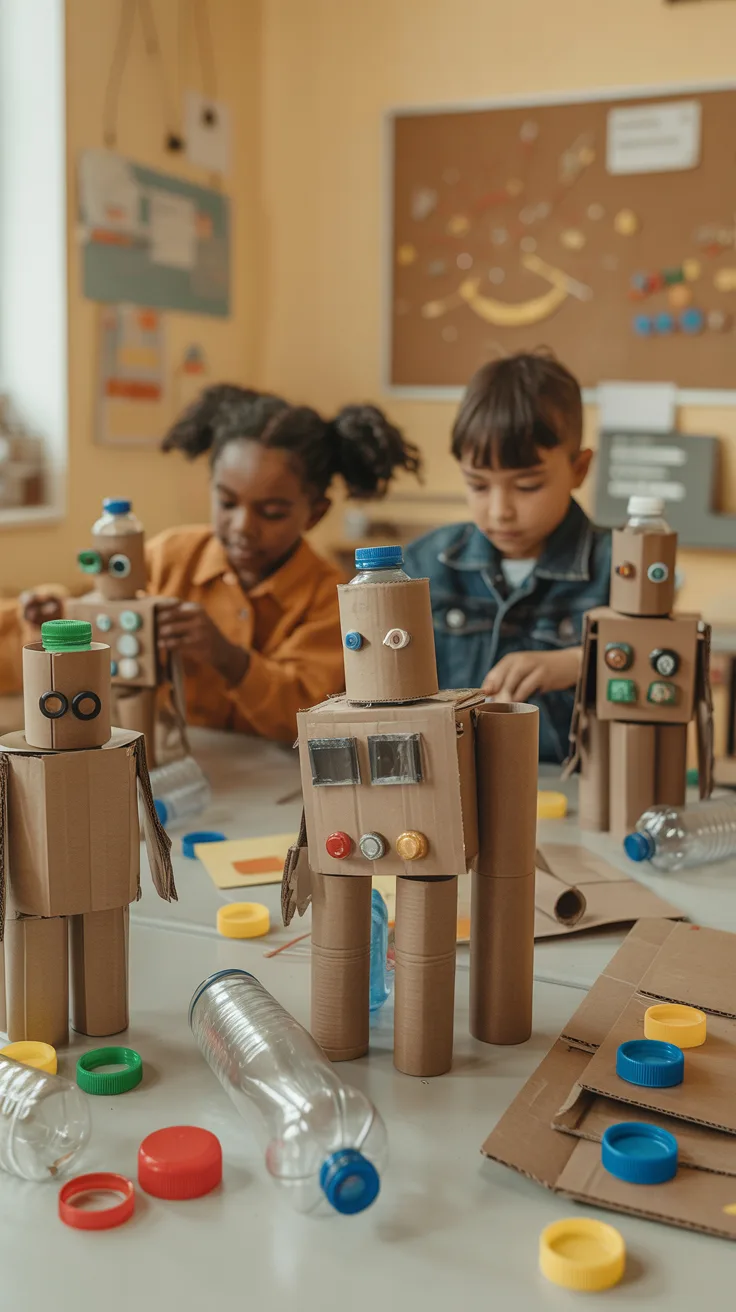
One of my most memorable teaching moments came from a recycled materials unit that started as a simple craft project but evolved into a month-long exploration of sustainability. Using items destined for the trash, students created everything from robots to rainforest dioramas.
This activity teaches resourcefulness while developing spatial reasoning and engineering skills. It’s also a fantastic way to discuss environmental responsibility in concrete terms kids can understand.
I recommend collecting materials gradually through a classroom recycling bin and parent donations. Key items include cardboard tubes, plastic bottles, bottle caps, clean food containers, and cardboard boxes of various sizes.
For younger students, I pre-sort materials and have a specific project in mind (like making animals or vehicles). Older students thrive with open-ended challenges like “create a structure that can hold a book” or “design a machine that could solve a problem.”
Pro Tip: White school glue often isn’t strong enough for heavier recycled materials. I keep a low-temperature glue gun (teacher-operated for younger grades) for securing larger pieces together.
Seasonal Greeting Cards
Creating greeting cards connects art with literacy and emotional intelligence. I’ve incorporated card-making into our writing center throughout the year, aligning with seasons, holidays, and community service projects.
What makes this activity special is its authentic purpose—students are genuinely motivated when creating something that will be shared with others, whether it’s thank-you cards for school staff or holiday cards for a local nursing home.
- Fall cards: Leaf prints, apple stamping, pumpkin themes
- Winter cards: Snowflakes, mitten shapes, holiday symbols
- Spring cards: Flower designs, butterfly patterns, rain themes
- Special occasions: Thank you cards, birthday wishes, get well messages
Pro Tip: Create a simple template with a greeting starter and space for writing to help students who struggle with blank-page anxiety. For example: “Dear _____, Happy Spring! I hope you _____.”
Nature Collages
Nature collages combine outdoor exploration with artistic expression—a perfect antidote to classroom restlessness. I started incorporating these after noticing how much more focused my students were after recess, and now our seasonal nature walks are a highlight of our science curriculum.
Begin with a collection expedition outdoors, gathering leaves, pinecones, small sticks, pebbles, and other natural treasures. (I always establish clear guidelines: nothing living, nothing too large, and respect for our environment.)
Back in the classroom, students arrange their findings on cardstock or cardboard, creating landscapes, animals, or abstract designs. We use school glue diluted slightly with water and applied with paintbrushes for better adhesion.
This activity naturally integrates with science lessons on seasons, plant parts, and ecosystems. I often have students label parts of their collage or write observations about the items they’ve collected.
Pro Tip: Press collected leaves between paper towels under heavy books for a day before using them in collages to remove moisture and help them adhere better.
Pasta Necklaces
Pasta necklaces might seem old-school, but they remain one of the most accessible and satisfying craft activities for kids in my classroom. They’re particularly valuable for developing fine motor control and pattern recognition.
- Base materials: Various pasta shapes (penne, rotini, bow ties, wheels), yarn or string with tape-wrapped ends, child-safe paint or food coloring
- Preparation: Color pasta by placing it in a zip-top bag with a few drops of food coloring and a teaspoon of rubbing alcohol, then lay flat to dry
- Extensions: Create pattern challenges (ABAB, AABB, ABCABC), add counting practice, or incorporate into math centers
- Display option: Create a classroom “pattern wall” showcasing different necklace designs
Pro Tip: For younger students, tape one end of their string to the desk and the other end to a pencil to create a “needle” that’s easier to thread through pasta shapes.
Egg Carton Critters
Egg carton crafts have saved many a rainy day in my classroom. These versatile containers transform into everything from caterpillars to flower gardens with minimal prep and maximum creativity.
- Single-cup creatures: Cut individual cups to create spiders (add pipe cleaner legs), ladybugs (paint red with black spots), or mini-planters
- Connected creations: Use multiple connected cups to make caterpillars, trains, or alligators
- Decoration techniques: Paint, markers, googly eyes, pipe cleaners, construction paper additions
- Science connections: Create insects with the correct number of legs and body parts as part of biology units
I particularly love using this craft during our insect studies, as the egg carton sections naturally mimic body segments. Students can create scientifically accurate models while exercising their creativity with colors and details.
Pro Tip: Styrofoam egg cartons accept paint better than paper ones, but paper cartons are easier to cut with classroom scissors. Choose based on your priority and student age group.
Pro Tips for Successful Craft Sessions
After years of both triumphant craft sessions and near-disasters, I’ve developed some strategies that consistently lead to more enjoyable and productive creative time:
Preparation is everything. I always do a complete run-through of new crafts before introducing them to students. This helps me anticipate tricky steps and potential frustrations.
Set clear expectations. Before distributing any materials, I demonstrate the entire process, establish voice levels, and explain how to get help if needed.
Create visual aids. Step-by-step picture guides posted around the room help visual learners and reduce the number of times you’ll hear “What do I do next?”
Embrace the mess—strategically. Designate specific areas for messy work, use washable materials whenever possible, and build clean-up time into your lesson plan.
Celebrate the process, not just the product. Some of my students’ most meaningful learning has come from projects that didn’t turn out as planned. I make a point to praise problem-solving, persistence, and creativity—not just picture-perfect results.
Pro Tip: For multi-step crafts, create “pause points” where everyone stops and checks in before moving to the next stage. This prevents students from getting too far off track and gives you a chance to address common issues.
Frequently Asked Questions
What are the benefits of craft activities for kids?
Craft activities develop fine motor skills, enhance hand-eye coordination, and build concentration. They also foster creativity, problem-solving abilities, and self-expression. In my classroom, I’ve noticed crafts help build confidence in students who might struggle with traditional academic tasks, while reinforcing concepts across subjects from math (measuring, patterns) to science (properties of materials) to literacy (following instructions).
How can I manage a large group during craft activities?
I’ve found the most success with station-based approaches, where small groups rotate through different parts of the process. Having clear visual instructions at each station, pre-portioned materials, and designated helpers (parent volunteers or older students) makes a huge difference. For particularly complex crafts, I sometimes spread the activity across multiple days, completing one step each session.
What materials are best for classroom crafts?
The best materials are washable, non-toxic, and age-appropriate. I prioritize versatile supplies like construction paper, washable paint, school glue, child-safe scissors, and recyclables. For younger grades, I look for materials that don’t require precise fine motor control. Budget-friendly options include recycled materials, bulk-purchased basics, and items that can be used across multiple projects.
How do I ensure safety during craft time?
Safety starts with appropriate material selection and clear rules. I always demonstrate proper tool use before distributing materials, establish designated areas for activities involving water or messy supplies, and maintain vigilant supervision. For activities requiring more dangerous tools (like hole punchers or staplers), I either operate them myself or set up a supervised “teacher station” where students can bring their projects.
Can craft activities be educational?
Absolutely! Some of my most effective lessons have integrated crafts with core curriculum. Measuring ingredients for salt dough reinforces fractions, creating paper plate clocks teaches time concepts, and designing habitat dioramas deepens understanding of ecosystems. The key is intentionally connecting the craft to your learning objectives and discussing these connections explicitly with students before, during, and after the creative process.