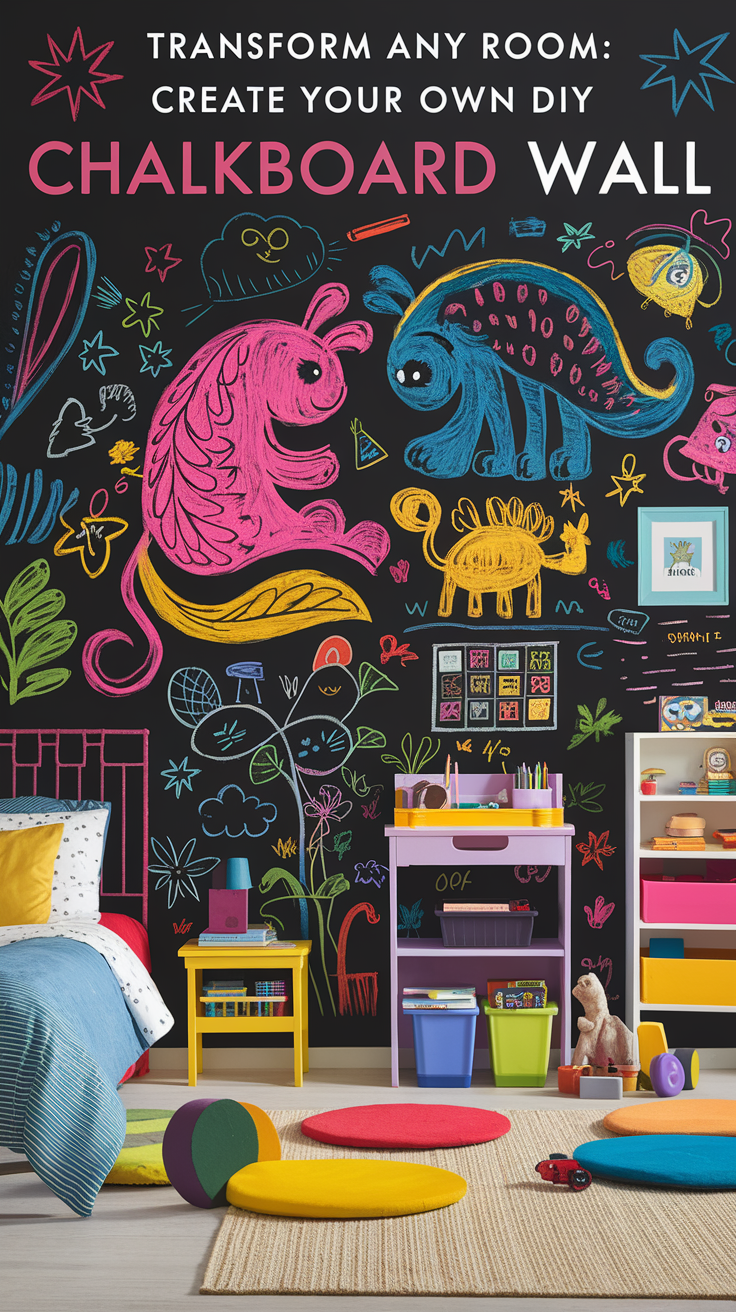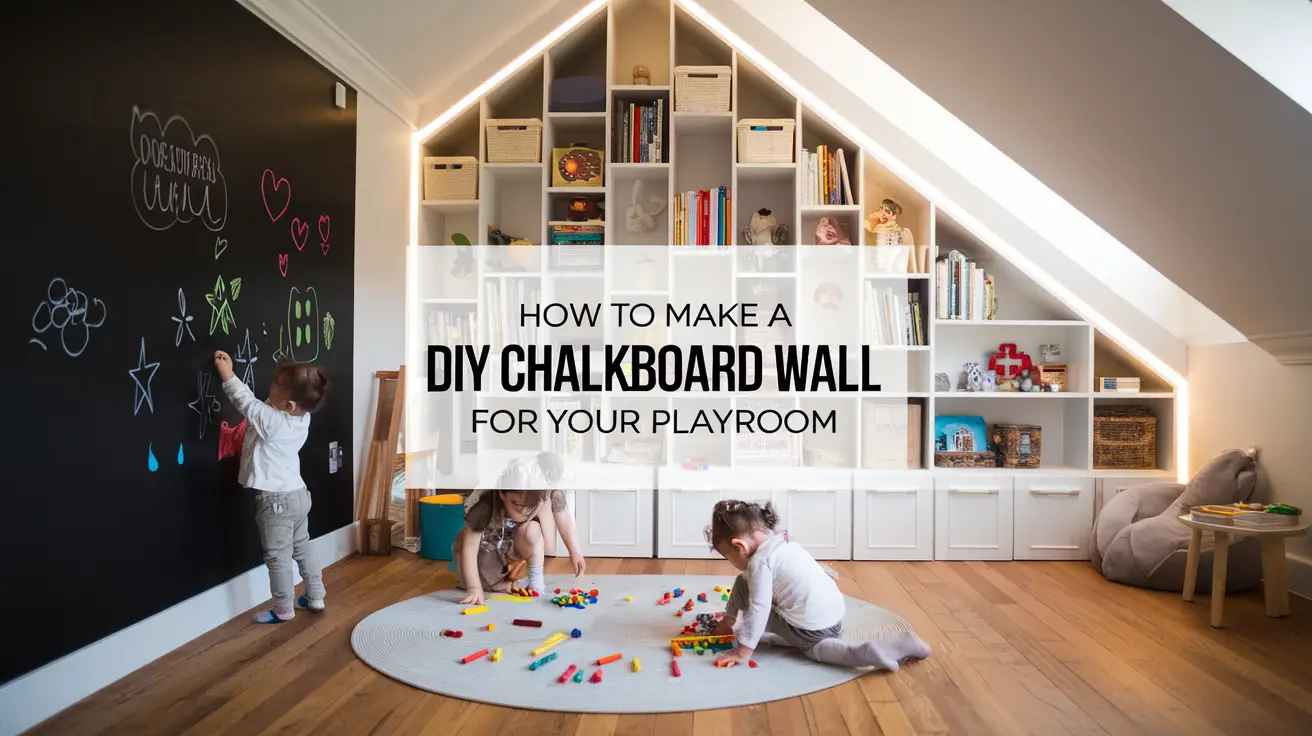
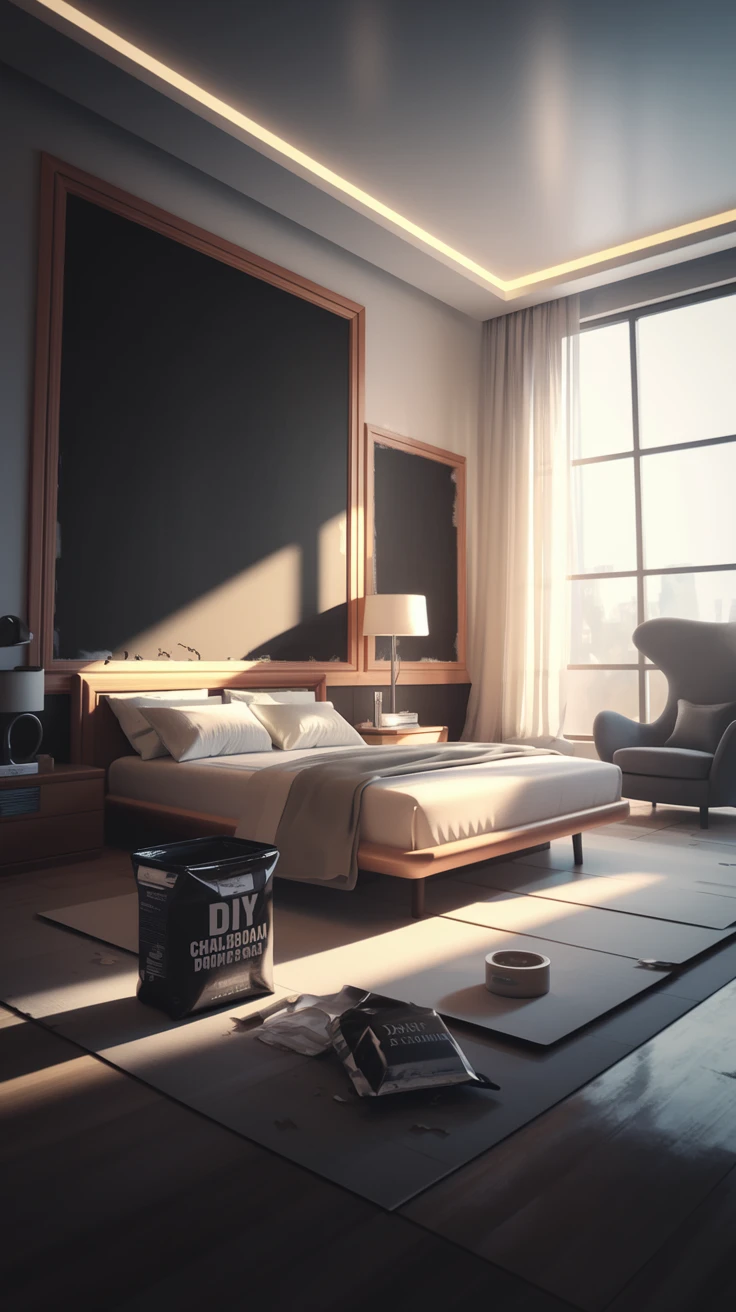
Introduction: Why Your Playroom Needs a DIY Chalkboard Wall
Remember scribbling on walls as a kid and getting into trouble? Well, what if I told you that you could create a space where your little ones can unleash their creativity on the walls—with your full blessing? A DIY chalkboard wall transforms an ordinary playroom into an interactive canvas that grows with your child, encouraging artistic expression, learning, and endless fun. I created one in our basement playroom three years ago, and it’s still the most beloved feature of our home!
Whether you’re looking to designate a small section or commit to a full wall of drawable space, creating your own DIY chalkboard wall is surprisingly simple, budget-friendly, and incredibly rewarding. Ready to roll up your sleeves and make some magical memories? Let’s dive into transforming that plain wall into a kid-approved masterpiece!
1. Gathering Your Supplies: Everything You’ll Need
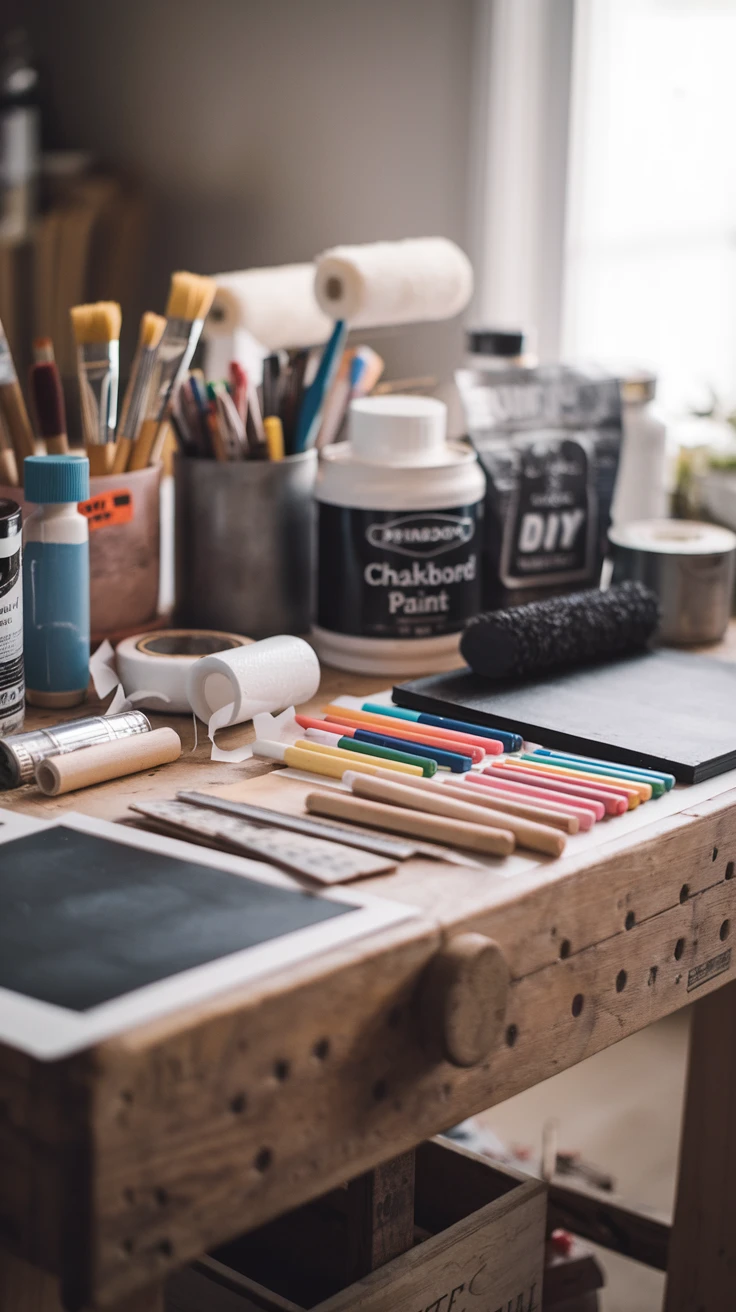
Before diving into your DIY chalkboard wall project, let’s make sure you have everything on hand. There’s nothing worse than being mid-project and realizing you’re missing something essential!
- Chalkboard paint (1 quart typically covers 100 square feet)
- Primer (specifically for your wall type)
- Paint rollers (small foam rollers work best for a smooth finish)
- Paint tray
- Painter’s tape
- Sandpaper (120-150 grit)
- Spackle (if you need to fill holes)
- Drop cloths or plastic sheeting
- Paint stirrer
- Chalk (for conditioning)
- Clean cloths
- Optional: Paint brushes for edges and corners
- Optional: Decorative trim or molding for framing
![Chalkboard Blackboard Paint - Brush on Wood, Metal, Glass, Wall, Plaster Boards Sign, Frame or Any Surface. Use with Chalk Pen Wet Erase, Non-Toxic - Matte Finish [Black] - (33.8oz Cover 129 sf)](https://m.media-amazon.com/images/I/41eVRKZhzUL._SL500_.jpg)
View on AmazonAs an Amazon Associate, I earn from qualifying purchases.

View on AmazonAs an Amazon Associate, I earn from qualifying purchases.
Pro Tip: Consider magnetic primer under your chalkboard paint for a dual-purpose wall that can hold magnets too! Just be aware that magnetic primer is thicker and may require extra coats.
2. Preparing Your Wall: The Foundation of Success
Don’t skip this step! Proper preparation is what separates an amateur-looking project from a professional-quality DIY chalkboard wall that will last for years.
Step-by-Step Wall Prep:
- Clear the area – Remove all furniture, wall hangings, and outlet covers.
- Clean thoroughly – Wash the wall with mild soap and water to remove dust and oils.
- Repair imperfections – Fill any holes or cracks with spackle and let dry completely.
- Sand the surface – Lightly sand the wall for better paint adhesion.
- Wipe away dust – Use a damp cloth to remove all sanding residue.
- Apply painter’s tape – Carefully tape around edges, trim, and outlets.
- Protect your floors – Lay down drop cloths or plastic sheeting.
I learned the hard way with my first attempt—rushing through prep led to a chalkboard wall that had visible bumps and imperfections. Taking an extra hour here will save you from disappointment later!
View on AmazonAs an Amazon Associate, I earn from qualifying purchases.

View on AmazonAs an Amazon Associate, I earn from qualifying purchases.
Pro Tip: If your wall has a dark color or pattern, applying a coat of primer first will ensure better coverage of your chalkboard paint.
3. Applying Primer: Creating the Perfect Base
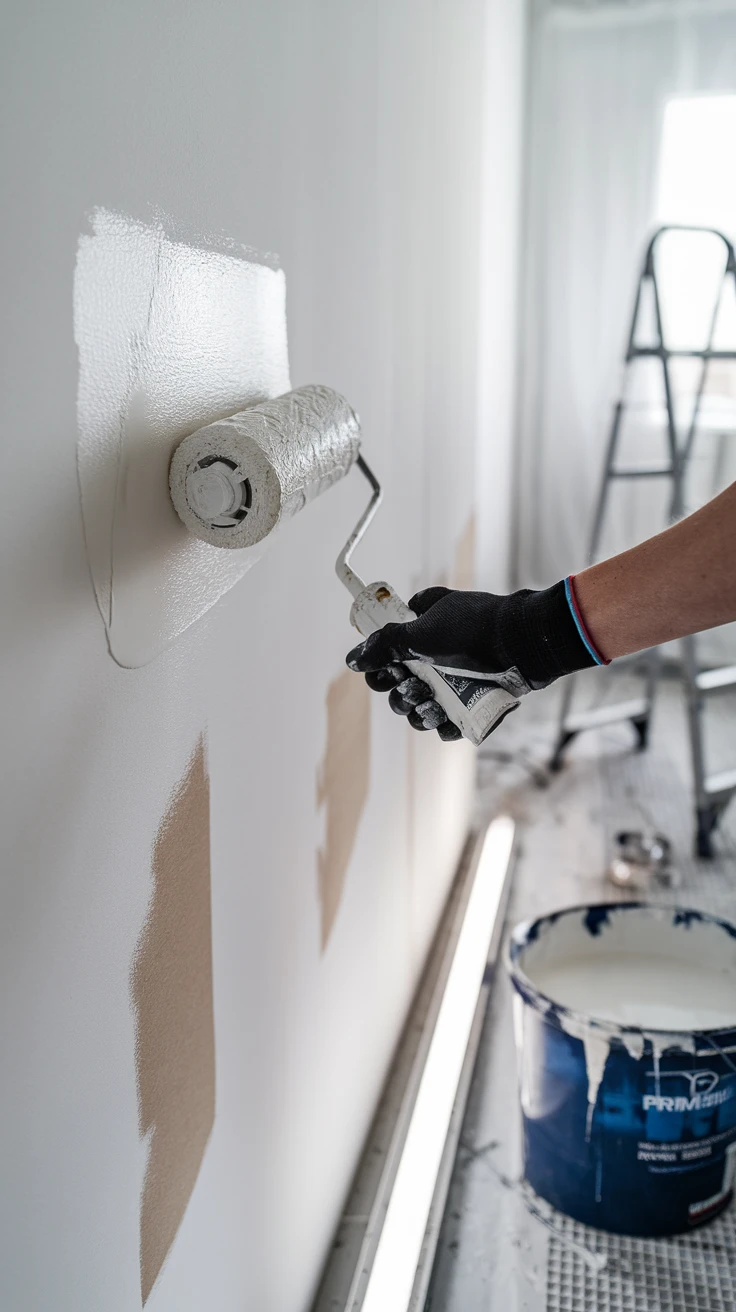
Even if your wall is already white or light-colored, primer creates the ideal surface for chalkboard paint to adhere to, ensuring longevity and better performance of your DIY chalkboard wall.
- Stir your primer thoroughly before beginning
- Start from the top of the wall and work your way down
- Use a roller for large areas and a brush for edges and corners
- Apply in thin, even coats rather than one thick layer
- Allow primer to dry completely according to manufacturer’s instructions (usually 24 hours)
When I primed our playroom wall, I was tempted to rush straight to the chalkboard paint. Trust me—the patience pays off in a more uniform, professional-looking result.

View on AmazonAs an Amazon Associate, I earn from qualifying purchases.

View on AmazonAs an Amazon Associate, I earn from qualifying purchases.
Pro Tip: If you’re using magnetic primer underneath, you’ll need 3-4 coats for good magnetic strength. It’s thick and challenging to work with, so apply thin layers and sand lightly between coats.
4. Applying Chalkboard Paint: The Main Event
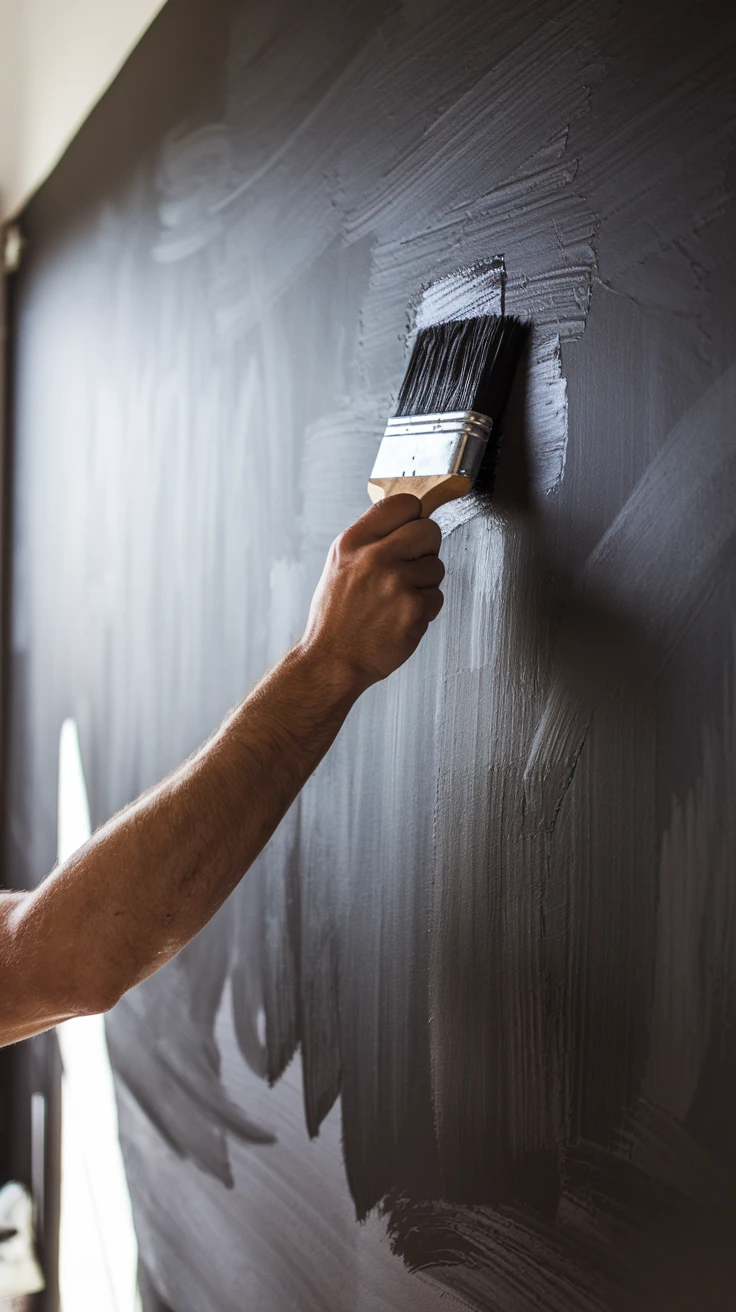
Now for the exciting part—transforming your wall into a chalkboard! This is where your DIY chalkboard wall really starts to take shape.
Application Method:
- Stir the paint thoroughly – Chalkboard paint settles, so mix it well.
- Use a foam roller – This gives the smoothest finish with minimal texture.
- Apply in thin coats – Resist the urge to glob it on thick.
- Roll in small sections – Work in 3×3 foot areas for even coverage.
- Allow proper drying time – Wait at least 4 hours between coats (check your paint’s instructions).
- Apply a second coat – Always plan for at least two coats, applying in the opposite direction of the first coat.
- Let cure completely – Most chalkboard paints need 3-7 days to fully cure before use.
When I painted our playroom wall, I found that using a “W” pattern with the roller, then filling in, created the most even coverage without visible roller marks.

View on AmazonAs an Amazon Associate, I earn from qualifying purchases.
View on AmazonAs an Amazon Associate, I earn from qualifying purchases.
Pro Tip: If you’re in a humid climate, allow extra drying time between coats. Fans can help speed up the process, but don’t rush it—a properly cured chalkboard wall will perform much better.
5. Conditioning Your Chalkboard Wall: The Secret Step
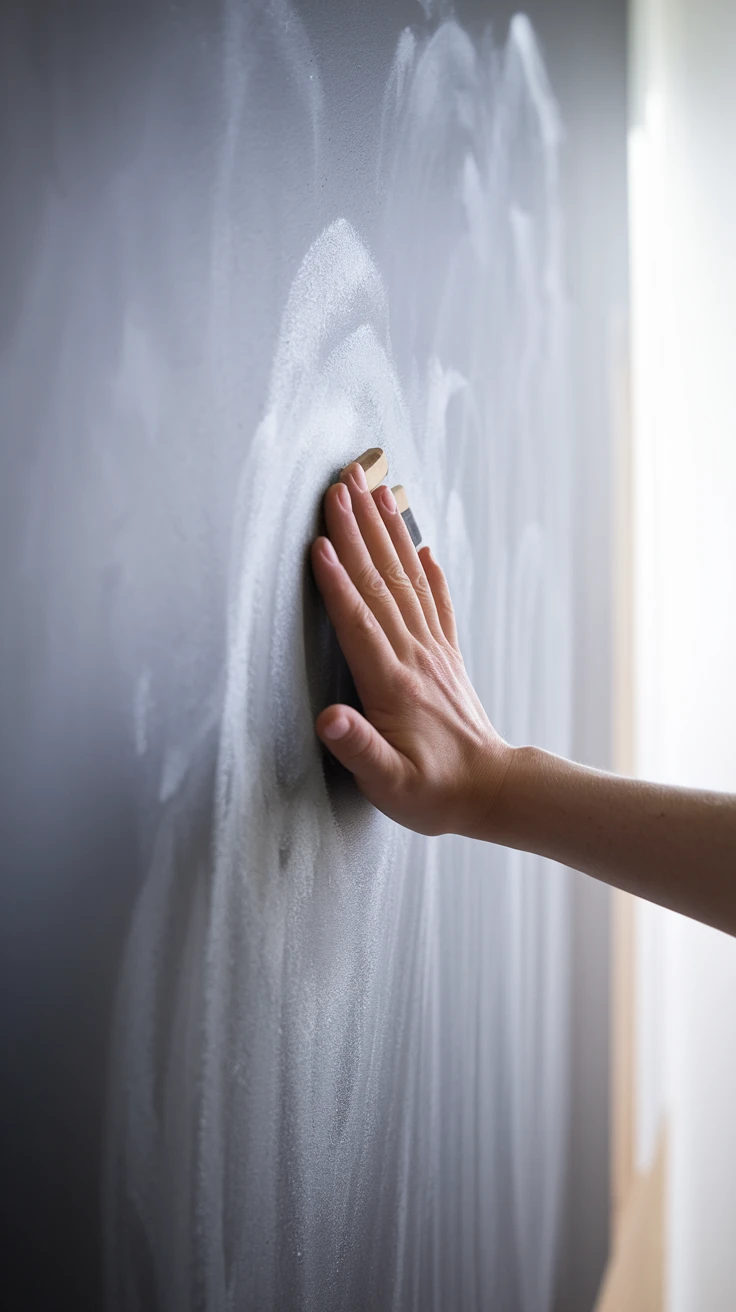
Many DIYers skip this crucial step, but conditioning your newly painted DIY chalkboard wall prevents “ghosting” (permanent chalk marks) and ensures easy erasing.
How to Condition:
- Wait until your chalkboard paint has fully cured (check manufacturer’s instructions, typically 3-7 days)
- Take a piece of chalk and rub the entire side of it over the entire surface
- Cover the entire wall with chalk, leaving no spaces uncovered
- Let sit for a few minutes
- Use a clean, soft cloth to erase, buffing in circular motions
- Your wall should now have a slight chalk residue that creates the perfect drawing surface
I made the mistake of skipping conditioning with my first chalkboard project, and we ended up with permanent marks that wouldn’t erase. Don’t repeat my error!

View on AmazonAs an Amazon Associate, I earn from qualifying purchases.

View on AmazonAs an Amazon Associate, I earn from qualifying purchases.
Pro Tip: Regular chalk works better for conditioning than dustless chalk. Save the fancy chalk for after your wall is properly conditioned.
6. Adding Creative Elements: Make It Your Own
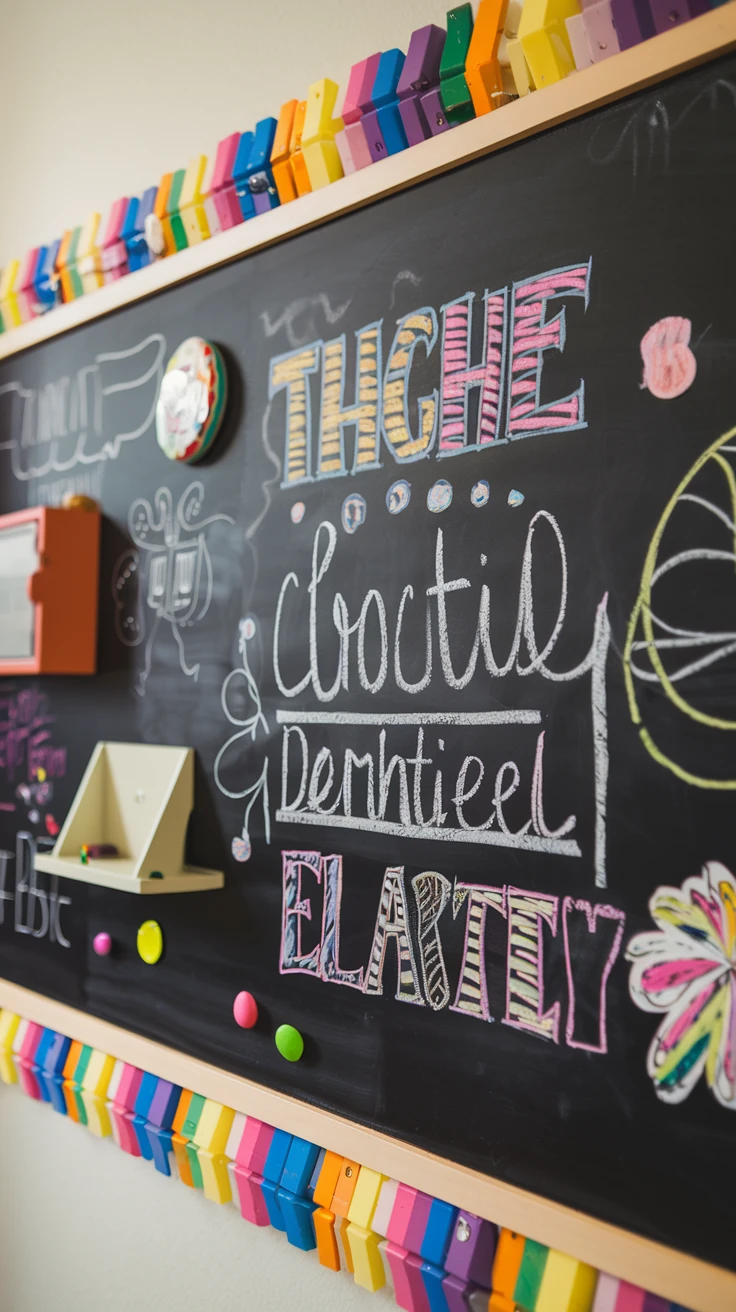
Take your DIY chalkboard wall from basic to brilliant with these creative enhancements that add both functionality and style.
Ideas to Consider:
- Decorative frame – Add molding around the perimeter for a polished look
- Chalk ledge – Install a small shelf to hold chalk and erasers
- Labeled sections – Create permanent areas for calendars, menus, or messages
- Stenciled borders – Add playful designs around the edges
- Color blocking – Combine chalkboard areas with regular painted sections
- Height ruler – Mark measurements along one side to track growth
- Hooks or bins – Add storage for art supplies nearby
In our playroom, we added a simple 1×3 wooden ledge at kid height, painted to match our trim, which holds chalk and gives the wall a more intentional, finished appearance.
Pro Tip: If you’re hesitant to commit an entire wall, create a framed chalkboard section instead. This gives you the fun without the full commitment.
7. Maintaining Your Chalkboard Wall: Keeping It Looking Fresh
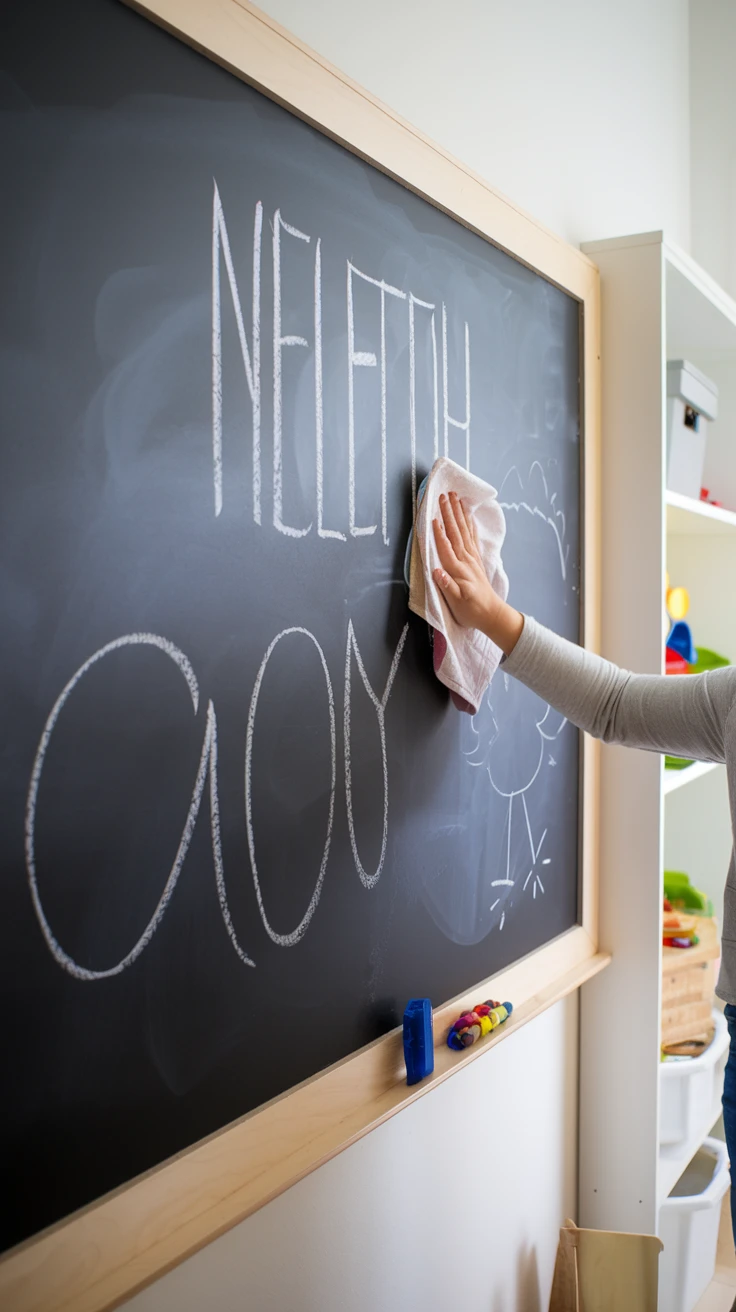
With proper care, your DIY chalkboard wall can remain a playroom centerpiece for years. Here’s how to keep it in top condition:
Regular Maintenance:
- Daily cleaning – Use a dry microfiber cloth or chalkboard eraser
- Weekly refresh – Wipe with a slightly damp cloth to remove chalk dust buildup
- Monthly deep clean – Use a solution of mild soap and water (avoid harsh chemicals)
- Quarterly reconditioning – If the surface becomes difficult to erase, recondition as described earlier
- Touch-ups – Keep leftover paint for repairs if needed
We’ve found that establishing a “chalkboard cleaning day” once a week helps our kids take ownership of maintaining their creative space.
Pro Tip: Place a small handheld vacuum nearby to quickly clean up chalk dust from the floor. This prevents it from being tracked throughout your home.
8. Fun Activities for Your New Chalkboard Wall
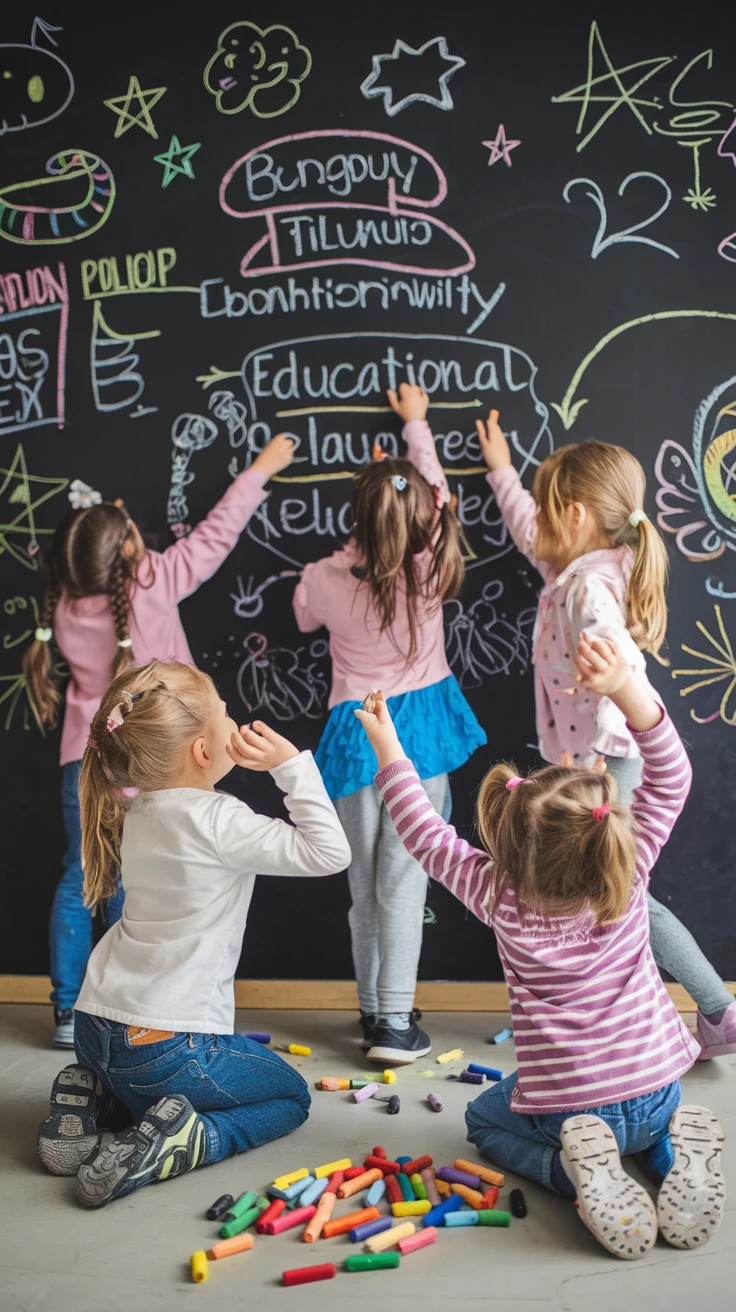
Now that you’ve created this amazing DIY chalkboard wall, let’s explore all the wonderful ways to use it with your children!
Creative Ideas:
- Trace their bodies and let them fill in details
- Practice letters and numbers at a large, engaging scale
- Create weekly family calendars or chore charts
- Draw backdrops for pretend play (castle, spaceship, store)
- Host an art gallery where kids create and “frame” artwork on the wall
- Play giant tic-tac-toe or hangman
- Create a height chart to track growth
- Draw life-size board games where kids are the pieces
- Practice math problems in a visual, large-scale format
- Leave morning messages or lunchbox notes
My children’s favorite activity is our “Friday Family Art Night,” where we all contribute to a themed mural that stays up all weekend before we erase it on Sunday evening to start fresh.

View on AmazonAs an Amazon Associate, I earn from qualifying purchases.

View on AmazonAs an Amazon Associate, I earn from qualifying purchases.
Pro Tip: Take photos of your children’s favorite wall creations before erasing them. You can create a digital scrapbook of their chalk art evolution over the years.
Key Takeaways
- Proper wall preparation is crucial for a smooth, long-lasting chalkboard surface
- Multiple thin coats of chalkboard paint yield better results than one thick coat
- Don’t skip the conditioning step—it prevents permanent chalk marks
- Allow the full curing time (usually 3-7 days) before using your wall
- Regular maintenance will keep your chalkboard wall looking fresh for years
Conclusion: Your Creative Canvas Awaits
Creating a DIY chalkboard wall in your playroom isn’t just about adding a fun feature—it’s about opening up a world of creativity, learning, and memory-making for your family. From the preparation to the final conditioning, each step brings you closer to a space where imagination can flourish without limits.
I’ve watched my own children develop their artistic skills, practice their letters, and create entire imaginary worlds on our chalkboard wall. The best part? It grows with them, serving different purposes as they get older. What starts as scribbles eventually becomes story illustrations, math problem-solving, and even teenage hangout décor.
So grab that painter’s tape and chalkboard paint, and get ready to transform not just your wall, but the way your family plays and creates together. Your DIY chalkboard wall journey starts now—and the possibilities are as endless as your children’s imaginations!
Frequently Asked Questions
How long does chalkboard paint take to fully cure?
Most chalkboard paints require 3-7 days to fully cure, depending on the brand and your climate. While the paint might feel dry to the touch within hours, using it too soon can result in permanent marks or damage to the surface. Always check your specific paint’s instructions and err on the side of patience.
Can I create a chalkboard wall on textured walls?
While it’s possible, textured walls don’t make ideal chalkboard surfaces. The texture creates an uneven drawing surface and makes erasing difficult. For best results, sand down textured walls or apply a skim coat to create a smooth surface before applying chalkboard paint. Alternatively, consider mounting smooth panels to your textured wall and painting those instead.
What’s the best type of chalk to use on a DIY chalkboard wall?
Traditional soft chalk works best on chalkboard walls. Dustless chalk may seem appealing for less mess, but it often doesn’t erase as cleanly. Chalk markers, while vibrant and dust-free, are typically semi-permanent on DIY chalkboard walls and should be avoided unless your wall has a special coating designed for them. For conditioning your wall, standard white chalk is ideal.
Is chalkboard paint safe for children’s rooms?
Most major brands of chalkboard paint are low-VOC or zero-VOC, making them safe for children’s spaces once fully cured. Look for water-based formulas and allow plenty of ventilation during application and curing. If you’re particularly concerned about chemicals, there are natural chalkboard paint options available, or you can make your own using plaster of Paris, unsanded grout, and regular latex paint.
Can I create a magnetic chalkboard wall?
Yes! Apply magnetic primer underneath your chalkboard paint to create a dual-purpose wall. Be aware that magnetic primer is quite thick and may require 3-4 coats for good magnetic strength. It’s also more expensive than regular primer. For best results, apply multiple thin coats rather than fewer thick ones, and use rare earth magnets, which have stronger pulling power than standard refrigerator magnets.