As a parent who’s stepped on one too many LEGO pieces and spent countless hours searching for missing puzzle pieces, I understand the daily struggle of toy organization. With toys seemingly multiplying overnight, finding affordable storage solutions can feel overwhelming. But here’s the good news: you don’t need expensive storage systems to get your home organized. I’ve discovered that some of the most effective toy storage solutions can be created for less than $50, using materials you might already have at home. Let’s explore 12 creative, budget-friendly DIY toy storage ideas that will help you reclaim your space without breaking the bank.
The Growing Challenge of Toy Organization
Before diving into our solutions, let’s understand why toy storage has become such a pressing issue in modern homes. According to recent studies, the average American child owns more than 200 toys but only plays with 12 of them daily. This abundance creates several challenges:
- Cluttered spaces that increase stress levels for both parents and children
- Difficulty in finding specific toys when needed
- Wasted money on duplicate toys that were simply misplaced
- Safety hazards from scattered toys
- Reduced play value when toys are disorganized
The good news is that implementing proper storage solutions can reduce cleanup time by 50% and increase children’s independent play time by making toys more accessible and organized.
Quick and Easy Box-Based Solutions (Ideas 1-4)
1. Cardboard Box Drawer System ($10-15)
Remember those sturdy cardboard boxes from your last online shopping spree? They’re perfect for creating a modular drawer system. I transformed six medium-sized boxes using:
- Colorful contact paper ($5)
- Heavy-duty tape ($3)
- Label materials ($2)
Stack them in a 2×3 configuration, secure with tape, and you’ve got a functional storage unit that looks surprisingly professional.
2. Fabric-Covered Diaper Boxes ($15)
This project turned our empty diaper boxes into elegant storage solutions. You’ll need:
| Material | Cost |
|---|---|
| Fabric (2 yards) | $10 |
| Hot glue | $3 |
| Decorative rope | $2 |
These boxes are perfect for stuffed animals and larger toys, and they stack beautifully in corners.
3. Milk Crate Library ($20)
After collecting plastic milk crates from local stores (many give them away free), I created a versatile storage system that works for books and toys alike. Add:
- Spray paint ($10)
- Caster wheels ($8)
- Zip ties ($2)
4. Hanging Shoe Organizer Toy Storage ($15)
This over-the-door solution works wonders for small toys and art supplies. Purchase a clear plastic shoe organizer and add illustrated labels for different categories. The clear pockets make it easy for kids to find exactly what they’re looking for.
Creative Upcycling Storage Ideas (Ideas 5-8)
5. PVC Pipe Toy Garage ($30)
| Material | Cost |
|---|---|
| PVC pipes and connectors | $20 |
| Spray paint | $5 |
| Mounting brackets | $5 |
Create a wall-mounted car and truck storage system that doubles as a play structure. This project has been a game-changer for our toy car collection.
6. Pallet Bookshelf ($25)
Transform a free wooden pallet into a rustic bookshelf and toy display. You’ll need:
- Sandpaper ($5)
- Wood stain ($10)
- Safety brackets ($5)
- Wood sealer ($5)
7. Repurposed Kitchen Cabinet Storage ($40)
Found an old kitchen cabinet at a thrift store for $20? Perfect! Add some paint ($10), fun handles ($5), and stick-on wallpaper ($5) to create a charming toy cabinet that looks store-bought.
8. Rope Basket Collection ($35)
Using clothesline rope and a hot glue gun, create custom-sized storage baskets. This project requires:
- Cotton rope (100 ft) – $20
- Hot glue gun and glue – $10
- Spray paint (optional) – $5
Innovative Space-Saving Solutions (Ideas 9-12)
9. Rolling Under-Bed Storage ($45)
| Component | Cost |
|---|---|
| Plywood | $20 |
| Caster wheels | $15 |
| Paint and handles | $10 |
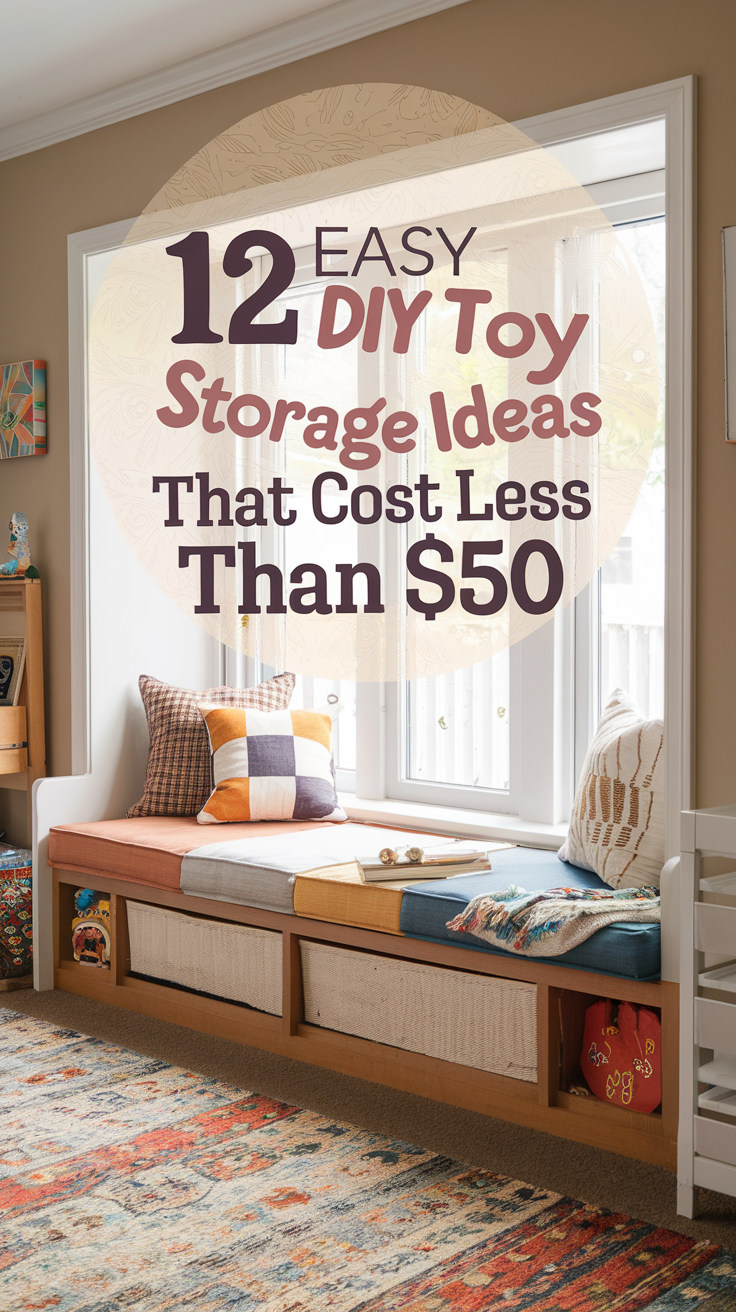
10. Window Seat Storage Bench ($50)
Create a cozy reading nook with hidden storage using:
- Storage ottomans ($30)
- Cushion foam ($10)
- Fabric cover ($10)
11. Magnetic Board Organization ($40)
Install a magnetic board with containers for art supplies and magnetic toys. Materials needed:
- Large magnetic board ($25)
- Magnetic containers ($10)
- Mounting hardware ($5)
12. Vertical Garden Pocket Storage ($45)
Adapt a vertical garden system for toy storage using:
| Item | Cost |
|---|---|
| Canvas material | $20 |
| Grommets and tools | $15 |
| Mounting hardware | $10 |
Making Your DIY Storage Project Successful
After implementing these storage solutions in my own home, I’ve learned that the key to success is starting small and building up gradually. Choose one or two projects that address your most pressing storage needs, and expand from there. Remember to involve your children in the organization process – they’re more likely to maintain systems they helped create. With these affordable DIY solutions, you’re well on your way to a more organized, peaceful home environment.
Key Takeaways
- Most DIY toy storage solutions can be completed in a weekend for under $50
- Upcycling existing materials can significantly reduce costs
- Involving children in the organization process improves long-term success
- Proper planning and measurement are crucial for successful implementation
- Regular maintenance and adjustment of storage systems ensures long-term effectiveness
Frequently Asked Questions
-
How long do these DIY storage solutions typically last?
With proper construction and maintenance, most of these solutions can last 2-3 years or more. The durability largely depends on the quality of materials used and how carefully they’re assembled.
-
Can these projects be completed without advanced DIY skills?
Absolutely! Most of these projects require basic tools and skills. If you can use a screwdriver and follow simple instructions, you can complete these projects.
-
What’s the best way to organize toys by category?
Group similar items together: building toys, art supplies, books, stuffed animals, etc. Consider your child’s age and playing habits when creating categories.
-
How can I make these storage solutions child-friendly?
Use clear labels with pictures for young children, ensure storage is at their height level, and avoid heavy lids or complicated opening mechanisms.
-
What safety considerations should I keep in mind?
Always secure tall storage units to walls, avoid sharp edges, and ensure all materials are non-toxic and child-safe.
-
How often should I reorganize these storage systems?
Review and adjust storage systems every 3-4 months as your child’s toy collection and needs change.
-
Can these solutions grow with my child?
Yes! Most of these solutions are adaptable and can be modified as your child’s storage needs evolve.
-
Where can I find the materials for these projects?
Most materials can be found at local hardware stores, dollar stores, and thrift shops. Online marketplaces are also good sources for supplies.
-
How can I maintain these storage solutions?
Regular cleaning, checking for wear and tear, and promptly repairing any damage will help extend the life of your DIY storage solutions.
-
What if I live in a small space?
Focus on vertical storage solutions and multi-purpose items. The under-bed storage and vertical garden pocket storage are particularly effective for small spaces.