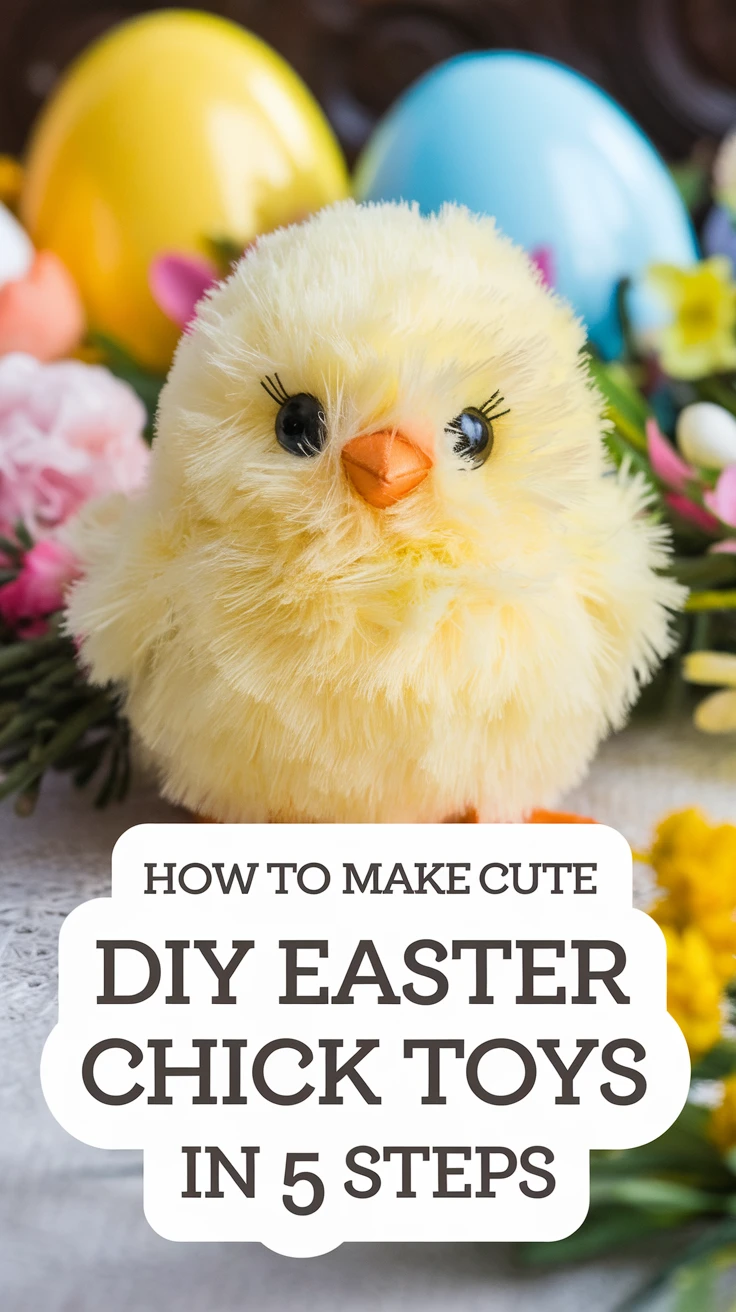
Introduction to Adorable DIY Easter Chick Toys
Isn’t it amazing how a simple craft project can bring so much joy during the holiday season? I’ve been making DIY Easter chick toys with my family for years, and I’m excited to share our tried-and-true method with you today. These adorable little chicks are perfect for Easter baskets, spring decorations, or just as a fun weekend activity with the kids. The best part? You don’t need to be a crafting expert to create something truly special—I promise!
Whether you’re looking to entertain little ones during spring break or want to add a personal touch to your Easter celebrations, these homemade chick toys hit all the right notes: they’re cute, customizable, and surprisingly simple to make. Ready to get started? Let’s dive into the five easy steps to create your own flock of fluffy friends!
1. Gathering Your Materials for DIY Easter Chick Toys
Before we jump into crafting, let’s round up everything you’ll need. The beauty of these DIY Easter chick toys is that they’re incredibly adaptable—you can use what you already have around the house or pick up affordable supplies at any craft store.
Basic Materials:
- Yellow felt, fabric, or fuzzy pom-poms (for the chick bodies)
- Orange felt or craft foam (for beaks and feet)
- Small googly eyes or black buttons
- Stuffing material (cotton balls, polyester fiberfill, or even old fabric scraps)
- Craft glue or a low-temperature glue gun
- Scissors
- Optional: needle and thread for more durable construction
Alternative Materials for Different Ages:
- For toddlers (with supervision): Use larger pom-poms and pre-cut felt pieces
- For school-age kids: Add pipe cleaners, feathers, and sequins for more creative options
- For teens and adults: Consider fabric scraps, embroidery floss for details, and more complex construction techniques
Pro Tip: I like to create a “crafting kit” for each person with their own supplies in a small container. This prevents the inevitable “Mom, she took my googly eyes!” drama that seems to accompany any family craft session!
2. Creating the Basic Chick Shape
Now that we’ve gathered our materials, it’s time to form the foundation of our Easter chicks. This step is all about creating that recognizable round, fluffy chick body that makes everyone say “Aww!”
For Felt or Fabric Chicks:
- Cut two identical circle shapes from your yellow material (about 3-4 inches in diameter works well)
- Place the circles on top of each other
- Sew or glue around the edges, leaving a small opening
- Stuff with your filling material until pleasantly plump
- Seal the opening by continuing to sew or adding more glue
For Pom-Pom Chicks:
- Select a yellow pom-pom of your desired size
- For a more egg-shaped chick, gently pull and shape one end of the pom-pom
- If using homemade pom-poms, ensure they’re tightly wound for durability
Remember, there’s no “perfect” chick shape! In nature, baby chicks come in all sorts of adorable variations, so embrace any quirks in your creations—they add character! My daughter once made what she called a “chick loaf” that was more rectangular than round, and it’s still one of our favorite Easter decorations years later.
Pro Tip: If you’re working with very young crafters, pre-assemble the basic chick bodies and let them focus on the decorating steps that follow.
3. Adding Personality with Facial Features and Wings
This is where your DIY Easter chick toys really come to life! Adding eyes, beaks, and wings transforms your yellow puff from a simple shape into a charming character with personality.
Creating the Face:
- Eyes: Attach googly eyes or small black buttons to the upper portion of your chick’s body. For a sewn option, use black embroidery floss to create simple eye stitches.
- Beak: Cut a small triangle from orange felt or craft foam (about 1/2 inch wide at the base). Fold it slightly in the middle for a 3D effect, then glue it to the center of the face, just below the eyes.
Adding Wings and Details:
- Cut two small oval or wing shapes from yellow material (slightly darker than the body for contrast)
- Attach these to the sides of your chick
- For feet, cut two small orange triangles or “V” shapes and glue them to the bottom of your chick
I’ve found that the facial expression makes all the difference in these little toys. Try varying the eye placement slightly—eyes further apart create a more innocent look, while eyes closer together with the beak pointing downward can create a more inquisitive chick!
Pro Tip: For a quick alternative to cutting out beaks, you can use orange pony beads or even the tip of an orange pipe cleaner bent into a triangle shape.
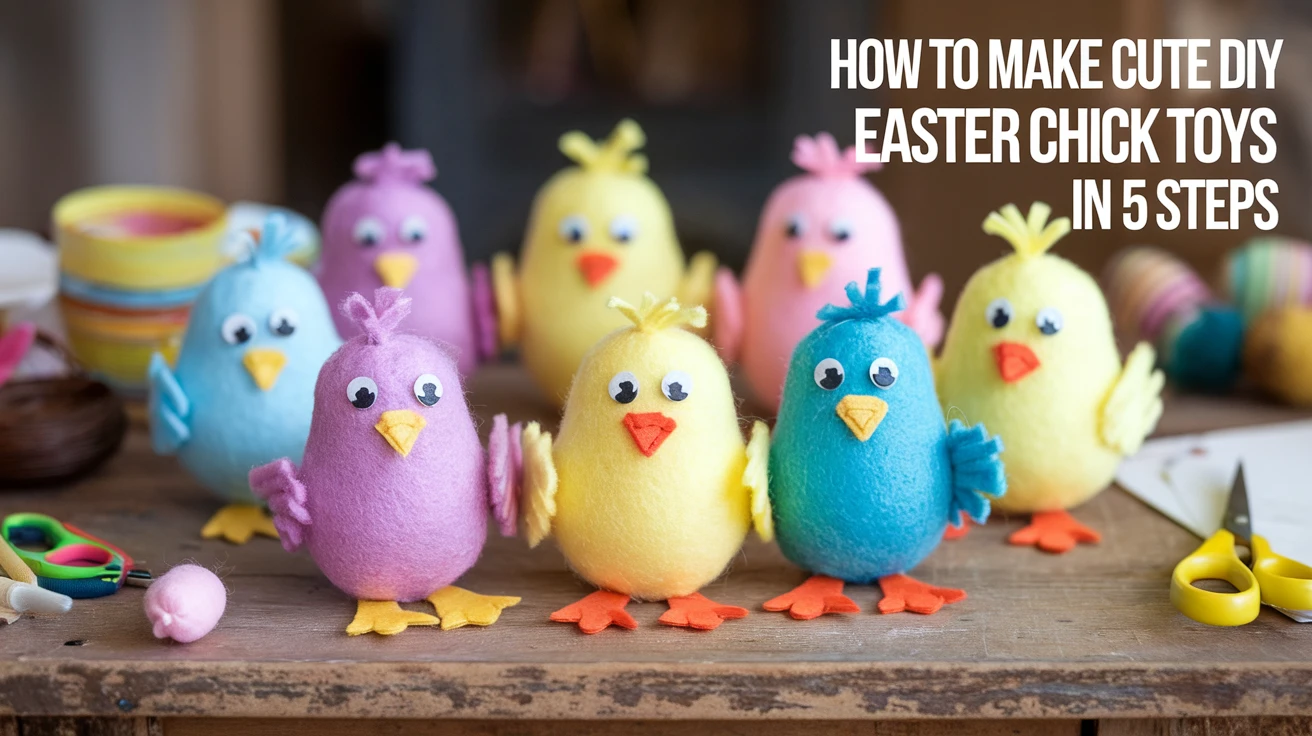
4. Personalizing Your Easter Chicks
This is where creativity really shines! Personalizing your chicks makes them unique and can reflect personalities or even represent family members. I still laugh about the time my husband created a “dad chick” complete with a tiny felt baseball cap and miniature newspaper!
Fun Personalization Ideas:
- Accessories: Tiny hats, bows, scarves, or glasses made from felt scraps
- Themed chicks: Superhero capes, princess crowns, or sports equipment
- Family resemblance: Add features that match family members (like a tiny felt beard for Dad or glasses for Grandma)
- Holiday variations: Add tiny Easter baskets or eggs for the chicks to hold
Texture Enhancements:
- Glue small feathers to create more realistic-looking wings
- Add a tuft of fluff to the top of the head using yarn or extra stuffing material
- Create textured “down” by gently fraying yellow fabric or using fuzzy yarn
Don’t worry about perfection here—the handmade quality is what makes these DIY Easter chick toys so special. Some of our family’s most beloved chicks are the ones with slightly crooked features or unexpected design elements added by enthusiastic little hands.
Pro Tip: Create a signature element that you add to all your chicks each year. This creates a lovely tradition and makes it fun to look back at your collection as it grows over time.
5. Finishing Touches and Display Ideas
You’ve created your adorable chicks—now it’s time to help them shine! The finishing touches and how you display your creations can elevate your DIY Easter chick toys from simple crafts to cherished decorations.
Final Embellishments:
- Add a light dusting of glitter for “sparkle chicks” (a favorite with my kids)
- Attach a small loop of ribbon to the top to create hanging ornaments
- Write names or the year on the bottom with fabric marker for keepsake chicks
- Add small felt flowers or clovers around the chick’s feet for a spring scene
Creative Display Options:
- Nest arrangement: Place chicks in a decorative basket with raffia or Easter grass
- Garland: String multiple chicks together for a festive banner
- Easter tree: Hang chick ornaments on a small decorative branch arrangement
- Place settings: Use as personalized table decorations for Easter dinner
- Window display: Create a spring scene on a windowsill with chicks and other Easter elements
Last Easter, we created a “chick family” portrait by arranging our creations on our mantel, with the tallest in the back and smallest in front. We took a photo of our actual family in the same arrangement, and it became our Easter card that year—a big hit with the grandparents!
Pro Tip: Clear fishing line makes an almost invisible hanger for creating the illusion of chicks that appear to be hopping or flying in your display.
Key Takeaways for DIY Easter Chick Toys
- Simple materials like felt, pom-poms, and basic craft supplies can create adorable Easter decorations
- This project can be adapted for almost any age group by adjusting the complexity and materials
- Personalization makes these crafts special and creates meaningful keepsakes
- Embrace imperfections—they add character and charm to handmade items
- Creating together builds memories that last far beyond the Easter season
Conclusion
Creating these DIY Easter chick toys isn’t just about making cute decorations—it’s about carving out time to be creative, connect with loved ones, and establish meaningful traditions. I hope this step-by-step guide inspires you to gather your materials and dive into this delightful project. Whether you’re crafting solo for some therapeutic me-time or turning it into a family activity, these fluffy little friends are sure to bring smiles all season long.
Remember, the most important ingredient in any DIY project isn’t listed in the materials—it’s the joy you bring to the process. So don’t stress about perfection; instead, focus on the fun of creating something with your own hands. I’d love to hear how your chick toys turn out or any creative variations you discover along the way! Happy crafting, and may your Easter be filled with all things bright, beautiful, and handmade.
Frequently Asked Questions
-
What materials are best for making DIY Easter chick toys with young children?
For young children, I recommend using pre-cut felt pieces, large pom-poms, and washable craft glue. Avoid small beads or buttons that could be choking hazards, and consider using fabric markers instead of loose embellishments. A low-temperature glue gun operated by an adult can also be helpful for securing pieces that might otherwise take too long to dry with regular craft glue.
-
How can I make my DIY Easter chick toys last longer?
To create more durable chicks, use stitching rather than glue where possible. Consider spraying finished fabric chicks with a fabric protector, and store them carefully in a box with tissue paper between layers. For pom-pom chicks, a light mist of hairspray can help keep fibers from shedding. Label your storage container with the year and take a photo of your creations to help you remember special details.
-
Can I make DIY Easter chick toys without sewing?
Absolutely! There are several no-sew options for creating adorable chicks. You can use fabric glue or a low-temperature glue gun to secure fabric pieces. Pom-pom chicks require no sewing at all. Another option is to use self-adhesive felt or foam sheets that stick together without additional adhesive. Even simple paper chicks can be created using folded construction paper and glue.
-
What are some creative ways to display DIY Easter chick toys?
Beyond traditional baskets, try arranging chicks on a tiered cake stand, creating a mobile by hanging them at different heights from a branch, or making a wreath with chicks nestled among artificial flowers. For a playful touch, place them peeking out from unexpected places around your home—behind picture frames, on bookshelves, or perched on windowsills. You can also use them as gift toppers or create a centerpiece with chicks “hatching” from decorative eggs.
-
How can I turn DIY Easter chick toys into a learning activity?
There are so many educational opportunities with this craft! For younger children, use it to practice color recognition, counting, and following directions. Older kids can learn about the life cycle of chickens, practice measurement skills when cutting materials, or write creative stories about their chick characters. You can also incorporate math by creating patterns with different colored chicks or use them for sorting activities. For teens, challenge them to research and recreate different bird species using the same basic techniques.
-
Are there any eco-friendly options for DIY Easter chick toys?
Yes! Consider using scrap fabric or felt made from recycled plastic bottles. Instead of polyester stuffing, try organic cotton, wool roving, or even dried lavender for a lovely scent. Buttons and beads from old clothing make perfect eyes, and food packaging can be upcycled for beaks and feet (orange juice cartons have the perfect color!). You can also use natural dyes like turmeric to color white or cream fabrics yellow if you don’t have yellow material on hand.
-
Can these DIY Easter chick toys be used as gifts?
These handmade chicks make wonderful gifts! Consider creating a “chick bouquet” by attaching several to floral wires in a small vase, or pair a chick with a book about spring for children. For adults, you can make more sophisticated versions using high-quality materials and include them with Easter brunch invitations or as wine bottle toppers. Teachers would appreciate a classroom set with their students’ names, while grandparents might treasure a family of chicks representing each grandchild.