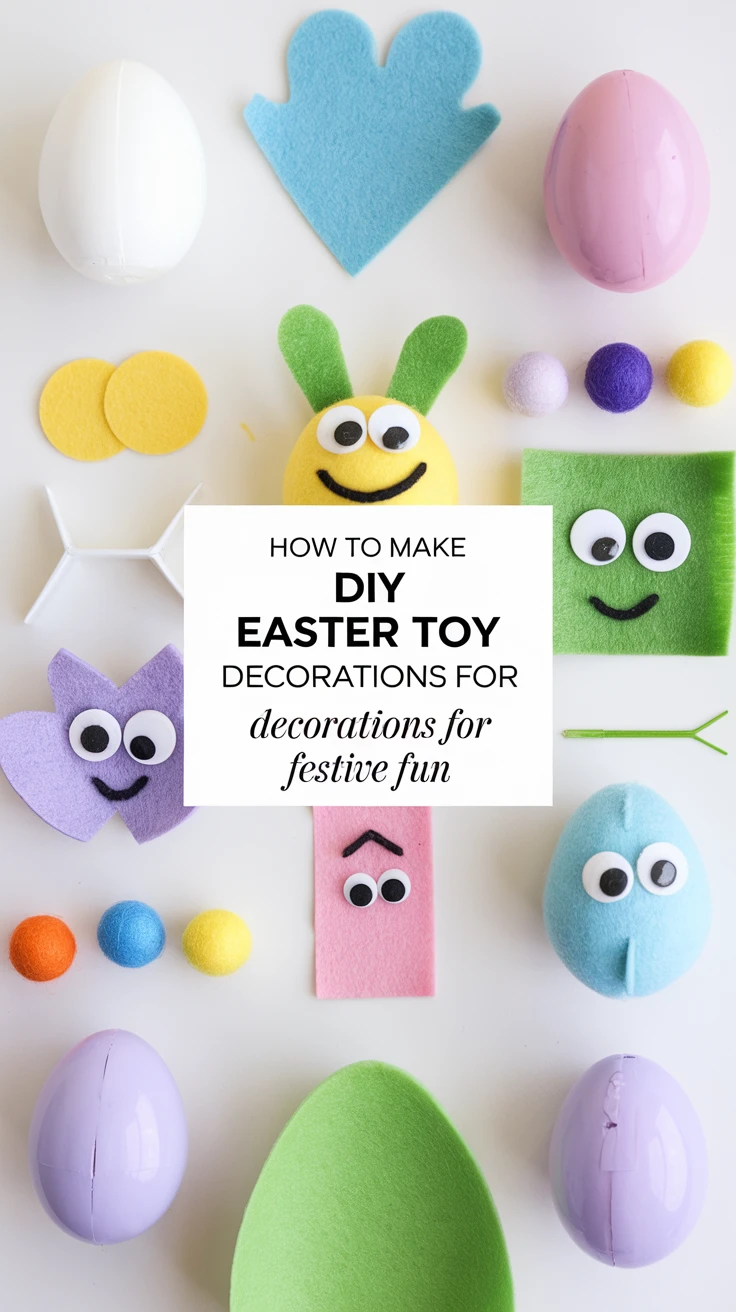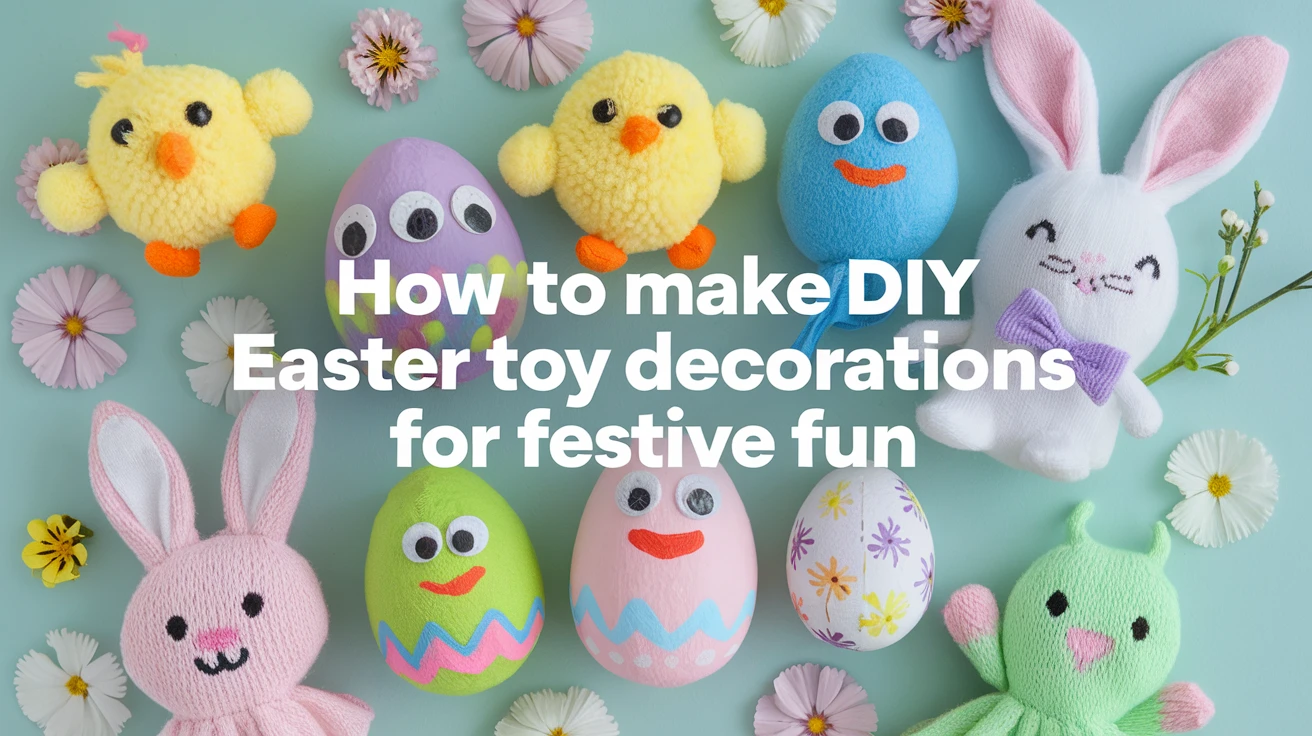
5 DIY Easter Toy Decorations
Easter is just around the corner, and what better way to celebrate than with handmade DIY Easter toy decorations that bring double the joy? I’ve always found that the decorations my kids actually remember are the ones they can play with. These interactive creations not only brighten up your home for the holiday but also provide hours of entertainment for little ones. As a mom who’s survived countless craft sessions (and the glitter explosions that followed), I’m excited to share these five simple projects that transform ordinary household items into extraordinary Easter treasures. Let’s hop to it!
1. No-Sew Sock Bunny Plushies
Remember those lone socks that mysteriously lost their partners? They’re about to get a second life as the cutest Easter companions ever! These sock bunnies are perfect DIY Easter toy decorations that require absolutely zero sewing skills-I promise!
What You’ll Need:
- 1 white or pastel-colored sock (the cleaner, the better!)
- Rice or dried beans for filling
- Rubber bands or string
- Ribbon for decoration
- Fabric glue
- Buttons or googly eyes
- Pink marker or blush for the nose
- Black marker for whiskers
How to Make It:
- Fill the sock with rice or beans about 2/3 full.
- Tie off the top with a rubber band, creating the bunny’s head.
- About 1/3 of the way down, tie another rubber band to form the bunny’s body.
- Cut the remaining sock material in half lengthwise to create two long ears.
- Fold the raw edges inward and secure with fabric glue.
- Glue on buttons or googly eyes, draw a nose and whiskers.
- Tie a pretty ribbon around the neck for extra flair.
Pro Tip: Use colorful patterned socks for uniquely decorated bunnies without additional embellishment. My daughter’s polka-dot sock turned into the most fashionable bunny in our Easter display last year!
2. Egg Carton Chick Toys That Actually Chirp
Those cardboard egg cartons aren’t just for recycling-they’re waiting to transform into a flock of cheerful chicks that actually make noise when played with!
What You’ll Need:
- Cardboard egg carton
- Yellow acrylic paint or spray paint
- Orange construction paper
- Googly eyes
- Feathers (optional)
- Small bells
- Glue
- Scissors
How to Make It:
- Cut the egg cups from the carton individually.
- Paint each cup yellow and let dry completely.
- Cut small triangles from orange construction paper for beaks.
- Glue googly eyes and beaks to each cup.
- Before sealing completely, place a small bell inside each chick.
- Glue feathers on top for extra fluff (if desired).
- Let children roll them around to hear the chirping sound from the bells.
These little chicks look adorable nestled in Easter grass or arranged in a colorful basket. When my son was three, he spent an entire Easter morning having his chicks “talk” to each other in different voices-absolutely priceless entertainment!
3. Interactive Pom-Pom Bunny Magnets
These fuzzy little friends serve as both decorations and interactive toys that can hop around your refrigerator or any magnetic surface. They’re the perfect blend of cute and functional!
What You’ll Need:
- Large white pom-poms (store-bought or homemade)
- Small pink pom-poms for noses
- Felt in white and pink for ears
- Googly eyes
- Small round magnets
- Hot glue gun (adult supervision required)
- Black thin marker for whiskers
How to Make It:
- Attach a small round magnet to the back of each large pom-pom using hot glue.
- Cut pairs of bunny ear shapes from white felt, with smaller pink felt insets.
- Glue the pink felt pieces onto the white ears.
- Attach the ears to the top of each pom-pom.
- Glue on googly eyes and a small pink pom-pom nose.
- Draw whiskers with a thin black marker.
Pro Tip: Create a simple magnetic scavenger hunt by hiding these bunnies around the house on metal surfaces. My kids love finding where the “Easter Bunny” has hidden all his little helpers!
Creative DIY Easter Toy Decorations for All Ages
The beauty of these next projects is that they can be adapted for crafters of any skill level, from toddlers to teens. The following two ideas are particularly versatile and encourage imaginative play long after Easter has passed.
4. Paper Plate Easter Basket Toys
These aren’t just decorations-they’re functional little baskets that double as toys for imaginative play. Kids can use them for collecting eggs during hunts or as carriers for their small toys.
What You’ll Need:
- 2 paper plates per basket
- Paint or markers in Easter colors
- Pipe cleaners for handles
- Easter-themed stickers
- Hole punch
- Scissors
- Stapler
- Ribbon for decoration
How to Make It:
- Cut one paper plate in half.
- Decorate both the whole plate and the half plate with paint, markers, and stickers.
- Once dry, fold the whole plate in half (but don’t crease it).
- Staple the half plate to the folded whole plate, creating a pocket.
- Punch a hole on each side of the basket.
- Thread a pipe cleaner through the holes to create a handle.
- Decorate with ribbons around the handle.
I still have the basket my daughter made when she was four-now she uses it to leave little notes and treasures for the “Easter Bunny” to find. These baskets become part of your family’s Easter traditions in the most heartwarming way.
5. Toilet Paper Roll Bunny Puppets
These adorable puppets are the ultimate in recycled crafting and provide endless entertainment as children create Easter stories and adventures.
What You’ll Need:
- Empty toilet paper rolls
- White and colored construction paper
- Cotton balls
- Googly eyes
- Pink marker or crayon
- Scissors
- Glue
- Pipe cleaners for whiskers
How to Make It:
- Cover the toilet paper roll with white construction paper.
- Cut bunny ear shapes from white paper and smaller inner ear shapes from pink paper.
- Glue the pink inner ear pieces onto the white ears.
- Attach the ears to the inside top of the toilet paper roll so they stand up.
- Glue googly eyes onto the front of the roll.
- Add a small cotton ball for the tail on the back.
- Draw a pink nose and mouth or cut them from pink paper.
- Insert small pieces of pipe cleaner for whiskers.
Pro Tip: Create an entire Easter puppet family and stage a show! Cut a small hole in the bottom of an overturned cardboard box, decorate it like an Easter scene, and you’ve got yourself a puppet theater that would make Jim Henson proud!
Key Takeaways
- The best DIY Easter toy decorations serve dual purposes: they beautify your home while providing entertainment.
- Most of these projects can be made with items you already have around the house, making them budget-friendly.
- Involving children in creating these decorations builds excitement for the holiday and creates lasting memories.
- Adjusting the complexity of these projects allows for age-appropriate participation from everyone in the family.
- Many of these DIY Easter toy decorations can be preserved and reused in future years, becoming cherished family keepsakes.
Conclusion
Creating DIY Easter toy decorations brings together the best of both worlds-festive holiday decor and engaging playthings that capture children’s imaginations. What I love most about these projects is watching how proud kids are when their creations become part of the family’s Easter celebration. From sock bunnies hopping across the table to puppet shows starring toilet paper roll characters, these handmade treasures create moments that store-bought decorations simply can’t match. So gather your supplies, embrace the inevitable glitter spills, and enjoy the creative process. After all, the memories you’re making will last far longer than any chocolate bunny ever could! Which of these DIY Easter toy decorations will you try first?
Frequently Asked Questions
-
How can I make DIY Easter toy decorations safe for toddlers?
For toddler-safe decorations, avoid small parts that could be choking hazards like buttons or bells. Use fabric glue instead of hot glue, opt for larger pom-poms, and ensure all materials are non-toxic. Consider sewing components rather than gluing them for extra durability, and always supervise play with homemade toys.
-
What are the best materials for long-lasting Easter toy decorations?
For decorations you want to keep year after year, choose durable materials like felt instead of paper, use quality acrylic paints that won’t fade, and apply a clear sealant to painted items. Store them in airtight containers with tissue paper between layers, and keep them in a cool, dry place away from direct sunlight to prevent fading.
-
Can I involve my 2-year-old in making these Easter toy decorations?
Absolutely! Toddlers can help with simple tasks like sticking on googly eyes (with supervision), painting with washable paints, or adding stickers. The sock bunny is particularly toddler-friendly-let them help pour the rice filling using a funnel, or have them select colors and materials. Remember, perfection isn’t the goal-their participation is what makes these decorations special!
-
What are some eco-friendly options for DIY Easter toy decorations?
Focus on upcycling materials you already have: cardboard tubes, old fabric scraps, mismatched socks, and egg cartons make excellent starting points. Use natural dyes from foods like beets or turmeric for coloring, and opt for biodegradable glitter or skip it altogether. Consider decorations that can be composted after the season if they’re not being kept.
-
How can I turn regular Easter decorations into interactive toys?
Add elements that move, make noise, or have multiple uses. Incorporate bells inside decorations, attach magnets so they can be moved around, create puppets with movable parts, or design decorations that open to reveal small surprises inside. The key is thinking about how a child might want to interact with the decoration beyond just looking at it.