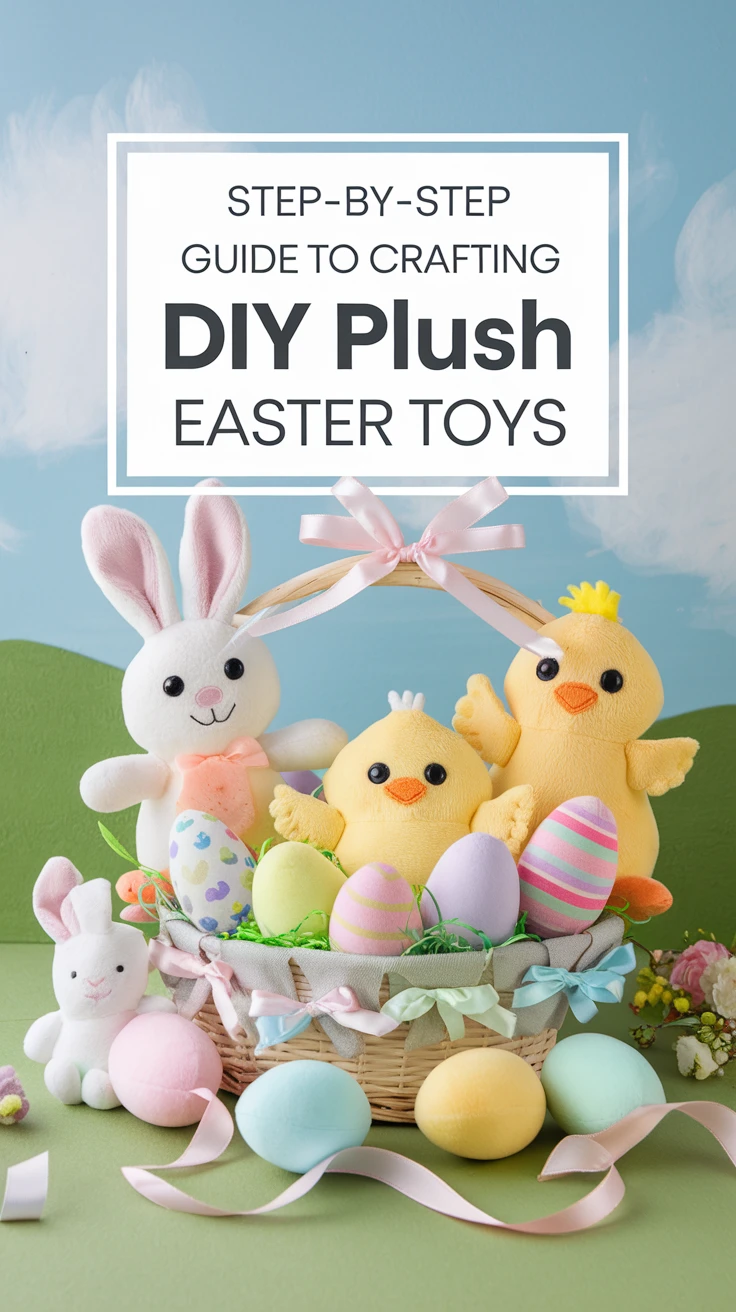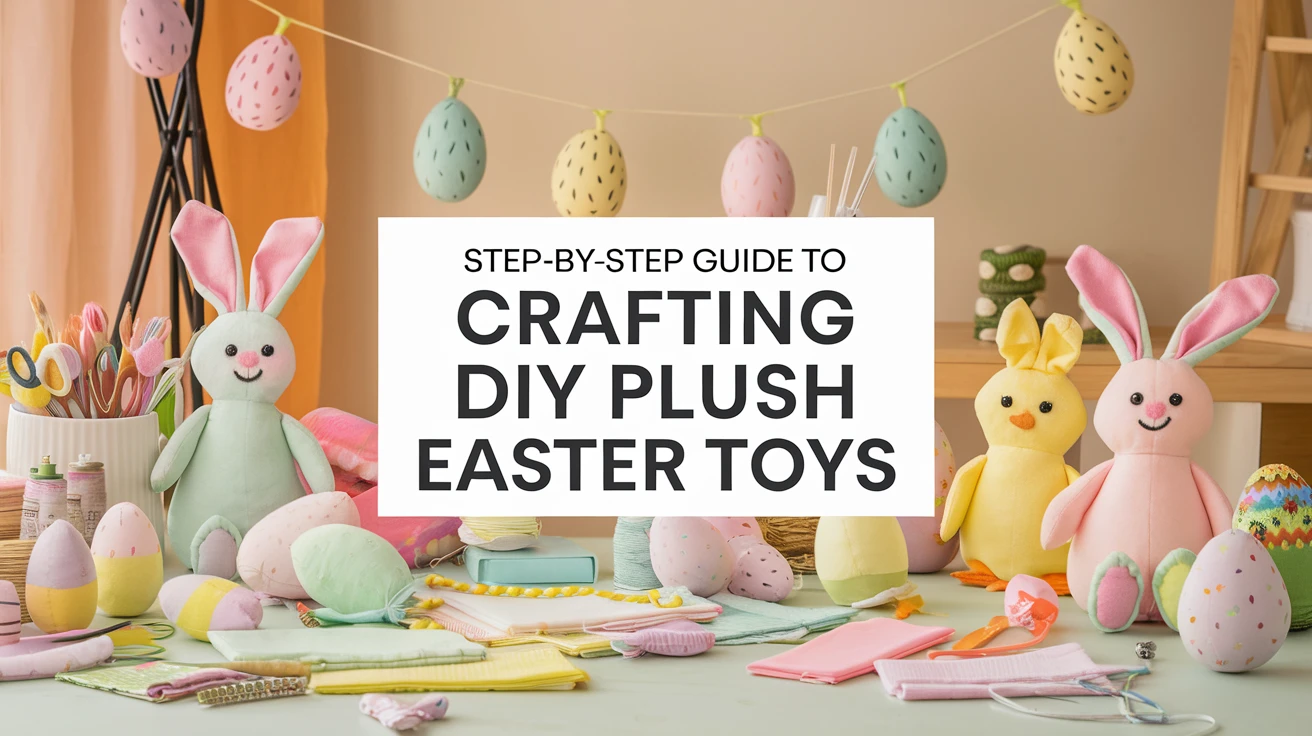
Introduction to DIY Plush Easter Toys
There’s something magical about handmade toys that store-bought ones just can’t match. When I first started making DIY plush Easter toys a few years back, I was amazed at how much joy these simple creations brought to my family’s celebration. Whether you’re a seasoned crafter or someone who’s just picked up a needle and thread for the first time, creating your own adorable Easter plushies is a rewarding experience that adds a personal touch to your holiday traditions.
In this guide, I’ll walk you through everything you need to know to craft charming Easter characters that’ll delight children and adults alike. Wouldn’t it be wonderful to start a new tradition of handmade Easter gifts this year? Let’s hop to it!
Essential Materials for Your DIY Plush Easter Toys
Before we dive into the specific projects, let’s gather our supplies. I’ve learned (sometimes the hard way!) that having everything ready before you start makes the crafting process much more enjoyable.
- Fabric: Felt, fleece, cotton, or minky fabric in Easter colors (pastels, white, yellow)
- Stuffing: Polyester fiberfill or cotton stuffing
- Sewing supplies: Needles, pins, scissors, thread in coordinating colors
- Embellishments: Buttons, ribbon, embroidery floss, fabric paint
- Pattern templates: Either self-drawn or printed from online sources
- Fabric glue: For non-sewing options or quick fixes
- Fabric markers: For adding details and facial features
Pro Tip: I always buy a bit more fabric and stuffing than I think I’ll need. There’s nothing worse than running out of materials mid-project!
1. Cuddly Easter Bunny Plush
The quintessential Easter symbol, a soft bunny plush is perfect for beginners and experienced crafters alike. I still remember my daughter’s face when she received her first handmade bunny—priceless!
Step-by-Step Instructions:
- Download or draw a simple bunny pattern (about 8-10 inches tall works well).
- Cut two identical bunny shapes from your chosen fabric.
- Cut two smaller ear pieces from contrasting fabric for the inner ears.
- Sew the inner ear pieces to one set of the bunny ears.
- Place the two main bunny pieces right sides together and pin.
- Sew around the edges, leaving a 2-inch opening at the bottom for stuffing.
- Turn right side out and stuff firmly with fiberfill.
- Hand-stitch the opening closed using a ladder stitch.
- Add facial features using buttons, embroidery, or fabric markers.
For extra charm, add a small cotton pom-pom tail and a ribbon bow around the neck. You can’t go wrong with pastels for Easter, but don’t be afraid to get creative with patterns and colors!
Pro Tip: If you’re making this with kids, let them stuff the bunny—it’s the most fun part and virtually impossible to mess up!
2. Cheerful Easter Chick Plush
Nothing says “spring has sprung” quite like a bright yellow chick! This project is simpler than the bunny and makes for a quick, satisfying craft.
Step-by-Step Instructions:
- Cut two round circles (about 4-5 inches in diameter) from yellow fabric.
- Cut two small triangles from orange felt for the beak.
- Cut two small ovals for wings from the same yellow fabric.
- Sew the wings onto one of the circular pieces.
- Sandwich the beak between the two circles at the appropriate spot.
- Sew around the edges, leaving a small opening for stuffing.
- Turn right side out, stuff, and close the opening.
- Add eyes with black buttons or embroidery.
For a fun variation, make your chick appear to be “hatching” by creating a broken eggshell from white or speckled felt that fits around the bottom half of the chick.
- Beginner tip: If you’re new to sewing, the chick’s simple round shape makes it an ideal first project.
- Advanced option: Add texture by using fluffy yarn or feather stitches for a more realistic chick appearance.
3. Colorful Easter Egg Plushies
These might be the easiest DIY plush Easter toys in our lineup, but they’re incredibly versatile. I’ve made dozens of these over the years—they’re perfect for Easter egg hunts that won’t break or spoil!
Step-by-Step Instructions:
- Cut two egg-shaped pieces from fabric (pastels work beautifully here).
- If desired, add decorative elements to one piece before assembling (appliqué, embroidery, etc.).
- Place right sides together and sew around the edge, leaving an opening for stuffing.
- Turn right side out, stuff firmly, and close the opening.
The real fun comes in decorating these eggs! Consider these creative approaches:
- Fabric paint for polka dots, stripes, or other patterns
- Ribbon or rickrack sewn around the middle
- Patchwork eggs made from fabric scraps
- Embroidered designs like flowers or simple Easter motifs
- Glued-on sequins or small fabric flowers
Pro Tip: Make a batch of different-sized eggs in coordinating fabrics for a lovely Easter display that can be used year after year.
4. Sweet Easter Lamb Plush
This adorable lamb requires a bit more skill but is well worth the effort. The textured fleece or looped fabric creates a wonderfully tactile toy that’s irresistible to touch.
Step-by-Step Instructions:
- Cut body pieces from white fleece or looped fabric (similar to a small teddy bear shape).
- Cut face and ear pieces from smooth white or cream fabric.
- Cut leg pieces from the same smooth fabric.
- Sew the face onto the front body piece.
- Add facial features with embroidery or fabric markers.
- Attach the ears to the top of the head.
- Sew the legs to the bottom of the front piece.
- Place front and back body pieces right sides together and sew around the edges, leaving an opening.
- Turn right side out, stuff firmly, and close the opening.
For an extra special touch, add a small bell with a ribbon around the neck, or create a flower crown from felt flowers. My niece still sleeps with the lamb I made her three Easters ago—these toys truly become treasured possessions!
5. Carrot Plush Toy with Surprise
This clever project is a favorite at our house! It looks like a simple carrot plush, but it can be designed to unzip or open to reveal a small bunny inside.
Step-by-Step Instructions:
- Cut two carrot-shaped pieces from orange fabric.
- Cut green leaf shapes from green felt for the carrot top.
- Create a small bunny using the simplified version of the bunny instructions above.
- If making an opening carrot, install a zipper or Velcro closure along one side.
- Sew the carrot pieces together, attaching the leaves at the top and incorporating your closure.
- Turn right side out, insert the bunny, and stuff around it.
- Close the final opening at the bottom of the carrot.
This two-in-one toy creates a delightful surprise element that kids absolutely love. It’s like an Easter egg hunt in plush form!
Pro Tip: If sewing a zipper seems daunting, use Velcro instead—it’s much more forgiving and still creates the fun “reveal” effect.
Customization Ideas for Your DIY Plush Easter Toys
What I love most about making DIY plush Easter toys is how easily they can be personalized. Here are some ways to make your creations unique:
- Add names: Embroider or write names on the toys for personalized Easter basket gifts
- Scented stuffing: Add a few drops of lavender essential oil to the stuffing for a calming scent
- Noise makers: Insert small bells or crinkle material inside for sensory play
- Size variations: Scale patterns up or down to create families of plushies
- Themed collections: Create a set with coordinating fabrics or colors
- Clothing and accessories: Add removable items like hats, scarves, or vests
I once made a set of bunnies for triplets, each with their initial and favorite color. Years later, their mom told me they still bring them out every Easter. That’s the kind of lasting joy these handmade treasures can bring!
No-Sew Options for DIY Plush Easter Toys
Don’t sew? No problem! There are several ways to create adorable plush toys without threading a needle:
Sock Bunnies:
- Fill a clean sock with stuffing.
- Tie off with rubber bands to create head and body sections.
- Cut the top of the sock to make ear shapes.
- Use fabric glue to attach googly eyes and a pom-pom nose.
Felt Pocket Plushies:
- Cut two identical Easter shapes from stiff felt.
- Use fabric glue to seal the edges, leaving an opening.
- Stuff lightly and seal completely.
- Decorate with fabric markers or glued-on embellishments.
These no-sew options are perfect for craft sessions with younger children or for those times when you want a quick project without hauling out the sewing supplies.
Using Your DIY Plush Easter Toys
Now that you’ve created these adorable toys, how can you use them? The possibilities are endless!
- Easter basket fillers: Handmade plushies make Easter baskets special and unique
- Seasonal decor: Create a spring vignette on a mantel or table
- Easter egg hunt markers: Use larger plushies to mark areas for searching
- Photo props: Perfect for Easter photo sessions with little ones
- Classroom gifts: Small plushies make sweet gifts for classmates or teachers
- Storytelling aids: Use them to tell Easter stories or create puppet shows
One year, I created a “plush Easter garden” on our dining table as a centerpiece—a green fabric “lawn” with plush bunnies, chicks, and eggs arranged among real flowerpots. It was a hit and has become a tradition we look forward to setting up each year.
Key Takeaways for Creating DIY Plush Easter Toys
- Start with simple shapes and basic stitches if you’re a beginner
- Prepare all materials before beginning to make the process smoother
- Don’t worry about perfection—handmade charm includes little imperfections
- Consider the age of the recipient when choosing materials and embellishments
- Create traditions by making new plush toys each Easter to build a collection
Conclusion
Creating DIY plush Easter toys brings together the joy of crafting with the warmth of holiday traditions. There’s something incredibly satisfying about seeing a pile of fabric transform into charming characters that bring smiles to loved ones’ faces. Whether you’re making these as gifts, decorations, or activities to share with children, the process itself is as rewarding as the finished product.
I encourage you to start simple and gradually try more complex designs as your confidence grows. Remember that these handmade treasures carry something no store-bought toy can—your time, creativity, and love stitched into every seam. That’s what makes DIY plush Easter toys so special and why they often become cherished keepsakes that are brought out year after year.
Now grab those supplies and hop to it—your Easter plush toy workshop awaits!
Frequently Asked Questions
-
What fabrics work best for DIY plush Easter toys?
Felt is ideal for beginners because it doesn’t fray and is easy to work with. Fleece and minky fabrics create super-soft plushies but can be slightly trickier to sew. Cotton fabrics work well for detailed patterns but require finished seams. For textured effects, consider terry cloth for chicks or looped fabric for lambs. Always pre-wash fabrics (except felt) before sewing to prevent shrinkage later.
-
How can I make these toys child-safe?
For children under three, avoid small detachable parts like buttons or beads that could pose choking hazards. Instead, embroider eyes and other features or use fabric paint. Ensure all stitching is secure and reinforced, especially at stress points. Use hypoallergenic stuffing, and double-check that all pins have been removed. For very young children, consider machine-washing the finished toy before gifting to remove any loose fibers or residual chemicals.
-
Can I use a sewing machine instead of hand-stitching?
Absolutely! A sewing machine can speed up the process significantly, especially for straight seams. Use a medium stitch length and go slowly around curves. For small or intricate pieces, hand-stitching may still be necessary. If using stretchy or slippery fabrics, a walking foot attachment can be helpful. Remember to backstitch at the beginning and end of each seam for durability.
-
How long does it typically take to make one plush toy?
The time investment varies widely depending on the complexity of the design and your experience level. A simple egg plush might take just 30-60 minutes, while a detailed bunny with clothing could require several hours spread over multiple sessions. I find it helpful to break the project into stages: cutting one day, sewing the next, and finishing details on the third day. This approach makes even complex projects manageable and enjoyable.
-
Can children help with making these toys?
Definitely! Adjust their involvement based on age and ability. Very young children (3-5) can help select fabrics, stuff the toys, and add simple decorations with supervision. School-aged children (6-9) can learn basic hand-stitching with a blunt needle and help with cutting simple shapes. Older children (10+) might be able to complete simpler projects entirely on their own. Creating DIY plush Easter toys together makes for wonderful family memories and teaches valuable crafting skills.