No promos found for this category.
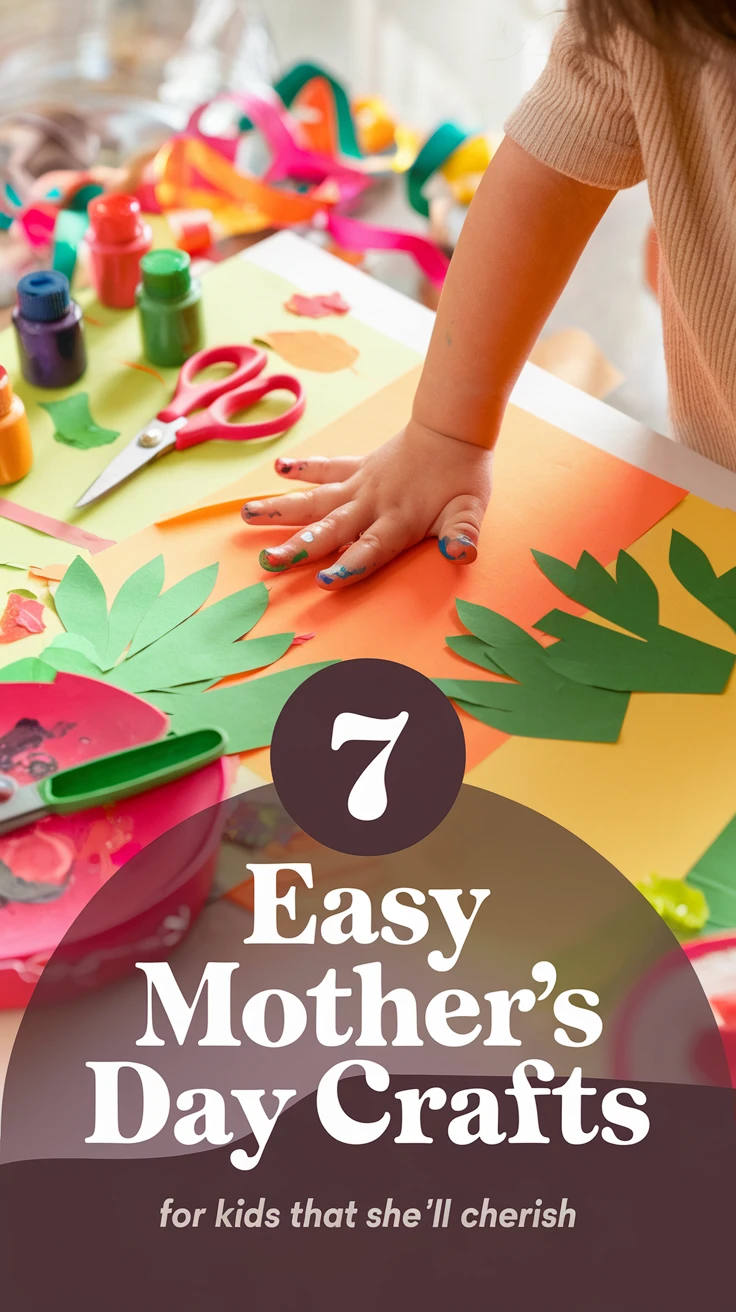
Celebrating Mother’s Day with Love and Creativity
Mother’s Day is that special time of year when we get to celebrate the amazing women who nurture, love, and support us through thick and thin. As a parent and craft enthusiast, I’ve found that there’s something truly magical about handmade gifts from little ones. There’s nothing quite like watching a child’s face light up with pride as they present mom with something they’ve created with their own hands.
I remember the first time my son made me a Mother’s Day craft at preschool—a simple painted handprint on construction paper. Years later, I still have it displayed in my home office. These **easy Mother’s Day crafts for kids** aren’t just activities to keep little hands busy; they create lasting mementos that moms will treasure for years to come.

In this article, I’ve compiled seven simple yet meaningful craft ideas that are perfect for children of various ages. Most require materials you likely already have at home, and all are designed to be doable for kids while creating something mom will genuinely love to receive.
1. Creating a Handprint Bouquet
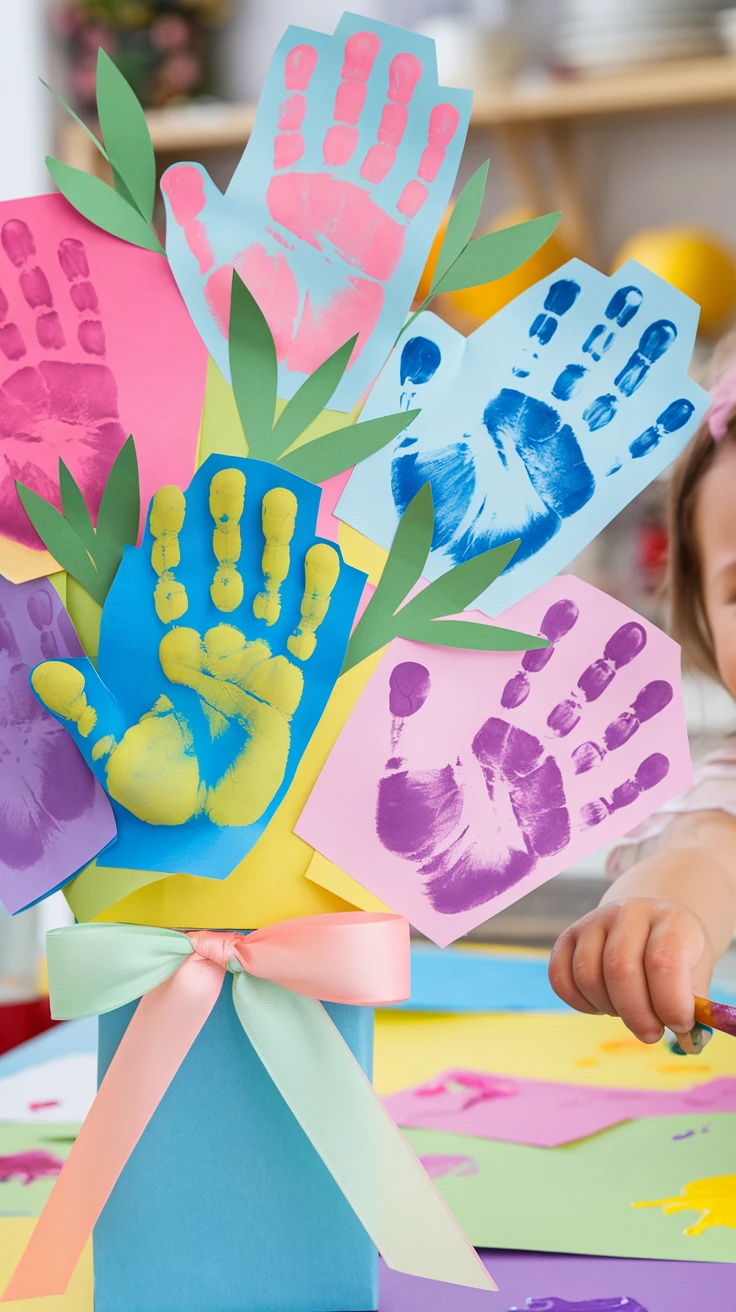
A handprint bouquet is a classic Mother’s Day craft that captures a moment in time—those tiny hands won’t stay tiny forever!
For this craft, you’ll need:
- Colorful construction paper
- Child-safe paint in various colors
- Green construction paper for stems
- Scissors
- Glue
- Ribbon (optional)
Have your child press their paint-covered hand onto colored paper to create “flowers.” Once dry, cut around each handprint, leaving a small border. Cut stem shapes from green paper, attach them to the handprints, and arrange them into a bouquet. You can tie them together with a ribbon or glue them onto a larger piece of paper.
I learned the hard way that having wet wipes ready is essential for this craft! The first time we tried this at home, my kitchen looked like a rainbow had exploded. But the mess was worth it—my mother-in-law still has her handprint bouquet displayed five years later.

View on AmazonAs an Amazon Associate, I earn from qualifying purchases.

View on AmazonAs an Amazon Associate, I earn from qualifying purchases.
Pro Tip: Add the date and child’s age on the back of each handprint flower to make this keepsake even more special when mom looks back on it years later.
2. Designing a Personalized Photo Frame
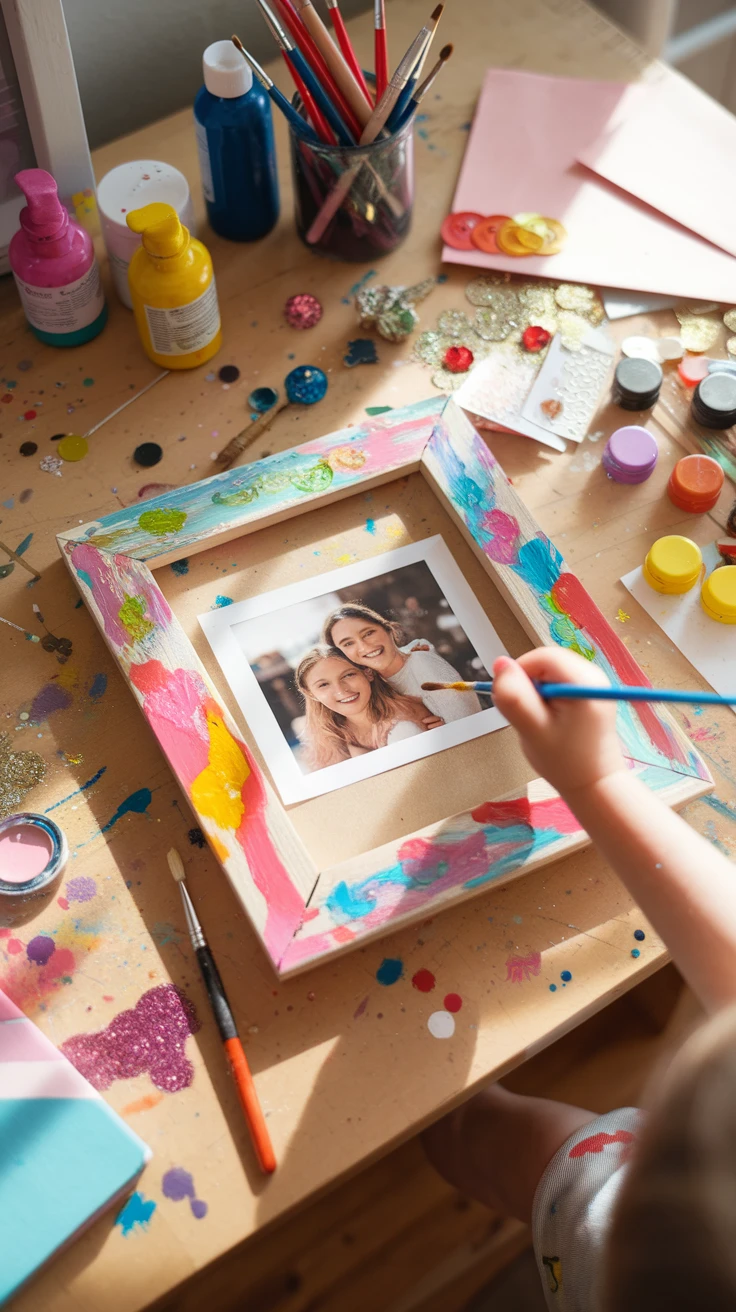
Transform a plain picture frame into a personalized work of art containing a special memory.
Gather these supplies:
- Unfinished wooden frame (available at craft stores)
- Acrylic paint or markers
- Decorative items (buttons, stickers, sequins, etc.)
- Craft glue
- A special photo of mom and child
Let your child paint the frame however they like. Once dry, they can add decorations with craft glue. Insert a favorite photo of mom with the child for that perfect personal touch.
When my daughter made this craft in kindergarten, she went a little overboard with the glitter glue. I still find sparkles in our carpet, but the frame sits proudly on my nightstand, glitter and all. The imperfections make it perfect!
Pro Tip: If working with very young children, pre-apply dots of glue around the frame and let them place the decorative elements on the glue spots to minimize mess.
3. Crafting a Decorative Jewelry Dish
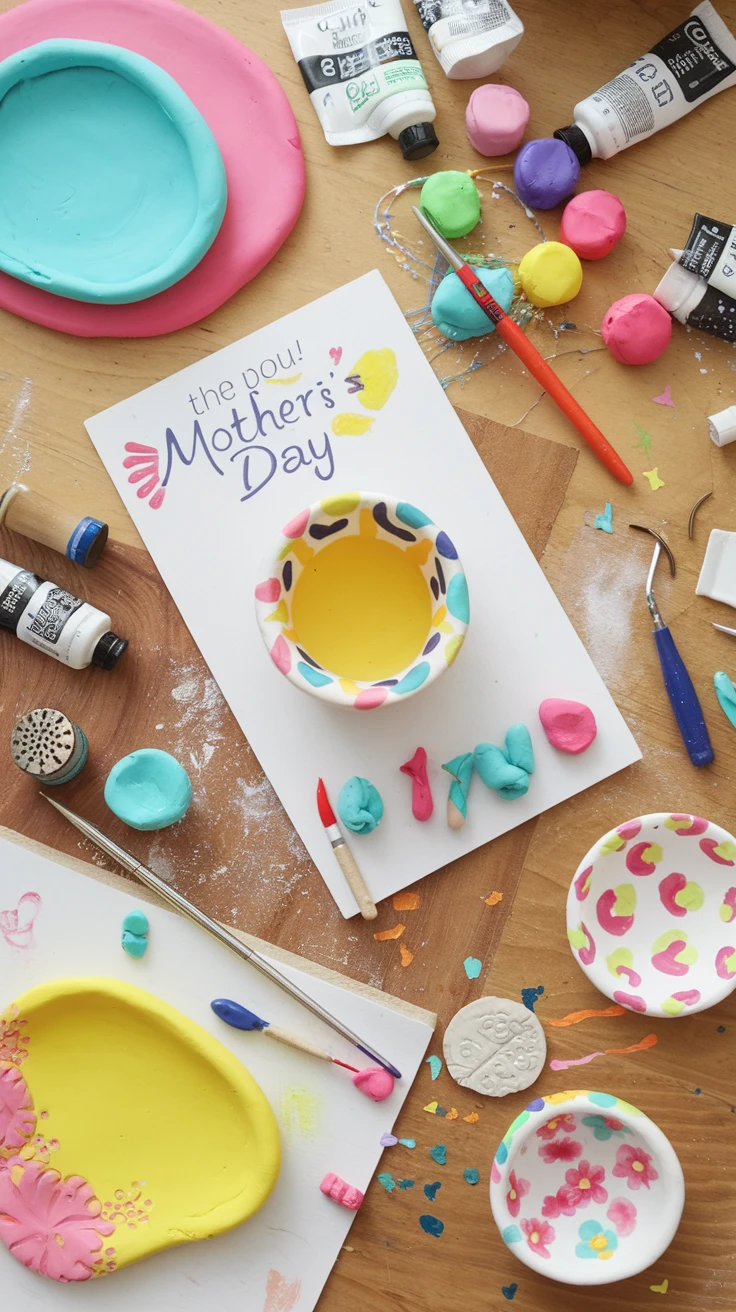
Create a practical gift that mom can use daily to hold her rings or earrings.
You’ll need:
- Air-dry clay (or salt dough if you prefer a homemade option)
- Small bowl for shaping
- Acrylic paint
- Clear sealer (optional)
- Stamps or tools for adding texture (optional)
Help your child roll out the clay to about ¼ inch thickness. Drape it over an upside-down bowl to create the dish shape. Trim around the edges to create a circle, and smooth the edges with a little water. Let the clay dry completely according to package instructions.
Once dry, children can paint their dish with mom’s favorite colors or patterns. For added durability, coat with a clear sealer when the paint is dry.

View on AmazonAs an Amazon Associate, I earn from qualifying purchases.

View on AmazonAs an Amazon Associate, I earn from qualifying purchases.
I tried making these with my son’s preschool class once, and let me tell you—23 four-year-olds and clay is quite the adventure! But each mom received a one-of-a-kind dish that became a special dresser-top treasure.
4. Making a Unique Handmade Card
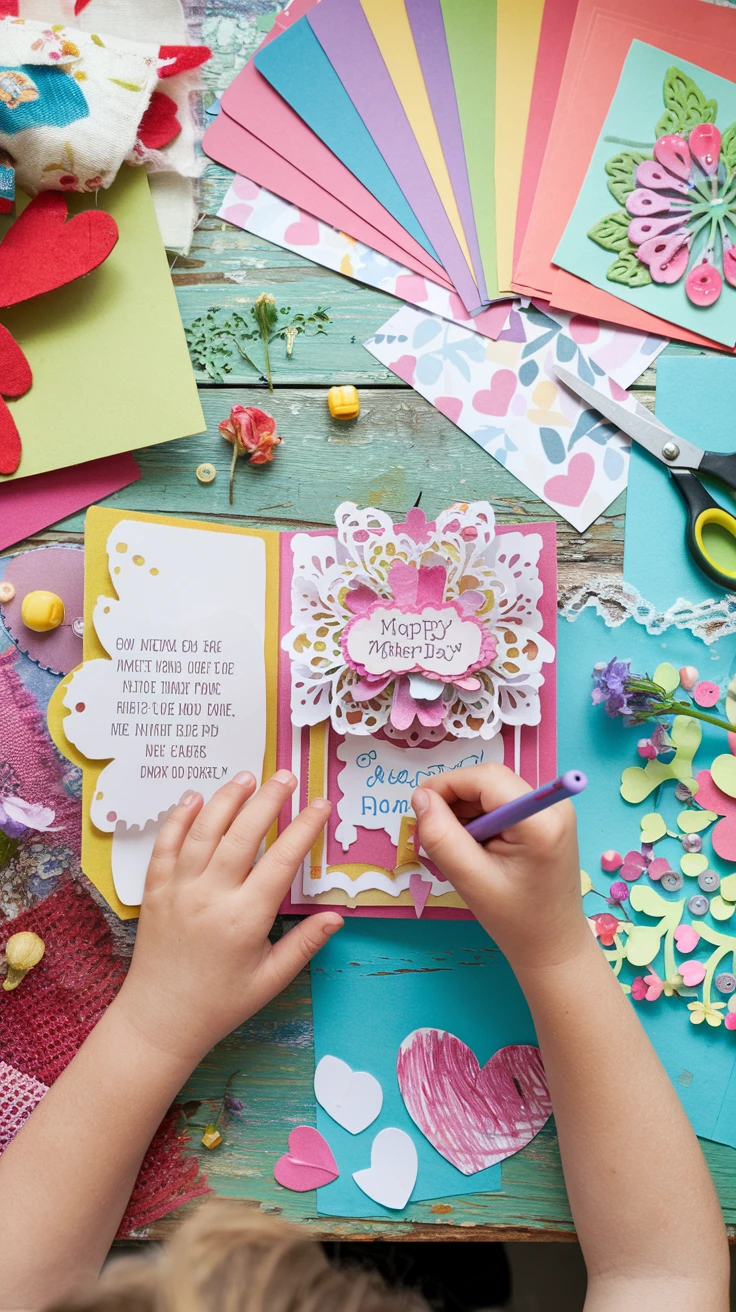
Take the traditional Mother’s Day card to the next level with these creative twists.
Gather these materials:
- Cardstock or construction paper
- Decorative papers, fabric scraps, or recycled materials
- Scissors and glue
- Markers or crayons
- Pop-up card templates (optional – easily found online)
For a simple pop-up effect, fold a piece of cardstock in half. Cut two parallel slits in the fold, about 1-2 inches long and 1 inch apart. Fold the section between the slits inward to create a tab that will “pop” when the card is opened. Kids can decorate this tab with a heart, flower, or “I love you” message.
Alternatively, help your child create a textured collage card using fabric scraps, buttons, or even natural materials like pressed flowers.
My daughter once included a lock of her hair in a card for me (without telling me first!). While I was initially surprised to find hair in my card, it’s now a funny memory we both cherish.
Pro Tip: For younger children who can’t yet write, ask them questions about mom and write down their answers verbatim in the card. These honest, often hilarious responses make for heartwarming keepsakes.
5. Painting Your Heart Out on a Flower Pot
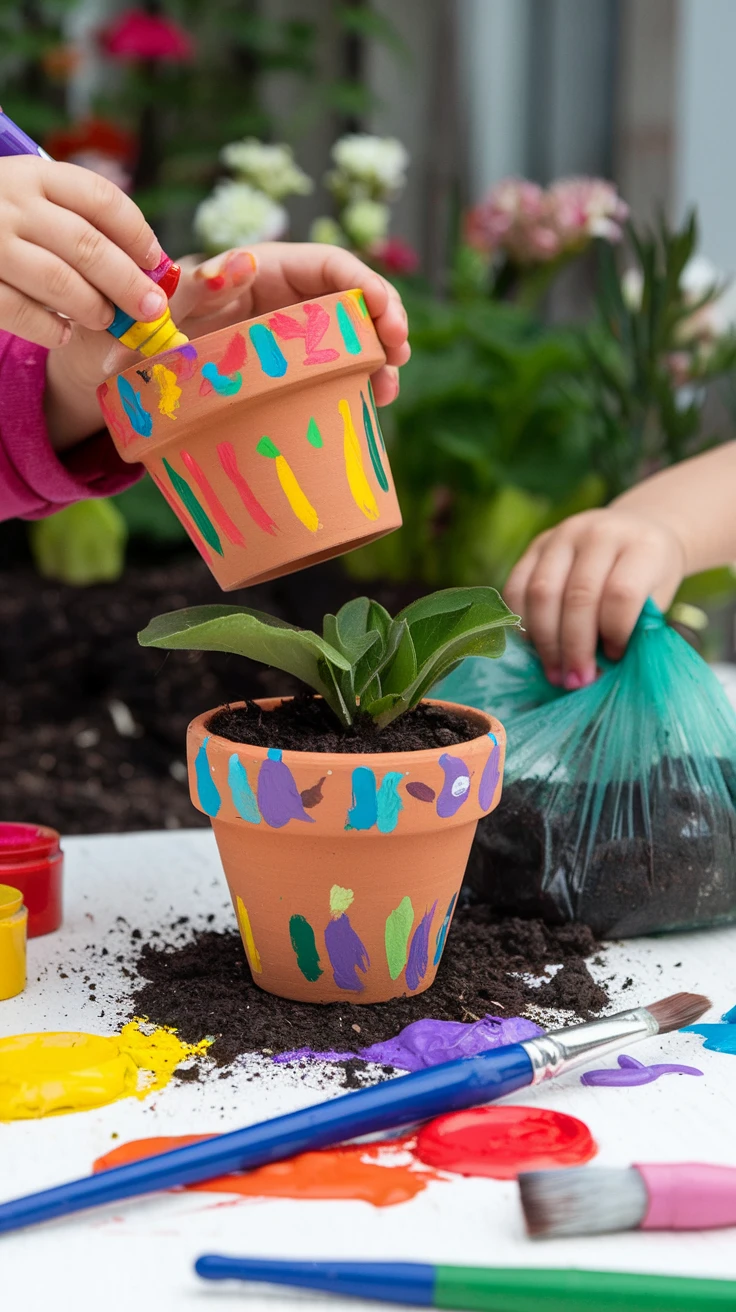
This **easy Mother’s Day craft for kids** combines art with gardening for a gift that keeps on growing.
You’ll need:
- Small terracotta pot
- Acrylic paints in various colors
- Paintbrushes
- Clear acrylic sealer spray (adult use only)
- Potting soil and a small plant or seeds
Have your child paint designs, patterns, or messages on the pot. Terracotta absorbs paint quickly, so you might need two coats for vibrant colors. Once the paint is completely dry, an adult should apply a clear sealer to protect the artwork from water and weather.
Plant mom’s favorite flowers, herbs, or a small succulent in the pot for a gift that will continue to bring joy.

View on AmazonAs an Amazon Associate, I earn from qualifying purchases.

View on AmazonAs an Amazon Associate, I earn from qualifying purchases.
Last year, my son painted a pot with blue and green swirls that he said represented “the whole earth” because “moms hold up the whole world.” Those profound moments make these crafts even more special.
6. Creating a Button Art Canvas

Button art creates a textured, colorful piece that mom can display year-round.
Gather these supplies:
- Small canvas (5×7 or 8×10 works well)
- Assorted buttons in various colors and sizes
- Strong craft glue
- Pencil
- Acrylic paint (optional for background)
If desired, help your child paint a background color on the canvas and let it dry completely. Then, lightly sketch a simple design like a heart, flower, or the letter “M” for mom. Apply glue along the pencil lines and have your child place buttons along the pattern.
For younger children, you can apply the glue in small sections at a time to make the process more manageable.
I’ve found that sorting buttons by color before starting helps kids visualize their design better. When my son made his button art, he insisted on using only blue buttons because “blue is the color of love.” I didn’t have the heart to tell him it’s traditionally red!
Pro Tip: Look beyond traditional buttons! Consider using old puzzle pieces, bottle caps, or small shells for unique textures and appearances.
7. Assembling Scented Sachets
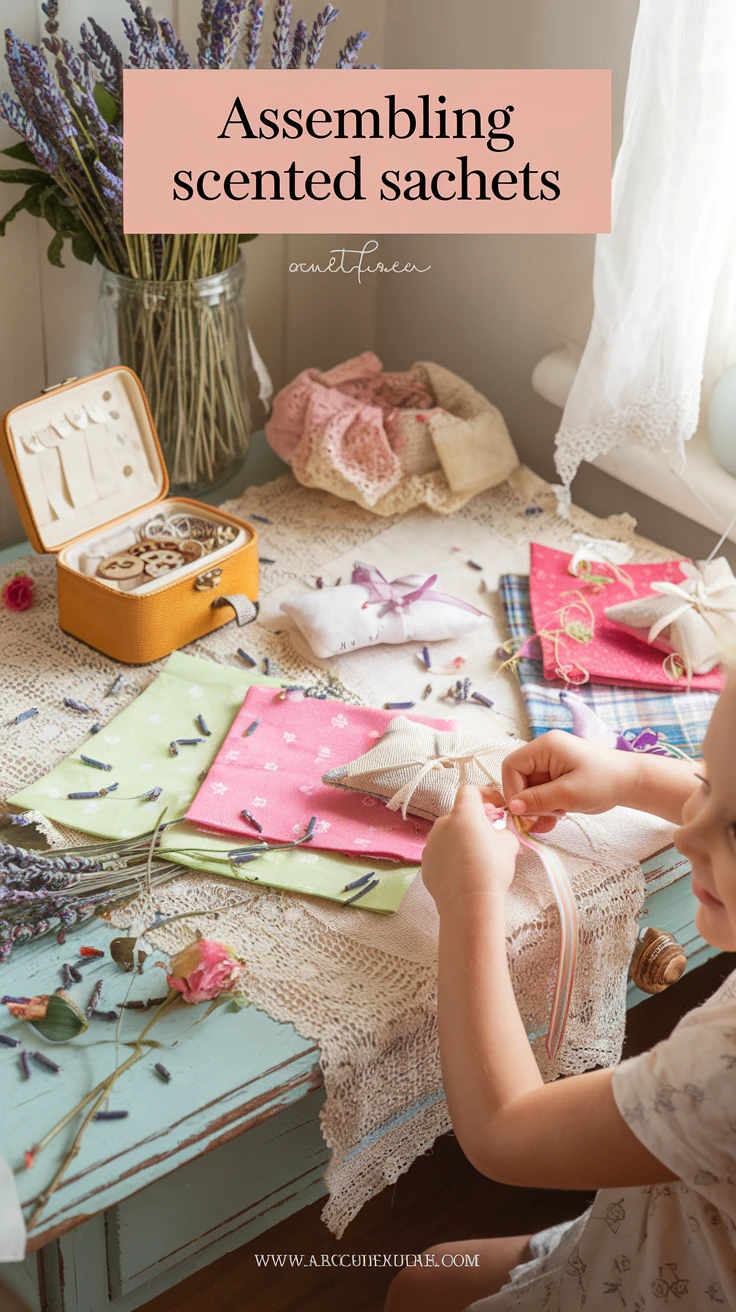
These sweet-smelling sachets are perfect for mom’s dresser drawers or closet.
You’ll need:
- Small squares of fabric (5×5 inches works well)
- Dried lavender, rose petals, or potpourri
- Ribbon
- Fabric glue (for no-sew option) or needle and thread
- Decorative elements like buttons or lace (optional)
For a no-sew version, place two fabric squares with right sides facing out. Apply fabric glue along three edges, leaving one side open. Once dry, fill with dried herbs or potpourri, then seal the final edge with glue. Tie a ribbon around the sachet and add any decorative elements.
If you’re comfortable with basic sewing, you can stitch the squares together instead of using glue for a more durable sachet.

View on AmazonAs an Amazon Associate, I earn from qualifying purchases.

View on AmazonAs an Amazon Associate, I earn from qualifying purchases.
I once helped my daughter’s Girl Scout troop make these, and one girl accidentally used chili flakes instead of dried rose petals from my spice cabinet. Thankfully, we caught it before her mom received a very surprising “spicy” sachet!
The Joy of Handmade Gifts
These **easy Mother’s Day crafts for kids** are more than just activities—they’re opportunities to create lasting memories. The slightly wobbly handwriting, the not-quite-straight lines, and the enthusiastic application of glitter are what make these gifts so precious.
As both a mom who has received these treasures and someone who has helped children create them for other moms, I can attest that these simple crafts often become some of the most cherished possessions. They capture a moment in time—a child’s creativity, their developing skills, and most importantly, their love.
So gather your supplies, prepare for a bit of mess (it’s part of the fun!), and help the children in your life create something special for Mother’s Day. The joy on both the child’s face when giving their creation and the mom’s face when receiving it is truly priceless.
Remember, the **easy Mother’s Day crafts for kids** that resonate most are those made with love and sincerity. The perfect gift isn’t about perfection—it’s about connection.
No promos found for this category.