Introduction
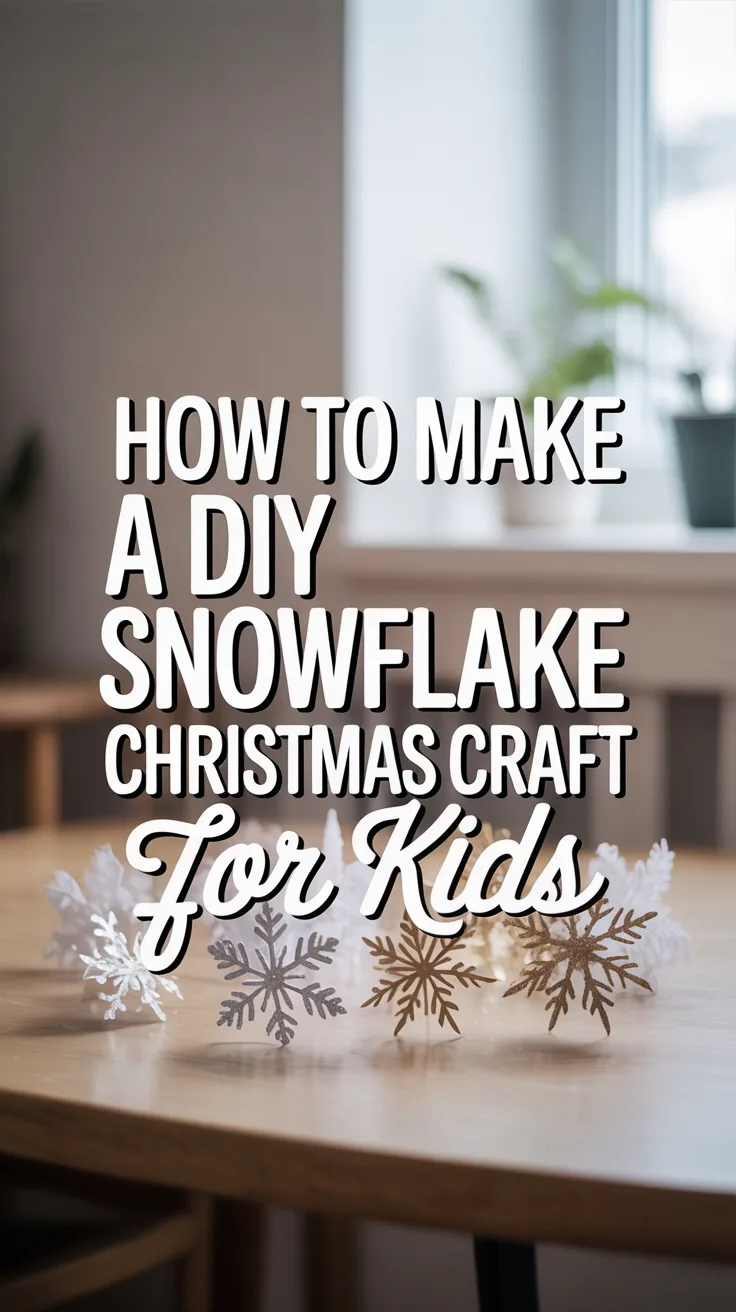
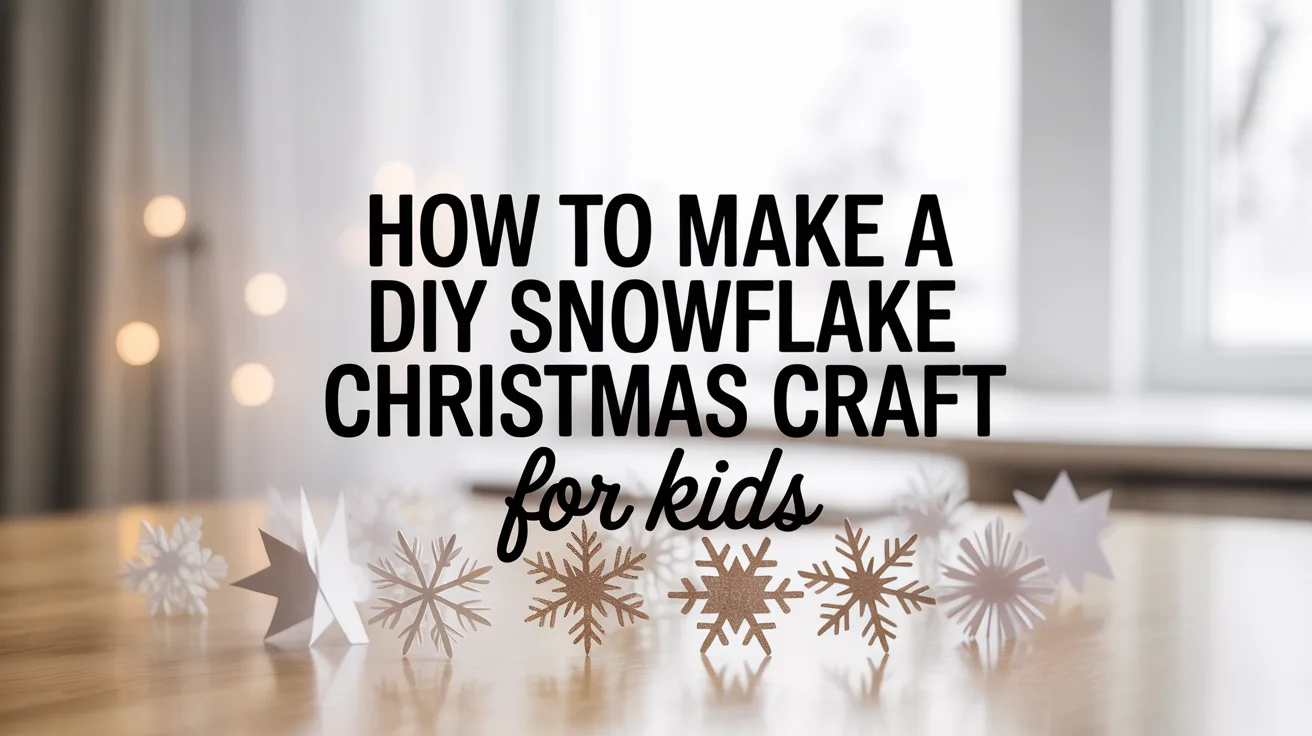
There’s something magical about watching snowflakes gently fall from the sky during winter. While I can’t control the weather, I’ve found that creating DIY snowflake Christmas crafts with my kids brings that same wonder indoors! Over the years, these paper creations have become a cherished holiday tradition in our home. I still remember the first time my daughter’s eyes lit up when we hung her handmade snowflakes from the ceiling—it was like bringing a winter wonderland inside. In this guide, I’ll walk you through everything you need to know to create beautiful paper snowflakes that will transform your home into a festive winter paradise.
Gathering Your Materials
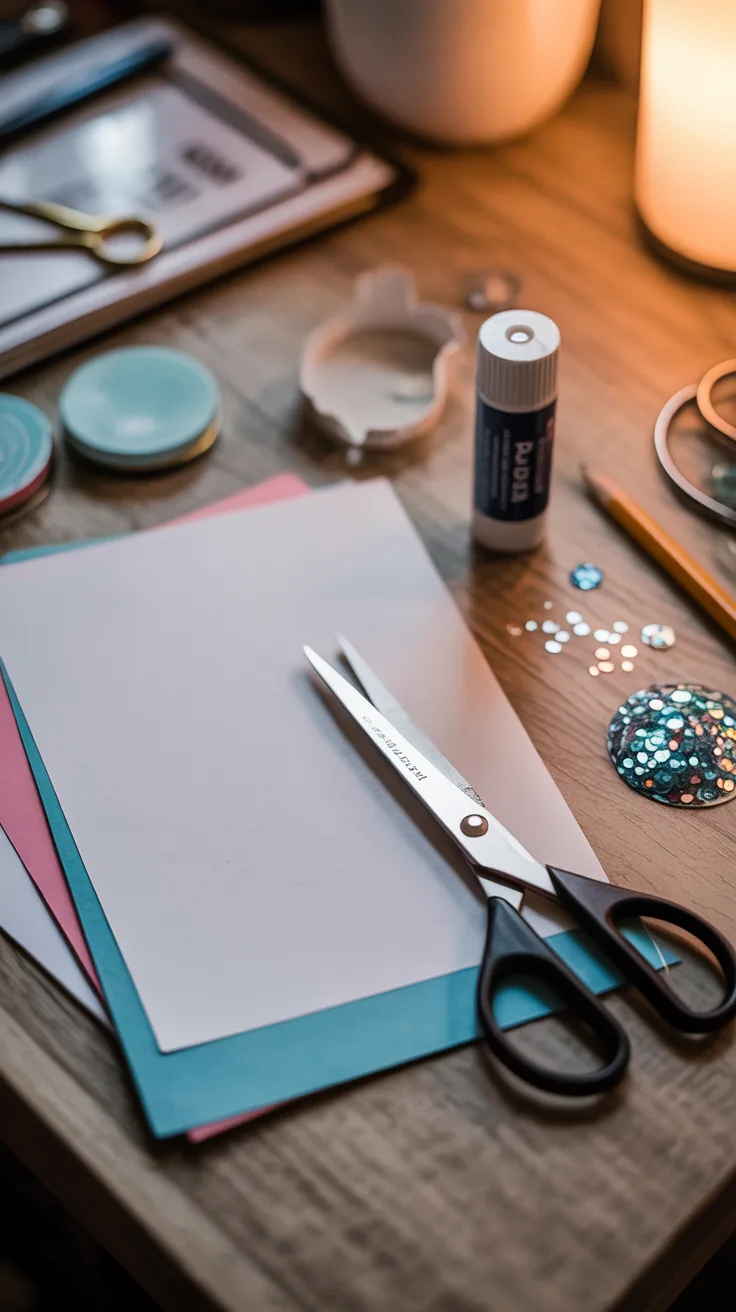
Before diving into this craft, I’ve learned (sometimes the hard way!) that having everything prepared makes the experience much more enjoyable. Here’s what you’ll need:
- Paper (white copy paper works great, but colored paper or cardstock creates more durable snowflakes)
- Sharp scissors (adult scissors for complex cuts, safety scissors for younger children)
- Pencil for tracing designs
- Glue stick or white school glue
- Decorative elements like glitter, sequins, or rhinestones
- String, fishing line, or ribbon for hanging
- Optional: hole punch, craft stick for applying glue, spray adhesive
Pro Tip: I’ve found that coffee filters make excellent snowflakes! They’re already round, thin enough to cut easily, and have a lovely translucent quality when hung in front of windows.
Last Christmas, I tried using fancy metallic paper only to discover it was too thick for intricate cutting. Regular printer paper or thin cardstock offers the perfect balance between durability and flexibility for detailed designs.
Preparing Your Workspace
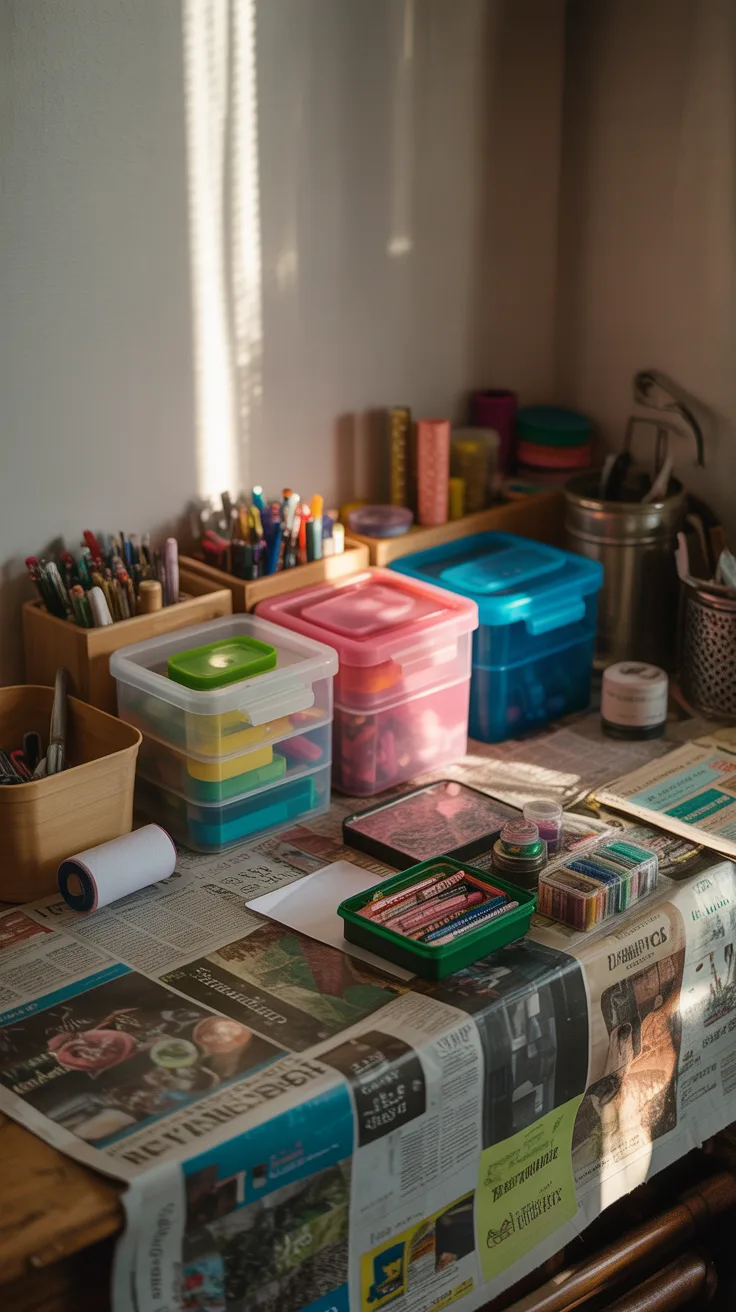
Setting up a proper crafting area will save you from finding glitter in your carpet months later (trust me on this one!).
- Cover your work surface with an old tablecloth, newspapers, or a plastic drop cloth
- Set up separate containers for different craft supplies
- Place a small trash bin nearby for paper scraps
- Ensure good lighting so children can see their cutting lines clearly
- Have damp paper towels ready for sticky fingers
- Create a designated drying area for completed snowflakes
Pro Tip: For easy cleanup of glitter spills, use a lint roller! It picks up those stubborn sparkly bits much better than a vacuum or broom.
I once skipped setting up a proper workspace and ended up with glue on our dining table for weeks. A little preparation goes a long way in making this a stress-free activity!
Step-by-Step Guide to Making Snowflakes
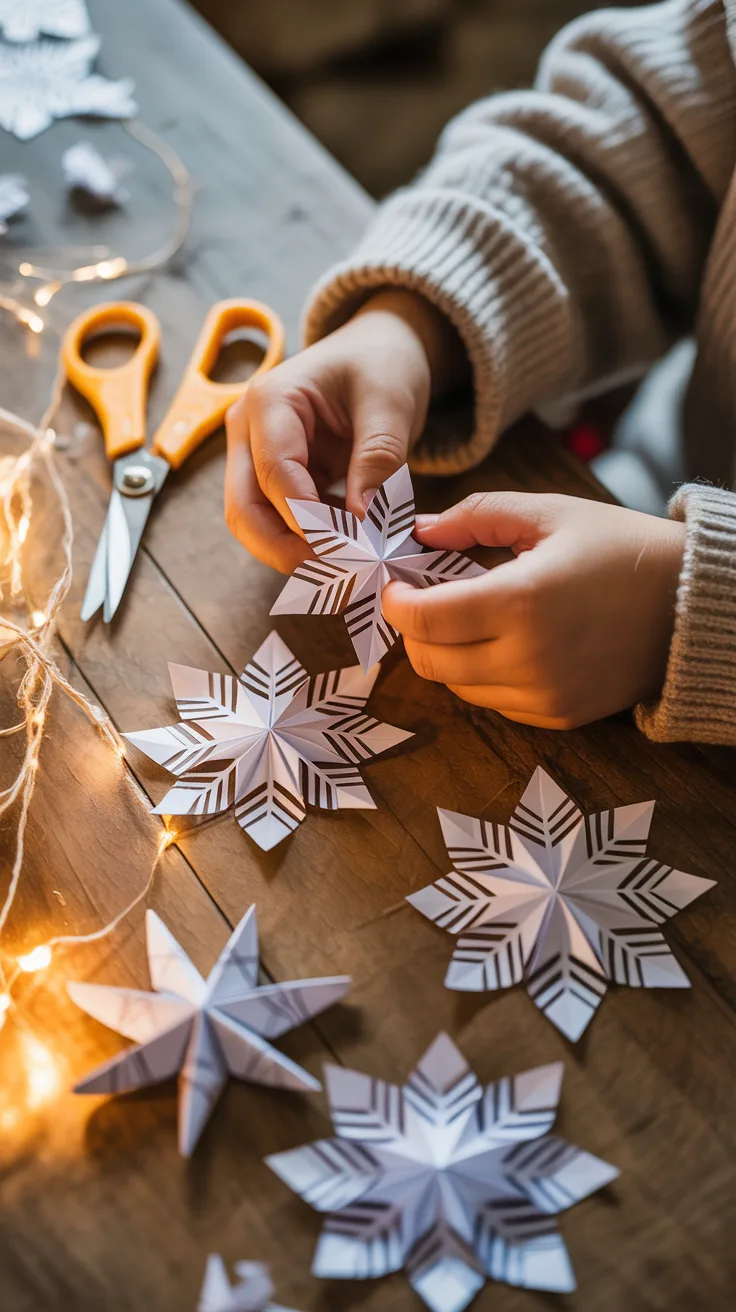
Now for the fun part! Making snowflake Christmas crafts is surprisingly simple once you understand the folding technique. I’ll guide you through the process I’ve refined over years of crafting with my own children.
The secret to beautiful snowflakes lies in the folding. Each fold creates symmetry that results in those stunning six-pointed designs we associate with real snowflakes.
Cutting the Snowflake Shapes
- Start with a square piece of paper (if using rectangular paper, fold one corner to the opposite edge and cut off the excess strip)
- Fold the square diagonally to form a triangle
- Fold this triangle in half again to create a smaller triangle
- Fold this triangle into thirds (this is the trickiest part—I find it helps to first mark the triangle at equal thirds)
- Trim the top of your folded paper at an angle to create the pointed tip of your snowflake
- Cut different shapes into the edges of your folded paper—triangles, squares, curves, or whatever designs you like
- Carefully unfold to reveal your unique snowflake!
Pro Tip: If you’re working with younger children, pre-fold the paper for them and draw cutting lines they can follow with safety scissors. This prevents frustration and keeps the activity enjoyable.
I still laugh about the time I tried to rush through the folding process and ended up with a five-pointed snowflake that looked more like a star. Remember that patience is key to getting those perfect six points!
Decorating Your Snowflakes
Plain white snowflakes are beautiful on their own, but decorating them adds a personal touch and extends the crafting fun. Here are some decoration ideas we’ve enjoyed:
- Brush a thin layer of glue over the snowflake and sprinkle with glitter
- Add small sequins or rhinestones to the points and intersections
- Use metallic markers to trace the edges
- Spray with scented spray for aromatic snowflakes
- Layer different sized snowflakes together for a 3D effect
- Add a light coat of white glitter glue for a frosty appearance
Pro Tip: To contain glitter mess, decorate snowflakes inside a large, shallow box. The sides will catch most of the excess glitter, which you can then funnel back into your glitter container.
My daughter once decided that pink and purple were more “wintery” than white, and you know what? Her colorful snowflakes brought so much joy that we now make them in all colors of the rainbow. There are no rules when it comes to creative expression!
Displaying Your Snowflakes
After you’ve created your DIY snowflake Christmas crafts, it’s time to show them off! Here are my favorite ways to display these beautiful creations:
- Hang from the ceiling using clear fishing line at varying heights for a snowfall effect
- Tape to windows where the light will shine through them
- Create a snowflake mobile by attaching them to an embroidery hoop
- String them together to make a winter garland
- Attach to gift packages as decorative toppers
- Frame special snowflakes in shadow boxes as keepsakes
- Use as place cards for holiday dinners by writing names in the center
Pro Tip: For ceiling hanging, I use small, clear removable adhesive hooks turned upside down. They don’t damage the ceiling and are nearly invisible.
Last year, we created a “snowflake curtain” in our hallway by hanging dozens of snowflakes from a tension rod. Walking through it became everyone’s favorite part of visiting our home during the holidays!
Remember that snowflakes don’t have to be limited to December. In our house, we keep some up all winter long to brighten those gray January days when the holidays are over but spring still feels far away.
Frequently Asked Questions
What kind of paper is best for snowflake crafts?
Regular printer paper is excellent for beginners as it’s easy to fold and cut. For more durable snowflakes, use lightweight cardstock. Coffee filters create beautiful, delicate snowflakes with a translucent quality. Avoid very thick papers as they’re difficult to fold precisely and cut through multiple layers.
How can I make my snowflakes more durable?
To preserve your snowflakes for future years, spray them with a clear acrylic sealer after they’re completely dry. You can also laminate special snowflakes or dip them in a solution of equal parts white glue and water, then let them dry flat on wax paper. The glue mixture dries clear and adds significant strength.
Can I use other materials besides paper?
Absolutely! Fabric snowflakes can be made from felt or cotton (though they won’t fold as crisply as paper). Foam sheets work well for younger children who are still developing cutting skills. For a natural look, try using thin birch bark or pressed leaves. I’ve even seen beautiful snowflakes made from popsicle sticks arranged in patterns!
How do I safely involve young children in this craft?
For children under 5, pre-cut snowflakes and let them focus on decorating with glue sticks and safe materials like tissue paper bits or washable glitter. Children 5-7 can use safety scissors on pre-folded paper with cutting lines drawn for them. Always supervise closely and demonstrate techniques first. Remember that perfection isn’t the goal—creative expression and fun are what matter most!
What are some creative ways to hang snowflakes?
Beyond the traditional ceiling and window displays, try creating a snowflake chandelier over your dining table using a wire wreath form as the base. Snowflakes can be attached to twinkle light strands for a magical nighttime effect. For a modern look, arrange snowflakes in a gradient pattern on a wall, going from smallest to largest. You can also float them in clear glass ornaments or create a snowflake “tree” by hanging them on a branch arrangement in a vase.