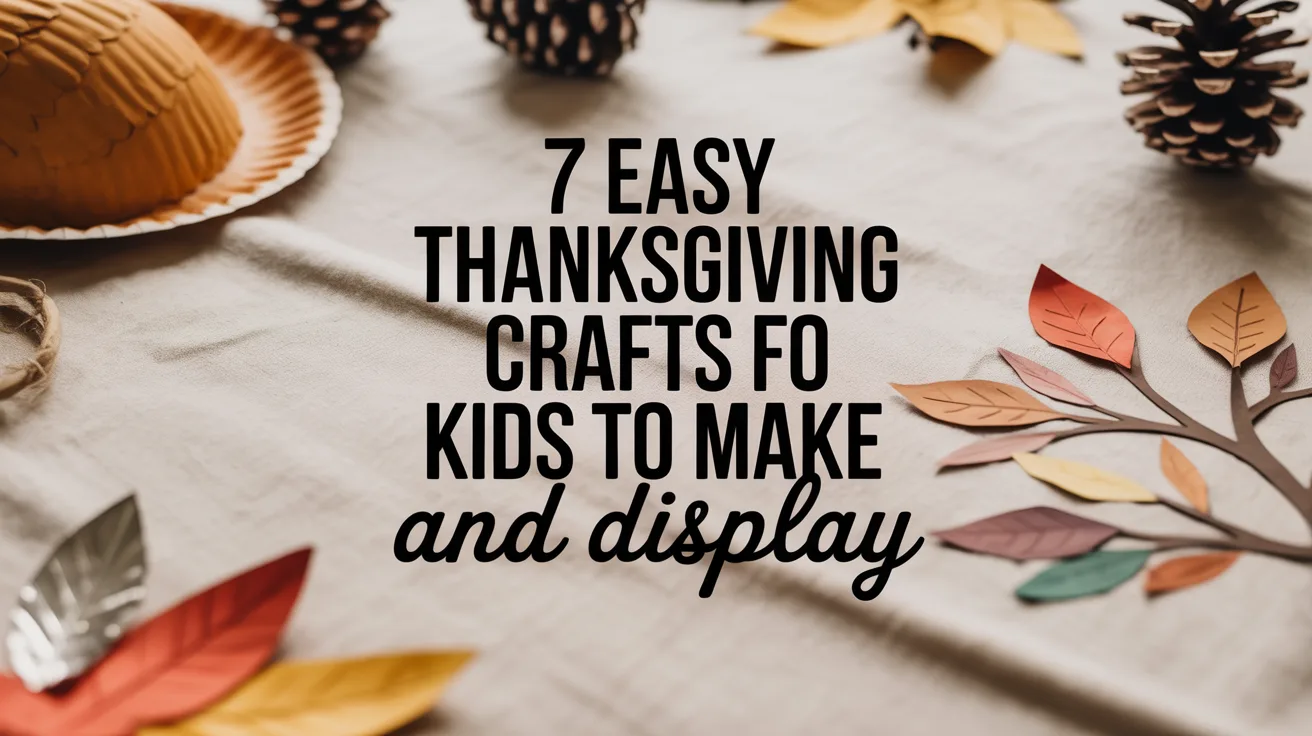
Introduction to Thanksgiving Crafts
As a mom of three, I’ve found that Thanksgiving is the perfect time to engage kids in creative activities that celebrate the season of gratitude. When my children were younger, I discovered that **Thanksgiving crafts** not only kept them entertained during the holiday preparations but also helped them develop fine motor skills and express their creativity in meaningful ways.
I remember my first attempt at organizing a craft session with my kids before Thanksgiving dinner. Let’s just say glitter ended up in places I’m still finding years later! But despite the mess, the joy on their faces when they displayed their creations on our holiday table made it all worthwhile.
These seven easy **Thanksgiving crafts** are perfect for kids of all ages and require minimal supplies—most of which you probably already have around the house. Plus, they make beautiful decorations that will have your guests impressed with your little artists’ talents!
Paper Plate Turkeys

Paper plate turkeys were the first **Thanksgiving craft** I ever made with my children, and they remain a favorite in our household. They’re simple enough for preschoolers but can be customized by older kids for more elaborate designs.
- Materials needed: Paper plates, colored construction paper, scissors, glue, markers, googly eyes (optional), and feathers (optional)
- Step 1: Cut feather shapes from different colors of construction paper
- Step 2: Have your child glue the feathers around the edge of the paper plate
- Step 3: Cut out a small triangle from orange paper for the beak
- Step 4: Add eyes (drawn or googly) and a beak to create the turkey’s face
- Step 5: Draw legs or cut them from construction paper and attach to the bottom of the plate
Pro Tip: I’ve found that using a brown paper lunch bag folded in half and attached to the back of the plate creates a 3D turkey body that stands up on its own—perfect for table decorations!
Pine Cone Centerpieces
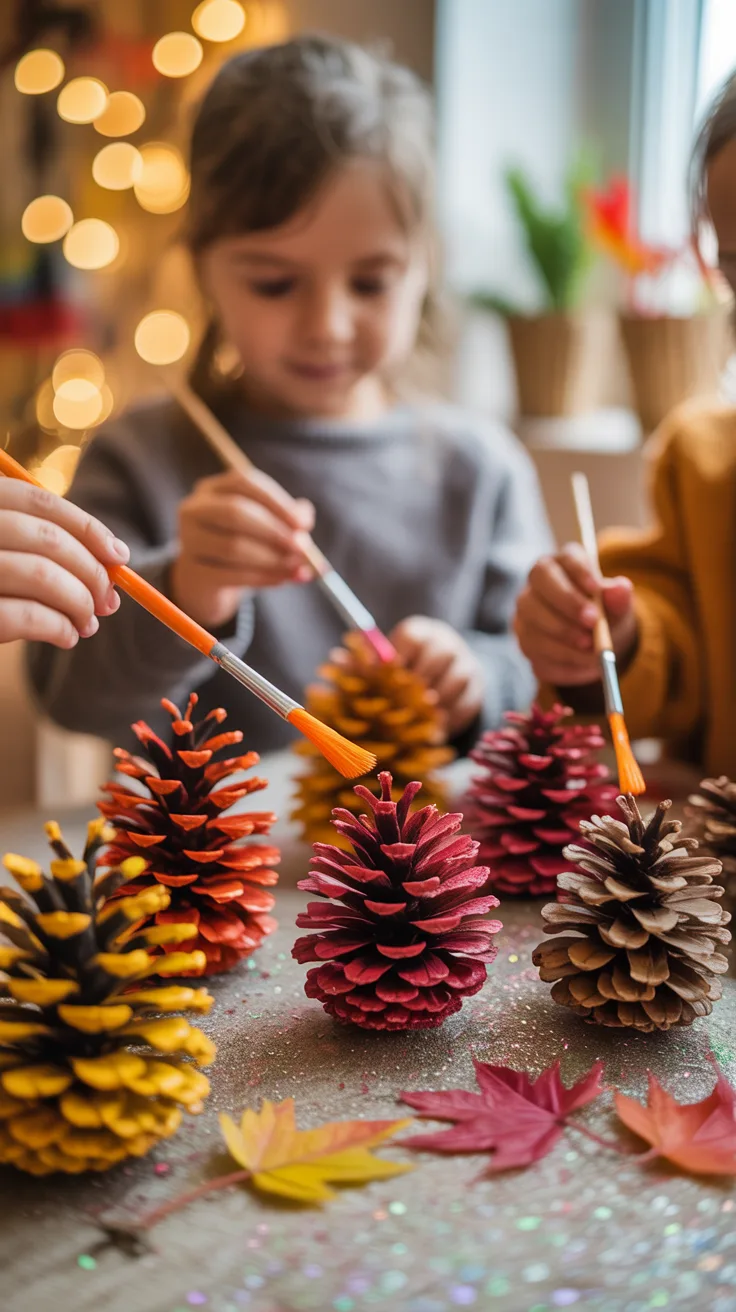
One year when our budget was tight, I took the kids on a pine cone hunting expedition in our neighborhood. What started as a money-saving craft turned into one of our most cherished traditions.
- Materials needed: Pine cones, acrylic paint, paintbrushes, glitter (optional), ribbon, small plastic container or vase
- Step 1: Clean pine cones by soaking them in warm, soapy water for 30 minutes, then allow to dry completely (this prevents bugs!)
- Step 2: Paint the tips of the pine cones in fall colors like orange, red, and yellow
- Step 3: While the paint is still wet, sprinkle with glitter if desired
- Step 4: Once dry, tie a ribbon around the base of each pine cone
- Step 5: Arrange several painted pine cones in a small container for a beautiful centerpiece
Pro Tip: Add a few drops of cinnamon essential oil to the pine cones for a wonderful autumn scent that will fill your dining room!
Thankful Trees
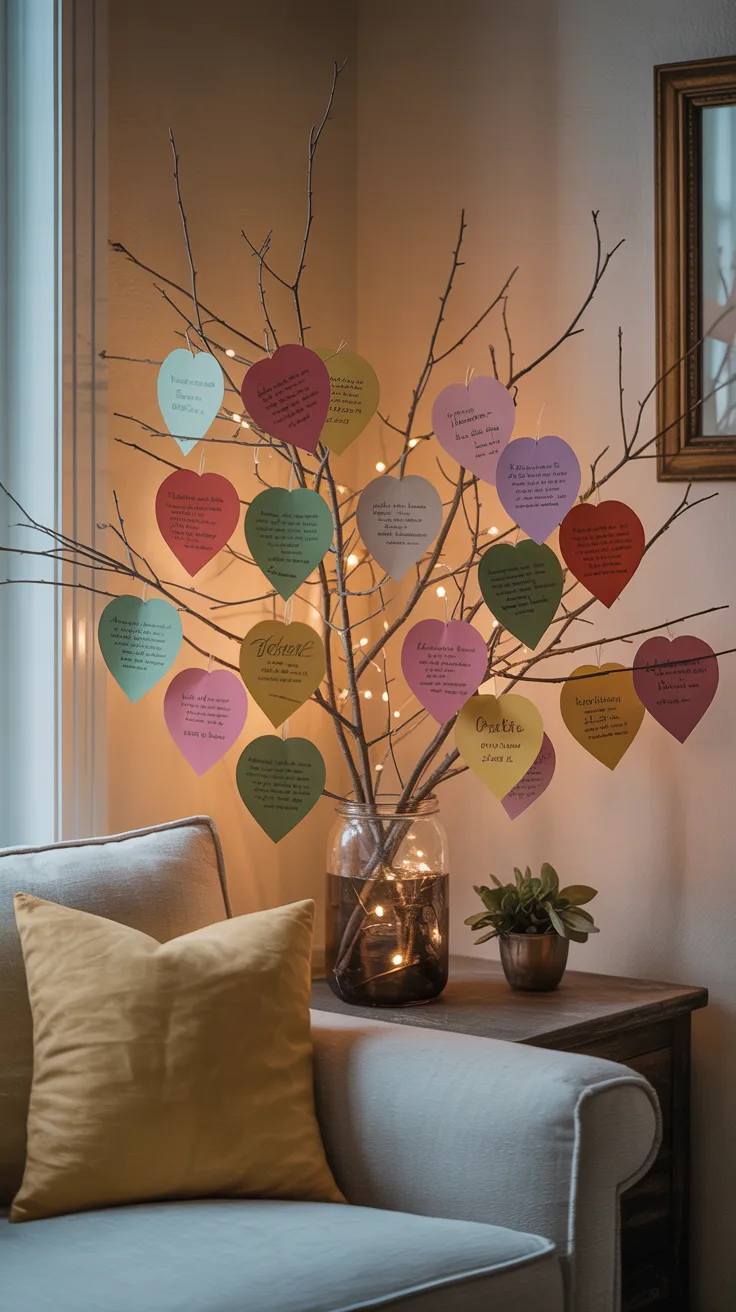
The thankful tree has become a meaningful tradition in our family. It helps shift the focus from the food to the true meaning of Thanksgiving—gratitude.
- Materials needed: Small branches or twigs, vase or jar, colored paper, scissors, string or ribbon, hole punch, markers
- Step 1: Collect branches and arrange them in a vase with rocks to stabilize
- Step 2: Cut out leaf shapes from colored paper (or use pre-cut leaf shapes from craft stores)
- Step 3: Punch a hole at the top of each leaf and thread string through it
- Step 4: Have each family member write something they’re thankful for on a leaf
- Step 5: Hang the leaves on the branches
Pro Tip: Keep your thankful tree up throughout November and add new leaves each day. By Thanksgiving, you’ll have a beautiful display of gratitude that makes for meaningful dinner conversation.
Corn Husk Dolls
I’ll admit, my first attempt at corn husk dolls was a disaster. They looked more like corn husk blobs than dolls! But with practice, my kids and I mastered this traditional craft that connects us to early American history.
- Materials needed: Corn husks (fresh or dried), twine or string, scissors, bowl of water, markers or fabric scraps
- Step 1: Soak dried corn husks in warm water for about 10 minutes until pliable
- Step 2: Take 3-4 husks and tie them together about 1 inch from the top with string
- Step 3: Fold the top portion down over the string to create the head
- Step 4: Take another husk, roll it into a tube, and place it across the body for arms
- Step 5: Tie string at the waist to secure the arms
- Step 6: Use markers to draw a face or add fabric scraps for clothing
Pro Tip: If you don’t have corn husks, you can substitute with raffia or even paper towels dipped in a mixture of coffee and water for an aged look.
Leaf Print Tablecloths
This craft came about accidentally when my son pressed a paint-covered leaf onto our white tablecloth. Instead of getting upset, I saw an opportunity for a beautiful DIY project!
- Materials needed: Plain tablecloth or fabric, fabric paint, paintbrushes, real leaves in various shapes and sizes, paper towels
- Step 1: Collect a variety of leaves with interesting shapes and veins
- Step 2: Apply fabric paint to one side of a leaf using a paintbrush
- Step 3: Place the leaf, paint-side down, on the tablecloth
- Step 4: Cover with a paper towel and press gently to transfer the print
- Step 5: Carefully lift the leaf to reveal the print
- Step 6: Repeat with different leaves and colors until you achieve your desired design
- Step 7: Allow the paint to dry completely, then heat-set according to paint instructions
Pro Tip: Create a border pattern around the edge of the tablecloth, or concentrate the leaf prints in the center to create a natural-looking table runner effect.
Pumpkin Pie Scented Playdough
On rainy November days when outdoor activities aren’t an option, this sensory craft has saved my sanity more than once. The kids love the smell and texture, and I love that they’re occupied for hours!
- Materials needed: 1 cup flour, 1/2 cup salt, 2 tsp cream of tartar, 1 cup water, 1 tbsp vegetable oil, orange food coloring, 1-2 tsp pumpkin pie spice
- Step 1: Mix flour, salt, and cream of tartar in a medium pot
- Step 2: Add water, oil, and food coloring, then stir until combined
- Step 3: Cook over medium heat, stirring constantly until the mixture forms a ball
- Step 4: Remove from heat and let cool slightly
- Step 5: Knead in the pumpkin pie spice until well incorporated
- Step 6: Store in an airtight container when not in use
Pro Tip: Provide cookie cutters in Thanksgiving shapes like turkeys, pumpkins, and leaves for hours of themed play. The playdough will stay fresh for weeks if stored properly!
Gratitude Garland
Last Thanksgiving, when my daughter was feeling left out of the kitchen preparations, I quickly invented this craft to keep her engaged. It’s now become one of our most meaningful holiday decorations.
- Materials needed: Construction paper, scissors, markers or crayons, hole punch, string or ribbon
- Step 1: Cut paper into small rectangles, circles, or Thanksgiving shapes like leaves or pumpkins
- Step 2: Have each family member write things they’re grateful for on several pieces
- Step 3: Punch holes in the top of each shape
- Step 4: Thread string or ribbon through the holes to connect all pieces
- Step 5: Hang the completed garland across a doorway, along a staircase, or over a mantel
Pro Tip: Invite dinner guests to add to your gratitude garland when they arrive. It’s a wonderful conversation starter and helps everyone focus on thankfulness.
Frequently Asked Questions
What age group are these Thanksgiving crafts suitable for?
Most of these crafts are adaptable for children ages 3-12. Younger children (3-5) will need more assistance, particularly with cutting and measuring. The playdough and paper plate turkey are perfect for preschoolers, while older children might enjoy the more detailed work of corn husk dolls or leaf printing. I’ve found that mixing age groups actually works well—older siblings often enjoy helping the younger ones!
What materials are needed for these crafts?
Most of these crafts use simple materials you likely already have at home: paper, scissors, glue, paint, and natural items like pine cones and leaves. The corn husk dolls require corn husks, which can be purchased at craft stores or grocery stores, especially around Thanksgiving. I always keep a craft box stocked with basics like construction paper, markers, and glue sticks for impromptu projects.
Can these crafts be made with recycled materials?
Absolutely! Many of these crafts can incorporate recycled materials. For example, the thankful tree leaves can be cut from old greeting cards, the gratitude garland can use scrap paper, and the centerpieces can incorporate empty food containers as bases. One year when we were tight on money, we made our entire Thanksgiving decor from items we already had—it was our most creative holiday yet!
How can I ensure the crafts are safe for kids?
Always supervise children, especially when using scissors or hot materials like the playdough while cooking. Opt for non-toxic, washable paints and markers, and be mindful of small parts that could be choking hazards for very young