Introduction to Nature Crafts
As a parent and former elementary school art teacher, I’ve witnessed firsthand how nature craft activities can transform a child’s day. There’s something magical about watching little hands collect treasures from the outdoors and turn them into works of art. These activities bridge the gap between creative expression and environmental appreciation, giving children a sense of wonder that’s increasingly rare in our digital world.
I remember taking my own children on a “treasure hunt” through our local park after a storm. What started as a simple walk turned into an exciting expedition as they filled their pockets with fallen acorns, uniquely shaped leaves, and smooth pebbles. Their eyes lit up with possibilities, and by the end of the afternoon, our kitchen table had transformed into a bustling craft station.
Nature crafting isn’t just about making pretty things—it’s about fostering a connection with the world around us while developing important skills. Let’s explore how these simple activities can have a profound impact on our children’s development.
Benefits of Nature Crafting for Kids
The benefits of engaging children in nature craft activities extend far beyond just keeping them busy on a weekend afternoon. I’ve observed remarkable developmental leaps in children who regularly participate in these activities.
For starters, fine motor skills get a serious workout when kids manipulate small natural objects. I’ve watched children who struggled with pencil grip show dramatic improvement after weeks of pinching, arranging, and gluing natural materials.
Nature crafts also nurture creativity in a unique way. Unlike store-bought craft kits with predetermined outcomes, natural materials invite open-ended exploration. There’s no “right way” to create with a pile of pinecones and leaves!
Perhaps most importantly, these activities foster environmental stewardship. I’ll never forget when my son, after weeks of creating with materials from our backyard, stopped me from throwing away a fallen branch. “Mom, that could be something beautiful,” he said. That moment showed me he was developing a perspective that valued natural resources.
Additionally, nature crafts offer sensory stimulation through different textures, scents, and visual elements. They also provide opportunities for scientific learning as children observe properties of different materials and seasonal changes.
Pro Tip: Take photos of your child’s nature creations before they naturally decompose. Create a digital or printed “nature art gallery” to document their creative journey through the seasons.
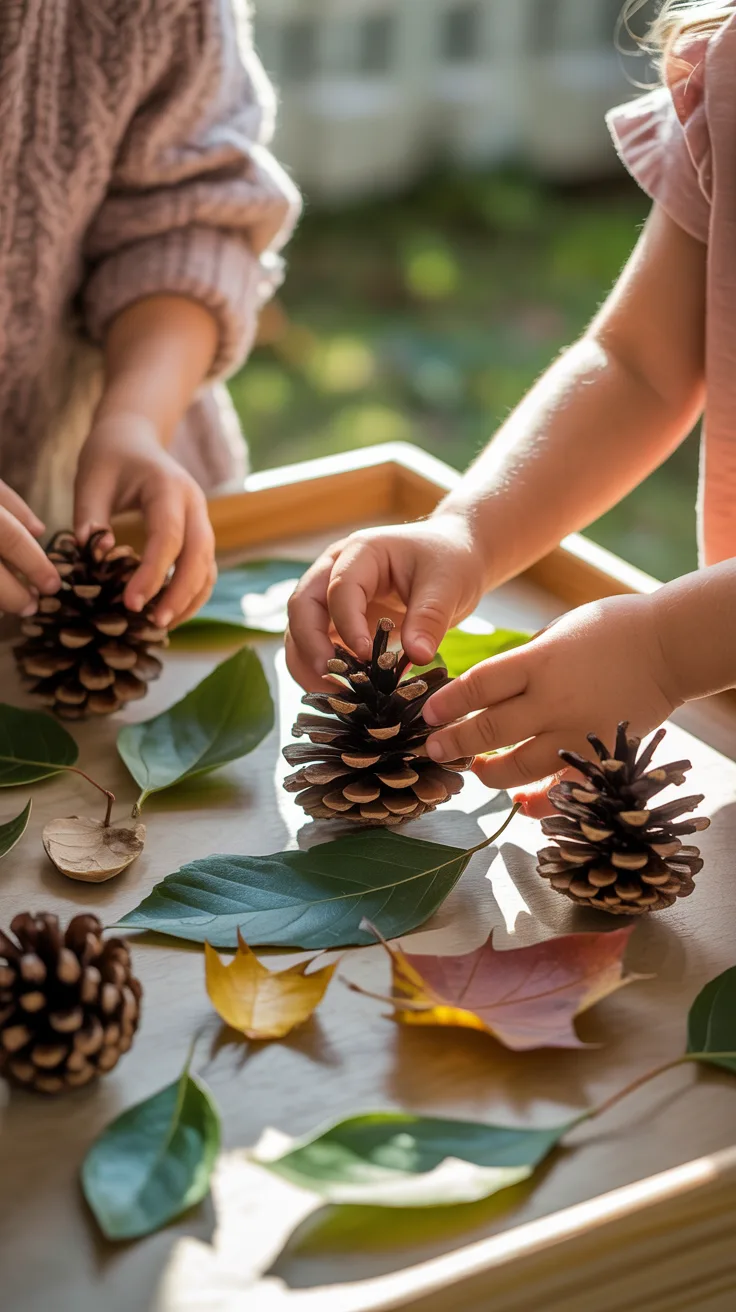
Gathering Materials
Before diving into crafting, we need to gather our natural art supplies. This collection process is actually an important part of the experience! I’ve learned (sometimes the hard way) that there’s a right and wrong way to collect materials from nature.
My first attempt at leading a nature collection walk with my daughter’s playgroup turned into a bit of a free-for-all, with children pulling at living plants and disturbing a bird’s nest. I quickly realized I needed to establish some guidelines for responsible collecting.
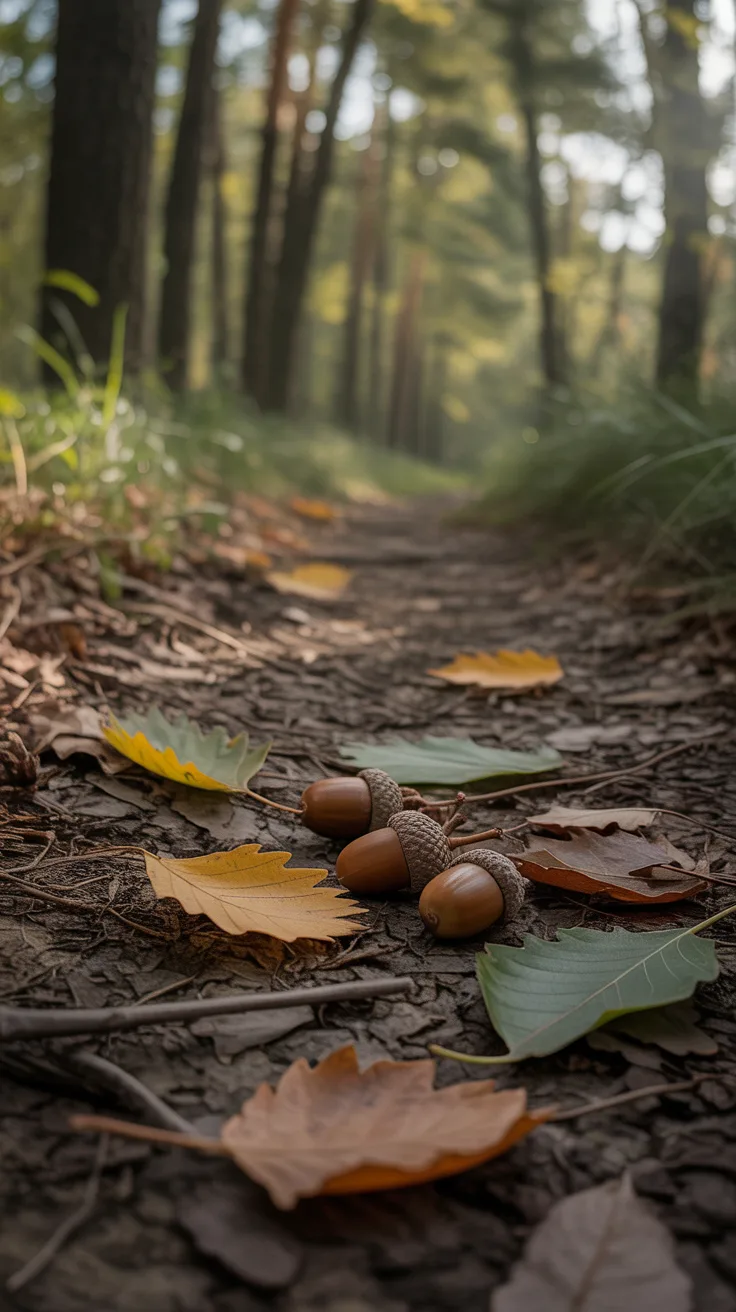
- Focus on fallen items: Leaves, nuts, seeds, petals, and branches that have already fallen to the ground
- Collect with permission: Only gather from public spaces where it’s allowed or from your own property
- Take only what you need: Leave plenty behind for wildlife and other nature enthusiasts
- Avoid protected or rare species: Research local plants that should be left undisturbed
- Clean your findings: Gently brush off dirt and check for small insects before bringing items indoors
I find that providing children with small collection bags or baskets makes the gathering process more organized and intentional. It also helps them limit their collecting to what they can reasonably use.
Pro Tip: Turn material gathering into a scavenger hunt by creating a simple checklist of items to find: something smooth, something rough, something colorful, something tiny, etc. This encourages children to be selective and observant.
Nature Craft Activities
After years of experimenting with various nature craft activities, I’ve compiled a list of my 20 favorites that consistently engage and delight children of different ages. Each of these activities uses materials you can find outdoors and requires minimal additional supplies.
- Leaf rubbings and prints
- Rock painting and story stones
- Twig picture frames
- Pine cone animals
- Nature weaving
- Pressed flower bookmarks
- Acorn cap jewelry
- Mud sculptures
- Seed mosaics
- Stick mobiles
- Flower crowns
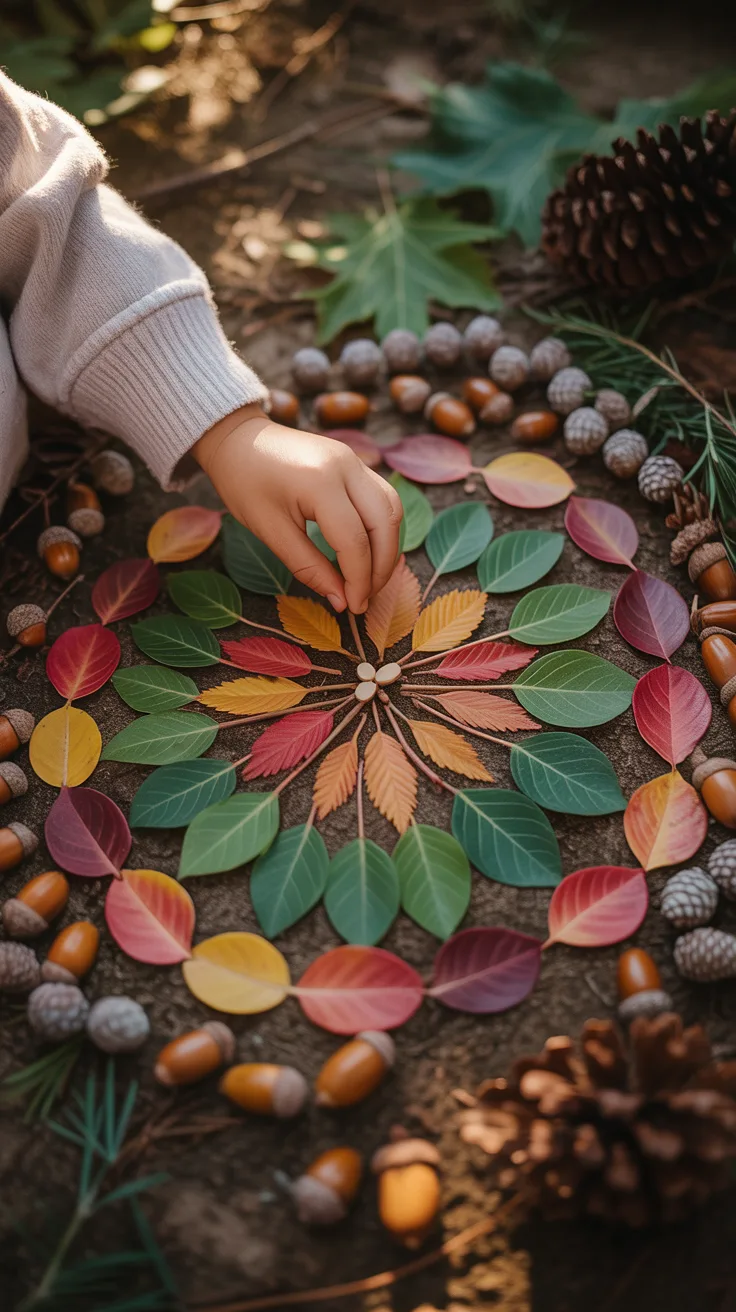
- Nature mandalas
- Leaf masks
- Shell wind chimes
- Bark rubbings
- Grass whistles
- Flower petal perfume
- Natural paintbrushes
- Seed paper
- Fairy houses
Let’s explore some of these activities in more detail.
Leaf Art
Leaves are perhaps the most versatile natural material for crafting. Their varied shapes, sizes, and colors offer endless possibilities. One autumn, when my son was struggling with a school art project, we collected fallen leaves from our neighborhood. The transformation in his confidence was remarkable as he created a stunning leaf collage that became his teacher’s favorite piece that year.
Try these leaf art techniques:
Leaf Printing: Paint one side of a leaf and press it onto paper to create a detailed print. Different leaves create different textures and patterns.
Leaf Animals: Use leaves as the main body parts for animals, adding details with markers or other natural elements. Oak leaves make excellent owl bodies, while maple leaves can become butterflies.
Leaf Crowns: Thread a needle with yarn and carefully string colorful leaves together to create a natural crown that celebrates the season.
Pro Tip: Preserve special leaf creations by pressing them between wax paper with an iron (adult supervision required) or laminating them for bookmarks or window decorations.
Rock Painting
Rock painting has been a meditative practice for me and my children during challenging times. When my daughter was anxious about starting a new school, we spent an afternoon painting “courage rocks” with symbols that represented her strengths.
To create beautiful painted rocks:
Start with clean, dry rocks with relatively smooth surfaces. I’ve found that acrylic paints work best, but waterproof markers can also be effective for detailed designs. Begin with a base coat of paint if desired, then add patterns, animals, inspirational words, or mandalas.
Once dry, seal your creation with a clear, non-toxic sealer to protect it from the elements if you plan to display it outdoors.
These painted rocks can become garden markers, paperweights, story prompts, or even part of a community rock hunt where painted rocks are hidden for others to find and enjoy.
Twig Frames
Creating frames from twigs teaches children basic construction skills while producing a rustic decoration for special photos or artwork. This activity became a favorite in our house after a camping trip where we collected uniquely shaped sticks.
To make a basic twig frame:
Collect four relatively straight twigs of similar thickness. Arrange them in a square or rectangle, overlapping at the corners. Secure each corner with natural twine, yarn, or hot glue (with adult assistance). For a more advanced version, create a backing from cardboard and attach a stand or hanging mechanism.
These frames make wonderful gifts, especially when paired with a nature photograph or child’s artwork.
Pine Cone Creatures
Pine cones have a natural animal-like quality that makes them perfect for transforming into adorable creatures. My first attempt at pine cone owls with my preschool class was a bit chaotic, but the joy on the children’s faces when their “pets” were complete was worth the mess!
To create pine cone animals:
Start with open, dry pine cones. For owls, attach felt or paper wings to the sides and googly eyes to the front (small pompoms work too). Add a small triangle of orange paper or felt for a beak. For hedgehogs, leave the pine cone as is and simply add eyes and a nose to one end. Pine cone penguins can be created by painting the bottom half white and adding wings and feet.
These creatures make charming seasonal decorations or can become characters in imaginative play.
Nature Weaving
Weaving with natural materials introduces children to an ancient craft while creating beautiful textural art. I discovered this activity during a particularly difficult time when my children needed calming, focused activities.
To create a nature weaving:
Create a simple loom by tying string in a crisscross pattern on a forked stick or by wrapping yarn around a cardboard frame. Collect flexible materials like tall grasses, thin vines, flower stems, or reeds. Weave these materials over and under the strings on your loom, alternating the pattern with each row.
Add interest by incorporating colorful leaves, petals, or feathers into your weaving. The finished piece can be hung as a wall decoration or used as a placemat for special occasions.
Pro Tip: If you want to preserve your nature weaving, spray it lightly with a clear acrylic sealer after it’s complete. This helps prevent the natural materials from becoming too brittle as they dry.
Safety Tips for Nature Crafts
Safety should always be a priority when crafting with natural materials. I learned this lesson when a student had an allergic reaction to a plant we were using in class. Since then, I’ve developed these safety guidelines:
Know your plants: Familiarize yourself with toxic plants in your area (like poison ivy, oak, or sumac) and avoid them completely. When in doubt, use plant identification apps or consult field guides.
Supervise tool use: When projects require scissors, hole punchers, or other tools, provide appropriate supervision based on the child’s age and ability.
Wash hands: Always have children wash their hands thoroughly after handling natural materials, especially before eating.
Check for allergies: Be aware of any plant allergies your child may have, and watch for signs of reaction when working with new materials.
Inspect materials: Check collected items for insects, mold, or sharp edges before using them in crafts.
I now keep a basic first aid kit near our crafting area, including antihistamines for unexpected allergic reactions. It’s better to be prepared, especially when exploring new natural materials.
Pro Tip: Create a dedicated nature crafting space, preferably outdoors or in a well-ventilated area with easy-to-clean surfaces. This minimizes indoor mess and reduces exposure to potential allergens.
Conclusion
Engaging children in nature craft activities opens a world of creativity while fostering a meaningful connection to the environment. These 20 activities offer starting points, but the possibilities are truly endless when children begin to see the creative potential in natural materials.
I’ve witnessed shy children become confident artists, restless children find focus, and screen-obsessed children discover wonder in the simplest leaf or stone. The benefits extend far beyond the crafts themselves, building skills and values that will serve children throughout their lives.
Remember that the process is more important than the product. Some of our most memorable crafting sessions resulted in creations that didn’t look like much but represented significant discoveries and joy