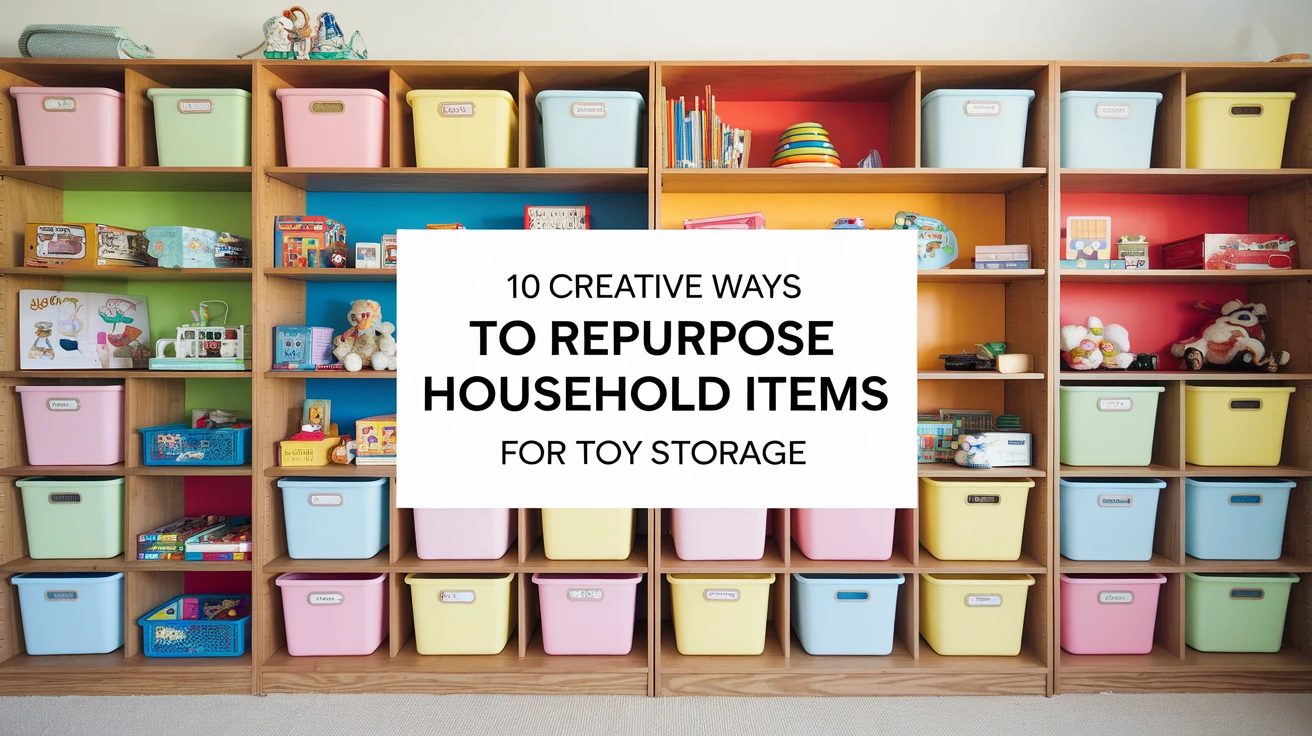
Introduction to Upcycled Toy Storage Solutions
In today’s environmentally conscious world, creating upcycled toy storage solutions isn’t just about saving money – it’s about making sustainable choices while adding unique character to your home. As a parent who’s experimented with numerous storage solutions, I’ve discovered that some of the best toy organizers are hiding in plain sight around our homes.
Before we dive into these creative upcycled toy storage ideas, let’s consider why repurposing household items makes so much sense:
- Cost-effective alternative to expensive storage solutions
- Environmentally friendly approach to organizing
- Opportunity to create customized storage that fits your space
- Teaching children about sustainability through example
- Unique and personalized storage solutions
1. Bookshelf Transformation
An old bookshelf can become the ultimate toy organization center. I once transformed a worn-out shelf unit into a toy storage masterpiece, complete with labeled bins and adjustable spaces. The vertical nature of bookshelves makes them perfect for maximizing space while keeping toys visible and accessible.
- Remove old shelves and reinforce as needed
- Add colorful backing paper or paint for visual appeal
- Install adjustable shelf brackets for flexibility
- Create designated zones for different types of toys
The beauty of repurposing a bookshelf lies in its versatility. You can adjust shelf heights as your children’s toy collection evolves, and the open format makes it easy for kids to see and access their favorites.
Pro tip: Install small curtain rods below shelves to hang lightweight toys or create a rotating display of artwork.
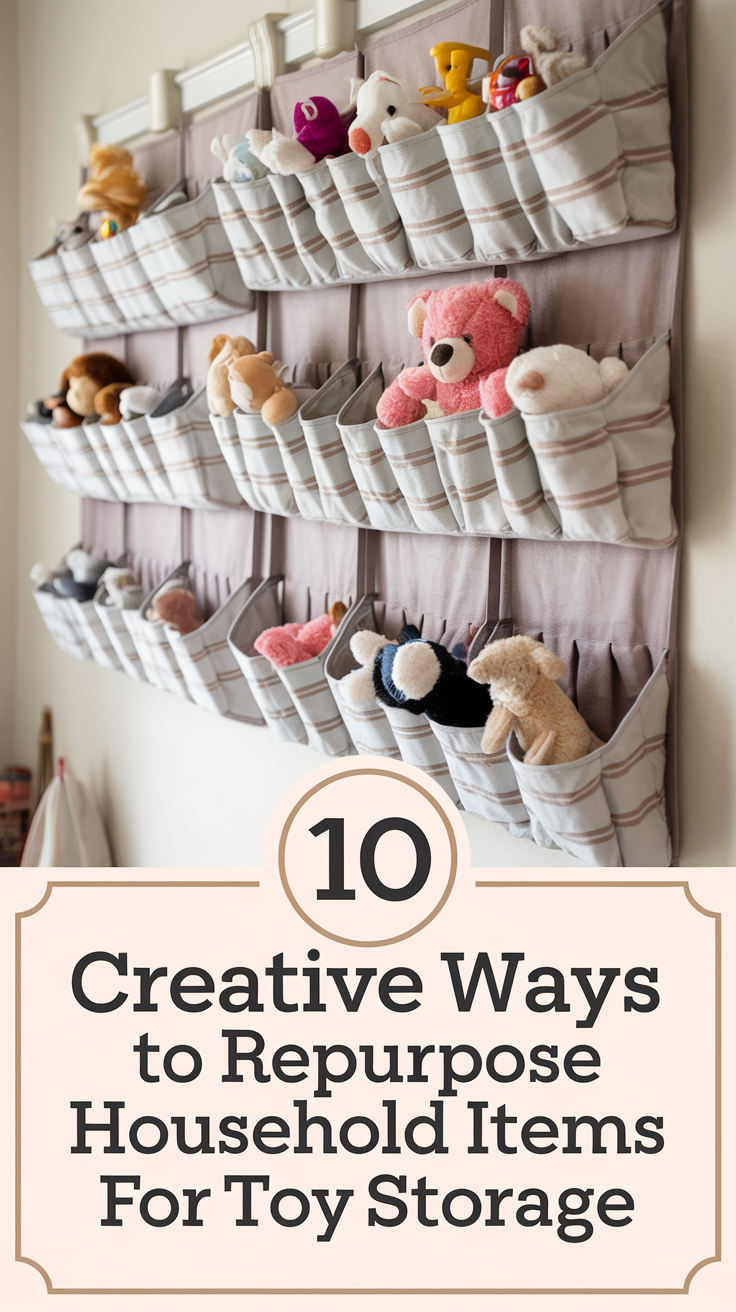
2. Fabric Hanging Organizers
Transform old curtains, bed sheets, or clothing into hanging storage solutions. This project holds a special place in my heart as it was my first successful upcycled toy storage creation, using an old shower curtain and some basic sewing skills.
- Choose sturdy fabrics that can hold weight
- Create multiple pockets of varying sizes
- Use strong mounting hardware for safety
- Add clear plastic windows to see contents
These hanging organizers work particularly well for stuffed animals, action figures, and other lightweight toys that children use frequently.
Pro tip: Add rubber grip material to the bottom of each pocket to prevent toys from sliding out.
3. Decorative Box Solutions
Don’t throw away those sturdy boxes from appliances or online purchases! With some creative touches, they can become attractive upcycled toy storage containers that blend seamlessly with your décor.
- Cover boxes with decorative paper or fabric
- Add handles for easy access
- Create stackable systems with uniform sizes
- Label clearly with pictures for young children
These boxes are particularly effective for categorizing toys and can be easily tucked away in closets or under furniture when not in use.
Pro tip: Use modpodge or clear contact paper over decorated surfaces to make them more durable and easier to clean.
4. Wall-Mounted Container Systems
Empty paint cans, coffee containers, and large plastic bottles can be transformed into an engaging wall-mounted storage system. This solution has saved countless square feet of floor space in my home while making cleanup time more fun for the kids.
- Clean containers thoroughly before use
- Paint or cover with child-safe materials
- Mount securely using appropriate hardware
- Arrange in playful patterns
This system works exceptionally well for art supplies, small toys, and building blocks, keeping them organized and easily accessible.
Pro tip: Install containers at your child’s height to encourage independent cleanup.
5. Repurposed Drawer Units
Old dresser drawers can have a second life as rolling toy storage units. I discovered this solution when renovating our bedroom and now swear by these versatile storage options.
- Add wheels for mobility
- Paint or refinish to match room décor
- Install dividers for organization
- Add child-safe handles
These mobile storage units can be easily pushed under beds or into closets, making them perfect for quick cleanup before guests arrive.
Pro tip: Use magnetic paint on the sides to create additional storage opportunities for magnetic toys.
6. Basket and Bin Alternatives
From old laundry baskets to plastic storage containers, many household items can be reimagined as toy storage solutions. The key is seeing the potential in everyday objects.
- Repaint plastic containers for fresh look
- Add decorative rope or fabric covers
- Create drainage holes for outdoor use
- Include handles for easy transportation
These alternatives provide flexible storage options that can grow with your child’s changing needs.
Pro tip: Use rubber bumpers on the bottom to prevent scratching floors and reduce noise.
7. Door-Mounted Storage
Transform an old shoe organizer or create custom door storage using fabric and clear vinyl. This space-saving solution has been a game-changer in smaller rooms.
- Reinforce pockets for heavier toys
- Use clear materials for visibility
- Add labels or pictures for organization
- Install secure mounting hardware
Door-mounted storage maximizes vertical space while keeping toys organized and easily accessible.
Pro tip: Use adhesive-backed hook and loop tape for removable pocket dividers.
8. Under-Bed Solutions
Create custom under-bed storage using old drawers, suitcases, or wooden crates. This hidden storage solution keeps rooms tidy while maximizing unused space.
- Add wheels for easy access
- Include dust covers
- Create pull handles
- Add dividers for organization
Under-bed storage is perfect for toys that aren’t used daily but still need to be accessible.
Pro tip: Install LED strip lighting to help children see contents in darker under-bed spaces.
9. Window Seat Storage
Convert old kitchen cabinets or wooden crates into a window seat with built-in toy storage. This dual-purpose solution adds both function and charm to any room.
- Add safety hinges for lid support
- Install ventilation holes
- Create compartments for organization
- Add cushioning for comfort
Window seat storage provides a cozy reading nook while keeping toys neatly tucked away.
Pro tip: Use magnetic catches to prevent accidental closing of the storage lid.
10. Vertical Storage Solutions
Create vertical storage using old pallets, ladder shelves, or pegboards. This approach maximizes wall space while creating an attractive display.
- Sand and finish wooden elements
- Add hooks and containers
- Create themed zones
- Include safety anchors
Vertical storage solutions keep toys organized while adding visual interest to room décor.
Pro tip: Rotate toys seasonally to maintain organization and interest.
Key Takeaways
- Focus on safety when creating upcycled toy storage
- Choose materials that are durable and easy to clean
- Consider accessibility for both children and adults
- Incorporate labels and organization systems
- Make storage solutions adaptable for growing needs
Conclusion
Creating upcycled toy storage ideas isn’t just about organizing – it’s about crafting sustainable solutions that work for your family while teaching valuable lessons about reuse and creativity. By implementing these ideas, you’ll not only save money but also create unique storage solutions that add character to your home. Remember, the best upcycled toy storage solution is one that fits your space, meets your needs, and encourages your children to maintain organization independently.
Frequently Asked Questions
-
How do I ensure upcycled toy storage is safe for children?
Always sand rough edges, use child-safe paints and finishes, ensure proper mounting for wall units, and regularly check for wear and tear.
-
What household items are best for toy storage?
Bookshelves, drawers, boxes, baskets, and containers with sturdy construction make excellent candidates for upcycling into toy storage.
-
How can I make upcycled storage look cohesive?
Use a consistent color scheme, similar finishing techniques, and coordinated labels or decorative elements across all storage pieces.
-
What tools do I need for these projects?
Basic tools include a hammer, screwdriver, sandpaper, paint brushes, and measuring tape. Some projects may require power tools for more complex modifications.
-
How long do these storage solutions typically last?
With proper construction and maintenance, upcycled toy storage can last several years. Regular checks and repairs help extend their lifespan.