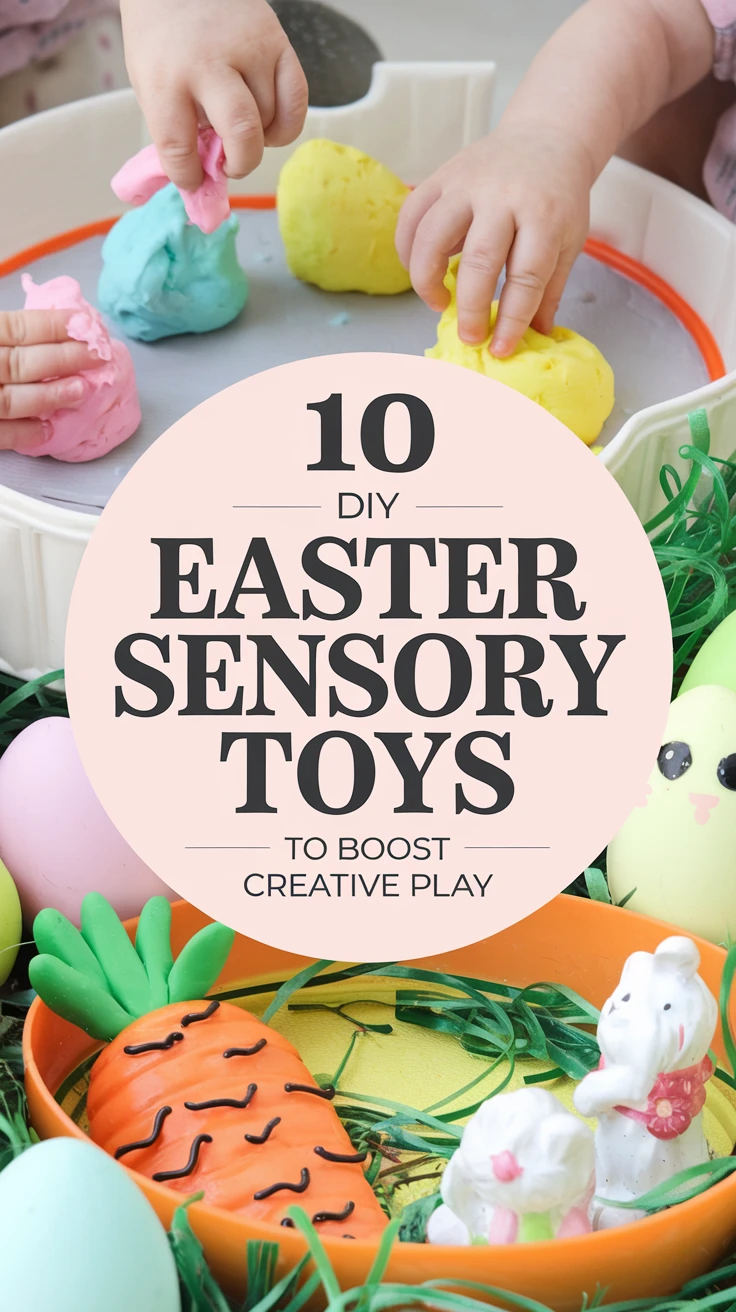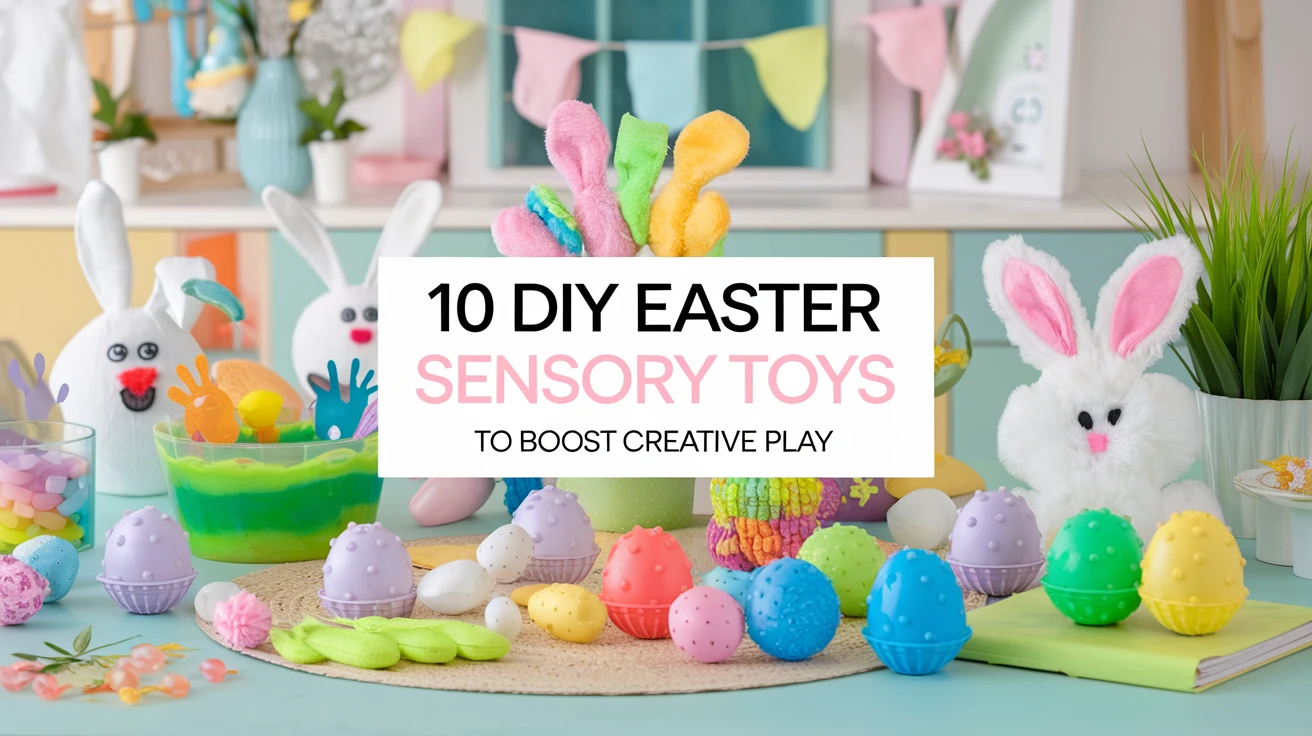
Introduction
Easter isn’t just about chocolate eggs and bunny-shaped treats—it’s a perfect opportunity to engage your little ones in creative, hands-on play that stimulates their senses and sparks imagination. As a mom who’s survived many holiday craft sessions (some more successful than others!), I’ve learned that DIY Easter sensory toys offer the perfect balance of seasonal fun and developmental benefits. Whether you’re looking to keep tiny hands busy during spring break or searching for screen-free activities that actually hold their attention, these 10 sensory creations will be your saving grace. The best part? Most use materials you probably already have tucked away in your craft cupboard or pantry. Let’s hop to it and explore these egg-cellent sensory play ideas that will have your kids bouncing with joy!
1. Easter Egg Sensory Shakers
Remember those maracas your child got that mysteriously “disappeared” after one too many early morning jam sessions? These Easter egg shakers offer all the fun with significantly less noise-induced headache! Simply fill plastic Easter eggs with different materials to create varying sounds and sensations.
- Fill eggs with rice, beans, jingle bells, or pom-poms
- Secure with colorful washi tape around the seam
- Create a set with different sounds for auditory discrimination
- Decorate with permanent markers or stickers for visual appeal
Pro Tip: Turn this into a guessing game by having children shake the eggs and predict what’s inside before opening them. It’s a wonderful way to develop listening skills and vocabulary as they describe the sounds they hear.
2. Bunny Slime
What child doesn’t love squishing, stretching, and molding slime? This Easter-themed version adds a festive twist to this sensory play staple. The tactile experience of manipulating slime helps develop fine motor skills while providing a calming sensory outlet.
- Mix clear or white glue with pastel food coloring
- Add bunny-shaped confetti or tiny carrot erasers
- Incorporate Easter-colored glitter for extra visual stimulation
- Store in plastic eggs or bunny-shaped containers
I still remember my daughter’s face lighting up when she discovered she could stretch her “bunny slime” to nearly reach the ceiling! These moments of discovery and delight are what make DIY Easter sensory toys so worthwhile.
Pro Tip: For younger children or those who might still mouth objects, try a taste-safe slime recipe using cornstarch and conditioner instead.
3. Carrot Patch Sensory Bin
Sensory bins are the ultimate open-ended play experience, and this Easter-themed version brings the garden indoors (minus the actual dirt under your fingernails). Create a miniature carrot patch that encourages imaginative play while developing tactile discrimination.
- Fill a shallow container with dyed rice or shredded paper in green
- Hide small orange items (carrots) throughout the bin
- Add garden tools like small shovels and rakes
- Include bunny figurines to “hunt” for the carrots
Pro Tip: Transform this into a counting activity by challenging older children to find a specific number of “carrots” or sort them by size. My son spent nearly two hours with his carrot patch bin, and I considered it an Easter miracle!
4. Easter Playdough Set
Homemade playdough scented with spring fragrances creates a multi-sensory experience that engages touch and smell simultaneously. This DIY Easter sensory toy is incredibly versatile and can be adapted for various ages and interests.
- Create pastel-colored playdough with food coloring
- Add lavender, lemon, or vanilla extract for spring scents
- Include Easter cookie cutters (eggs, bunnies, chicks)
- Provide decorative elements like feathers, googly eyes, and pipe cleaners
Pro Tip: Package your homemade playdough in plastic eggs for a surprise element or as gifts for friends. The look on a child’s face when they crack open an egg to find colorful playdough instead of candy is priceless!
5. Sensory Easter Egg Hunt Basket
Elevate the traditional Easter egg hunt by creating a sensory-rich basket that engages multiple senses before the hunt even begins. This preparation activity builds anticipation while providing valuable sensory input.
- Line a basket with crinkly paper or fabric with various textures
- Attach ribbons, bells, and tactile elements to the handle
- Include a small spray bottle with diluted essential oil for a springtime scent
- Add weighted elements to the bottom for proprioceptive input
Pro Tip: For children with sensory sensitivities, having them help create their basket provides exposure to different textures in a controlled, positive environment. It’s also a great opportunity to talk about and prepare for the stimulation of an egg hunt.
6. Fuzzy Bunny Tactile Toys
These adorable bunnies aren’t just cute—they’re an excellent way to introduce different textures in a non-threatening, playful format. The varying tactile experiences help children develop sensory discrimination and vocabulary.
- Cut bunny shapes from different textured materials (velvet, corduroy, silk, felt)
- Add details with buttons, ribbons, and pom-poms
- Create a matching game with duplicate textures
- Attach to a ring for a portable sensory toy
When my nephew, who typically avoids touching “strange” textures, willingly played with our fuzzy bunny collection, I knew we had a winner. Sometimes the seasonal novelty factor helps overcome sensory hesitations!
Pro Tip: Create a simple storyline about the bunny family to encourage language development alongside sensory exploration.
7. Easter Chick Stress Balls
These squeezy little chicks provide resistance and deep pressure that many children find regulating. They’re perfect for fidgety hands during story time or as a calming tool when excitement runs high (which, let’s be honest, is most of Easter day).
- Fill yellow balloons with flour, cornstarch, or play sand
- Tie securely and shape into an oval
- Draw chick features with permanent marker
- Add feather details for extra tactile input
Pro Tip: Make these in different sizes and firmness levels by varying the filling amount. A variety pack helps children identify their sensory preferences and learn self-regulation strategies.
8. Spring Sensory Bottles
Sensory bottles combine visual stimulation with calming properties, making them perfect for both active play and quiet moments. These DIY Easter sensory toys captivate attention while providing a soothing visual experience.
- Fill clear bottles with water and glycerin or baby oil
- Add Easter confetti, small plastic eggs, or spring-colored glitter
- Include tiny bunny or chick figurines
- Secure lids with strong glue for safety
I’ve found that these bottles work wonders during transition times or when a child needs a moment to reset. The gentle movement of objects floating through the liquid has an almost hypnotic effect!
Pro Tip: Create a “find it” game by listing the objects hidden in the bottle and having children locate each one, turning passive observation into active engagement.
9. Easter Texture Board
This hands-on activity center provides a variety of tactile experiences in one place, perfect for exploratory play and sensory development. It’s particularly valuable for babies and toddlers just beginning to discover their sensory preferences.
- Attach different textured materials to a cardboard base in Easter shapes
- Include soft cotton “bunny tails,” rough burlap “baskets,” and smooth satin “eggs”
- Add elements that make sounds when touched
- Incorporate safe mirror surfaces for visual stimulation
Pro Tip: Mount your texture board at eye level for crawling babies, or create a portable lap-sized version for toddlers. The key is making it accessible for independent exploration.
10. Egg Dyeing Sensory Experience
Transform traditional egg dyeing into a full sensory experience by focusing on the process rather than just the result. This approach celebrates the journey and creates meaningful memories beyond the finished product.
- Set up different dyeing stations with varied implements (droppers, brushes, spoons)
- Include natural dyes with distinct scents (turmeric, blueberry, beet)
- Provide textured materials for creating patterns (rice, rubber bands, leaves)
- Incorporate descriptive language throughout the activity
Pro Tip: Use plastic eggs for very young children to eliminate concerns about breakage and allow for repeated play. The sensory experience remains rich even without using real eggs.
Key Takeaways for Creating DIY Easter Sensory Toys
- Focus on engaging multiple senses—touch, sight, sound, and sometimes smell—for a richer play experience
- Use materials you already have at home to keep costs down and reduce preparation stress
- Consider your child’s sensory preferences and adapt activities accordingly
- Look for opportunities to incorporate learning elements naturally through play
- Remember that the process of creating and exploring is more valuable than picture-perfect results
Conclusion
Creating DIY Easter sensory toys isn’t just about keeping little hands busy during the holiday season—it’s about nurturing development, creating meaningful traditions, and connecting with your children through hands-on experiences. The beauty of these projects lies in their flexibility; you can adapt each idea to suit your child’s age, interests, and sensory needs. As you watch your little ones squish bunny slime between their fingers or shake Easter eggs with delight, you’re witnessing more than just play—you’re seeing cognitive connections forming, sensory pathways developing, and joy in its purest form. So gather your supplies, embrace the inevitable mess (deep breaths, parents!), and prepare for some egg-traordinary sensory adventures this Easter. These moments of discovery and wonder are the true gifts of the season, lasting long after the chocolate eggs have disappeared.
Frequently Asked Questions
-
What age groups are these Easter sensory toys best for?
Most of these sensory toys can be adapted for children from 6 months to 8 years. For babies and young toddlers, focus on larger, supervised elements without small parts (texture boards, sensory bottles). Preschoolers can enjoy most activities with supervision, while school-aged children can take more ownership in creating the toys themselves.
-
How can I make these sensory toys safe for very young children?
For children under three, avoid small items that pose choking hazards, ensure all containers are securely sealed, use non-toxic and taste-safe materials when possible, and always supervise play. Consider using larger items, securing components firmly, and opting for edible sensory materials like yogurt-based slime for children who still mouth objects.
-
Can these sensory toys be used for children with special needs?
Absolutely! Sensory play is particularly beneficial for children with sensory processing differences. Consider your child’s specific sensory profile—do they seek sensory input or avoid certain sensations? Adapt the activities accordingly, perhaps starting with less intense sensory experiences and gradually introducing new textures and sensations. For children with autism or sensory processing disorder, these toys can be valuable tools in therapy and daily regulation.
-
How long do these DIY sensory toys typically last?
Durability varies by project. Items like sensory bottles and texture boards can last months or even years with proper care. Perishable items like playdough can last 2-3 weeks if stored in airtight containers. Slime typically lasts 1-2 weeks before degrading. For maximum longevity, store items away from direct sunlight, keep in sealed containers, and refresh materials as needed.
-
What are the developmental benefits of sensory play?
Sensory play supports numerous developmental areas: fine motor skills through manipulation of materials; cognitive development through cause-and-effect learning; language development as children describe sensations; emotional regulation as they learn to respond to different sensory inputs; social skills when playing alongside others; and scientific thinking through observation and experimentation. These seemingly simple activities lay crucial groundwork for later academic and life skills.