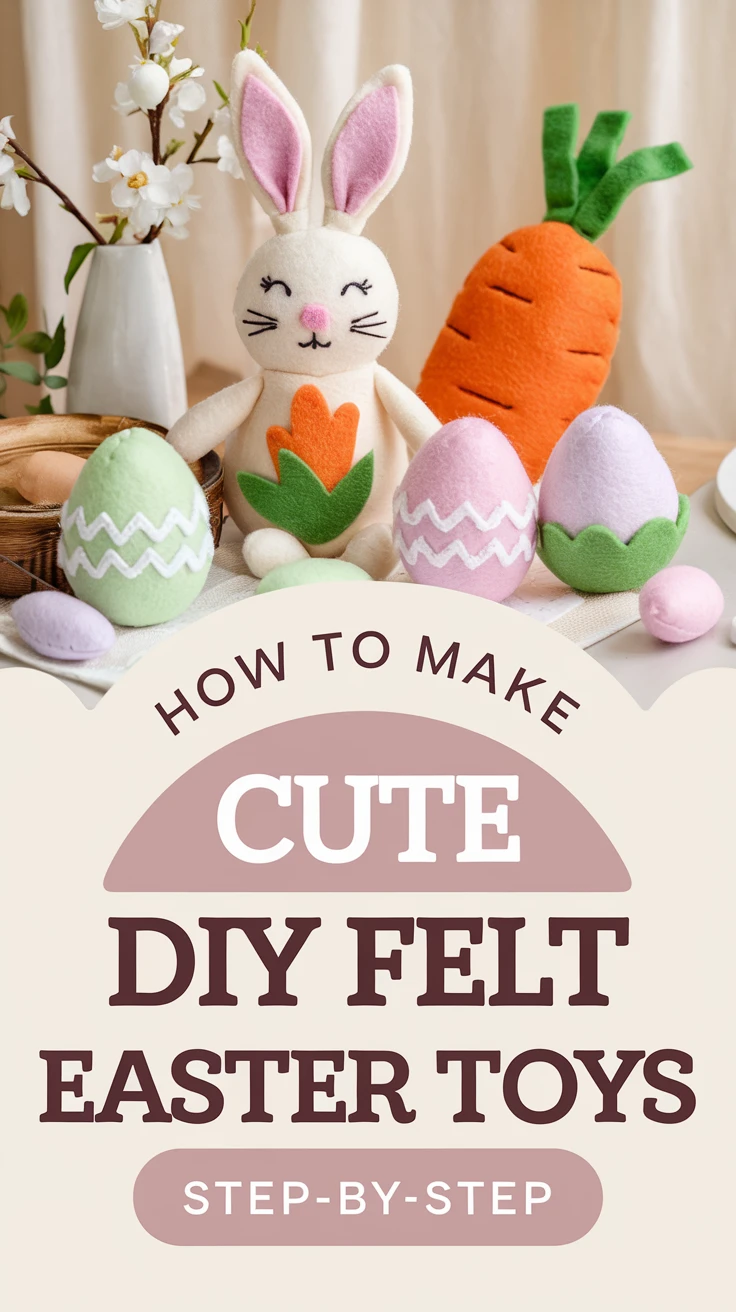
Create Adorable DIY Felt Easter Toys: A Complete Guide
Creating DIY felt Easter toys is a wonderful way to add a personal touch to your holiday celebrations while engaging in a fulfilling craft project. Whether you’re looking to make special gifts, create decorations, or design toys that will become cherished keepsakes, this comprehensive guide will walk you through everything you need to know about crafting charming felt Easter toys.
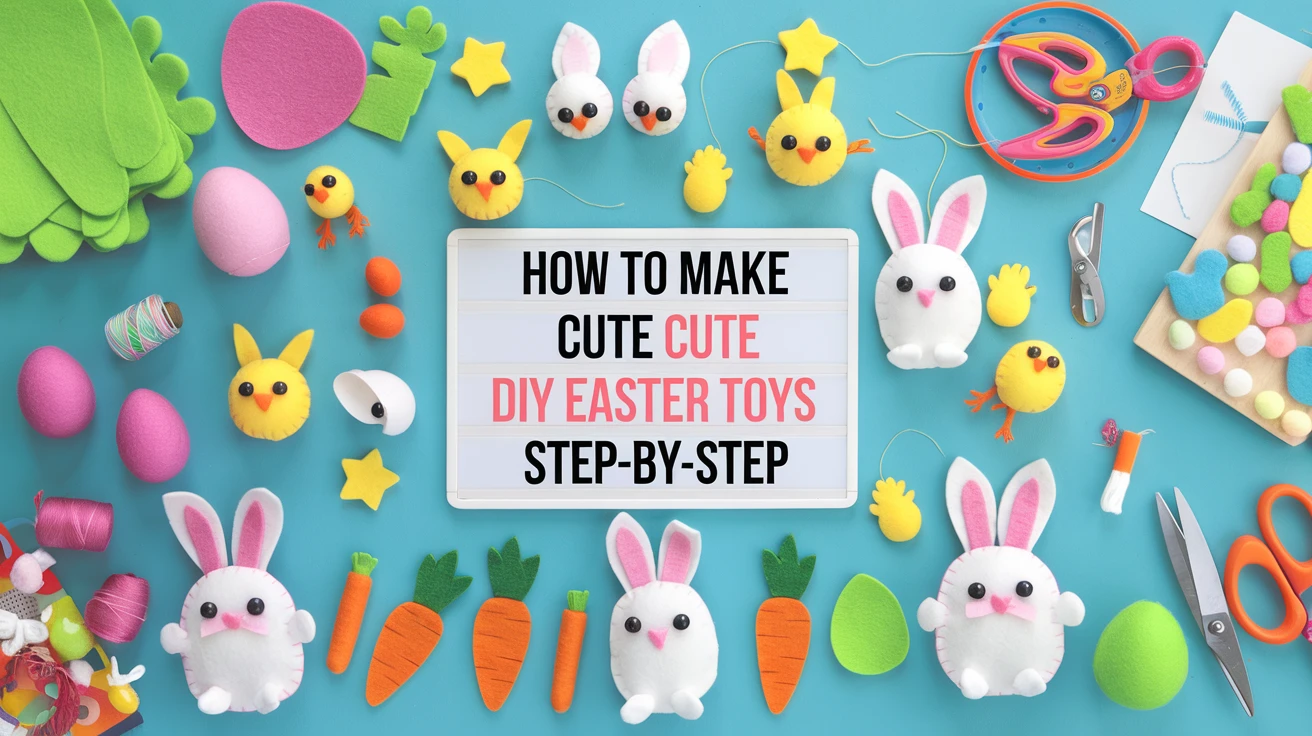
Materials and Tools Needed
Before diving into our projects, let’s gather all the necessary supplies for making DIY felt Easter toys. Having everything ready before you start will make the crafting process much smoother.
| Essential Materials | Optional Materials | Tools |
|---|---|---|
|
– Wool or craft felt – Embroidery thread – Polyester stuffing – Felt glue |
– Ribbon – Buttons – Sequins – Fabric paint |
– Scissors – Needles – Pins – Pattern templates |
Pro tip: Choose high-quality wool felt for durability and a professional finish. While it’s more expensive than synthetic felt, it’s worth the investment for long-lasting toys.
Basic Felt Crafting Techniques
Before starting your DIY felt Easter toys, mastering these fundamental techniques will ensure better results:
- Cutting felt: Use sharp scissors and smooth, continuous motions
- Basic stitches: Running stitch, blanket stitch, and whip stitch
- Pattern transfer: How to trace and cut accurately
- Stuffing techniques: Achieving the right firmness
Pro tip: Practice your stitches on scrap felt pieces before starting your main projects.
Project 1: Easter Bunny
Let’s start with a classic Easter bunny, perfect for both play and decoration. This adorable creation features floppy ears and a cute cotton tail.
- Cut out body pieces using the provided pattern
- Sew the front and back body pieces together
- Add facial features and details
- Stuff the body firmly
- Attach ears and tail
Pro tip: Use pipe cleaners in the ears to make them poseable.
Project 2: Easter Eggs
Create colorful felt Easter eggs that can be used as decorations or soft toys for little ones.
- Choose vibrant felt colors
- Cut egg shapes in various sizes
- Add decorative elements
- Create different patterns
- Cut two identical egg shapes
- Decorate the front piece
- Sew pieces together
- Stuff lightly
- Close the opening
Pro tip: Create a paper template first to ensure consistent egg shapes.
Project 3: Easter Chicks
These adorable felt chicks are simple to make and irresistibly cute.
- Cut body pieces in yellow felt
- Create wing and beak details
- Sew body together
- Add eyes and features
- Stuff and finish
Pro tip: Use orange felt scraps for tiny feet to help your chicks stand.
Project 4: Easter Basket
Create a soft, child-friendly Easter basket perfect for collecting eggs during hunts.
- Cut basket base and sides
- Create handle pieces
- Assemble basket structure
- Add decorative elements
- Attach handle securely
Pro tip: Reinforce the bottom with cardboard for stability.
Project 5: Carrot Plushie
Complete your DIY felt Easter toys collection with this charming carrot plushie.
- Cut orange felt for body
- Create green leaf top
- Sew and stuff body
- Attach leaves
- Add details and texture
Pro tip: Use different shades of orange felt to create a more realistic carrot appearance.
Tips for Success
Enhance your DIY felt Easter toys with these professional tips:
- Always use sharp scissors dedicated to fabric cutting
- Pin pieces together before sewing
- Stuff firmly but evenly
- Use appropriate needle sizes
- Keep stitches small and even
Storage and Care
Proper storage and maintenance will help your DIY felt Easter toys last for many seasons:
- Store in a cool, dry place
- Avoid direct sunlight
- Spot clean with gentle soap
- Air dry completely
- Use storage boxes to maintain shape
Conclusion
Creating DIY felt Easter toys is a rewarding activity that combines creativity with practical crafting skills. These handmade treasures make perfect gifts, decorations, and keepsakes that can be enjoyed for years to come. Remember to take your time, enjoy the process, and don’t be afraid to add your personal touch to each project.
Frequently Asked Questions
-
What type of felt works best for Easter toys?
Wool felt is ideal for durability and quality, but eco-felt made from recycled materials is a good alternative for beginners.
-
How do I prevent my felt toys from falling apart?
Use small, tight stitches and reinforce stress points with double stitching. Quality thread and proper knot-tying are essential.
-
Can children help with making these toys?
Yes, children can help with simple tasks like stuffing and choosing colors. Supervise needle work and cutting.
-
How long does it take to make each project?
Projects typically take 1-3 hours depending on complexity and experience level.
-
What’s the best way to store felt toys?
Store in a sealed container in a cool, dry place away from direct sunlight and moisture.
-
Can I machine wash felt toys?
Hand washing is recommended. Spot clean with mild soap and water, then air dry completely.
-
What alternatives can I use if I don’t have felt needles?
Regular sewing needles work, but choose ones appropriate for the felt thickness.
-
How do I make my felt toys child-safe?
Use child-safe stuffing, secure all components tightly, and avoid small decorative pieces for toys intended for young children.
-
Where can I find felt patterns?
Many craft websites offer free downloadable patterns, or you can create your own using basic shapes.
-
What’s the cost estimate for making these toys?
Basic materials cost $15-30, depending on quality and quantity. Individual toys cost $2-5 each to make.