Introduction to DIY Wooden Easter Toys
Creating DIY wooden Easter toys isn’t just a craft project – it’s a way to build lasting memories and start cherished family traditions. As someone who’s been crafting wooden toys for over a decade, I can tell you there’s something magical about seeing a child’s face light up when they play with something you’ve made by hand. In this guide, I’ll walk you through 10 delightful DIY wooden Easter toys that you can create today, even if you’re just starting your woodworking journey.
Essential Tools and Materials
Before we dive into our projects, let’s ensure you have everything you need for successful DIY wooden Easter toys creation.
| Basic Tools | Materials | Safety Equipment |
| Hand saw or jigsaw | 1/2″ and 3/4″ plywood | Safety glasses |
| Sandpaper (various grits) | Non-toxic paint | Dust mask |
| Pencil and ruler | Food-safe finish | Work gloves |
1. Wooden Easter Egg Puzzle
Let’s start with a simple yet engaging project that combines problem-solving with Easter fun. This wooden puzzle consists of egg-shaped pieces that fit together perfectly, making it an excellent activity for young children.
- Use 1/2″ plywood for durability
- Create 4-6 interlocking pieces
- Paint each piece in different spring colors
- Add simple patterns for visual interest
Pro tip: Draw your design on paper first and test the fit before cutting the wood. I learned this the hard way after making pieces that didn’t quite match up!
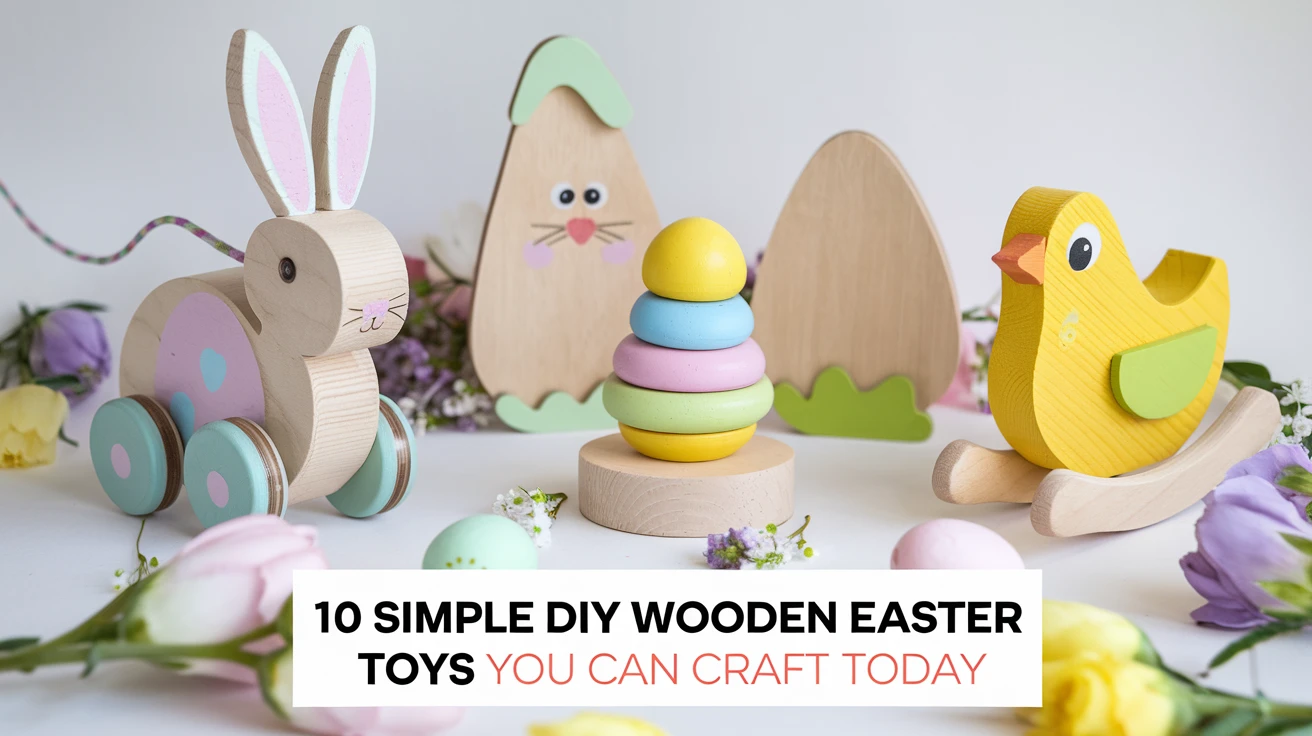
2. Bunny Push Toy
This charming push toy features a hopping motion as it’s moved along the floor. It’s one of my most popular DIY wooden Easter toys, and children absolutely adore it.
- Create a basic bunny shape with moving legs
- Use dowels for the wheel axis
- Add wooden wheels with rubber grips
- Include a handle for easy pushing
Pro tip: Add small wooden beads inside the wheels to create a gentle clicking sound as the toy moves.
3. Easter Egg Rolling Track
This clever toy combines the traditional Easter egg roll with a wooden track system that provides hours of entertainment.
- Design multiple track levels
- Include curves and straight sections
- Add side guards to keep eggs on track
- Create collection baskets at the bottom
Pro tip: Sand the tracks extra smooth and test with different sized eggs to ensure proper rolling action.
4. Wooden Easter Basket
Create a durable Easter basket that can be used year after year. This project teaches basic joinery while producing a practical item.
- Use thin wood strips for the basket weave
- Create a sturdy handle with reinforced joints
- Add decorative Easter elements
- Include a solid bottom for stability
Pro tip: Soak the wood strips in warm water for 30 minutes before weaving to make them more pliable.
5. Stacking Easter Chicks
These adorable stacking toys help develop fine motor skills while maintaining the Easter theme.
- Cut graduated sizes of chick shapes
- Create center holes for stacking
- Paint in yellow with orange details
- Add protective finish for longevity
Pro tip: Make the base extra wide for better stability, and round all edges thoroughly for safety.
6. Wooden Easter Egg Hunt Signs
These practical and decorative signs add an extra element of fun to any Easter egg hunt.
- Create arrow-shaped signs
- Add stakes for ground placement
- Paint with weatherproof colors
- Include fun Easter messages
Pro tip: Create a storage box with divisions to keep signs organized for next year.
7. Easter Bunny Ring Toss
This engaging game combines skill development with Easter-themed fun.
- Build a bunny-shaped target board
- Create carrot-shaped pegs
- Make rings from thin plywood
- Add scoring zones
Pro tip: Paint different scoring zones in contrasting colors for better visibility.
8. Wooden Easter Memory Game
Create a set of matching Easter-themed tiles for a classic memory game with a holiday twist.
- Cut uniform squares or circles
- Paint matching Easter patterns
- Sand edges thoroughly
- Create a storage box
Pro tip: Use stencils for consistent pattern creation across matching pieces.
9. Easter-Themed Building Blocks
These special building blocks feature Easter shapes and symbols while providing classic block play value.
- Include egg, bunny, and chick shapes
- Create various sizes for stacking
- Use spring colors
- Add simple patterns
Pro tip: Create a template for each shape to ensure consistency when making multiple sets.
10. Wooden Easter Scene Display
This final project creates a beautiful Easter diorama that can be displayed year after year.
- Build a basic backdrop
- Create stand-alone figures
- Include changeable elements
- Add a storage solution
Pro tip: Design the pieces to pack flat for easy storage between seasons.
Safety Considerations
When creating DIY wooden Easter toys, safety should always be your top priority.
- Use non-toxic finishes and paints
- Sand all edges thoroughly
- Ensure no small parts for young children
- Test all moving parts for durability
- Consider age-appropriate designs
Conclusion
These DIY wooden Easter toys offer a perfect blend of creativity, functionality, and holiday spirit. Whether you’re a beginner or experienced woodworker, these projects provide opportunities to create lasting treasures that can be passed down through generations. Remember, the joy of crafting these toys is just as rewarding as seeing them being played with!
Frequently Asked Questions
-
What type of wood is best for DIY wooden Easter toys?
For most projects, 1/2″ to 3/4″ hardwood plywood works well. It’s stable, durable, and readily available. Pine is also a good option for simpler projects.
-
How can I ensure these toys are safe for children?
Use non-toxic finishes, sand thoroughly, round all edges, and ensure no small parts for young children. Always supervise play with wooden toys.
-
What tools do I need to get started?
Basic tools include a saw (hand or power), sandpaper, measuring tools, and painting supplies. Some projects may require additional specialized tools.
-
How long does it take to complete these projects?
Most projects can be completed in 2-4 hours, not including drying time for paint and finish. Some more complex projects might take a full day.
-
Can beginners make these toys?
Yes! Start with simpler projects like the memory game or Easter signs, then progress to more complex ones as your skills improve.
